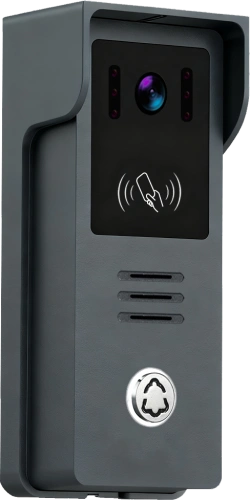
2-Wire Connection: 2-Button Outdoor Station Configuration with 7″ Indoor Monitors
Ottobre 16, 2026
Condividi questo articolo
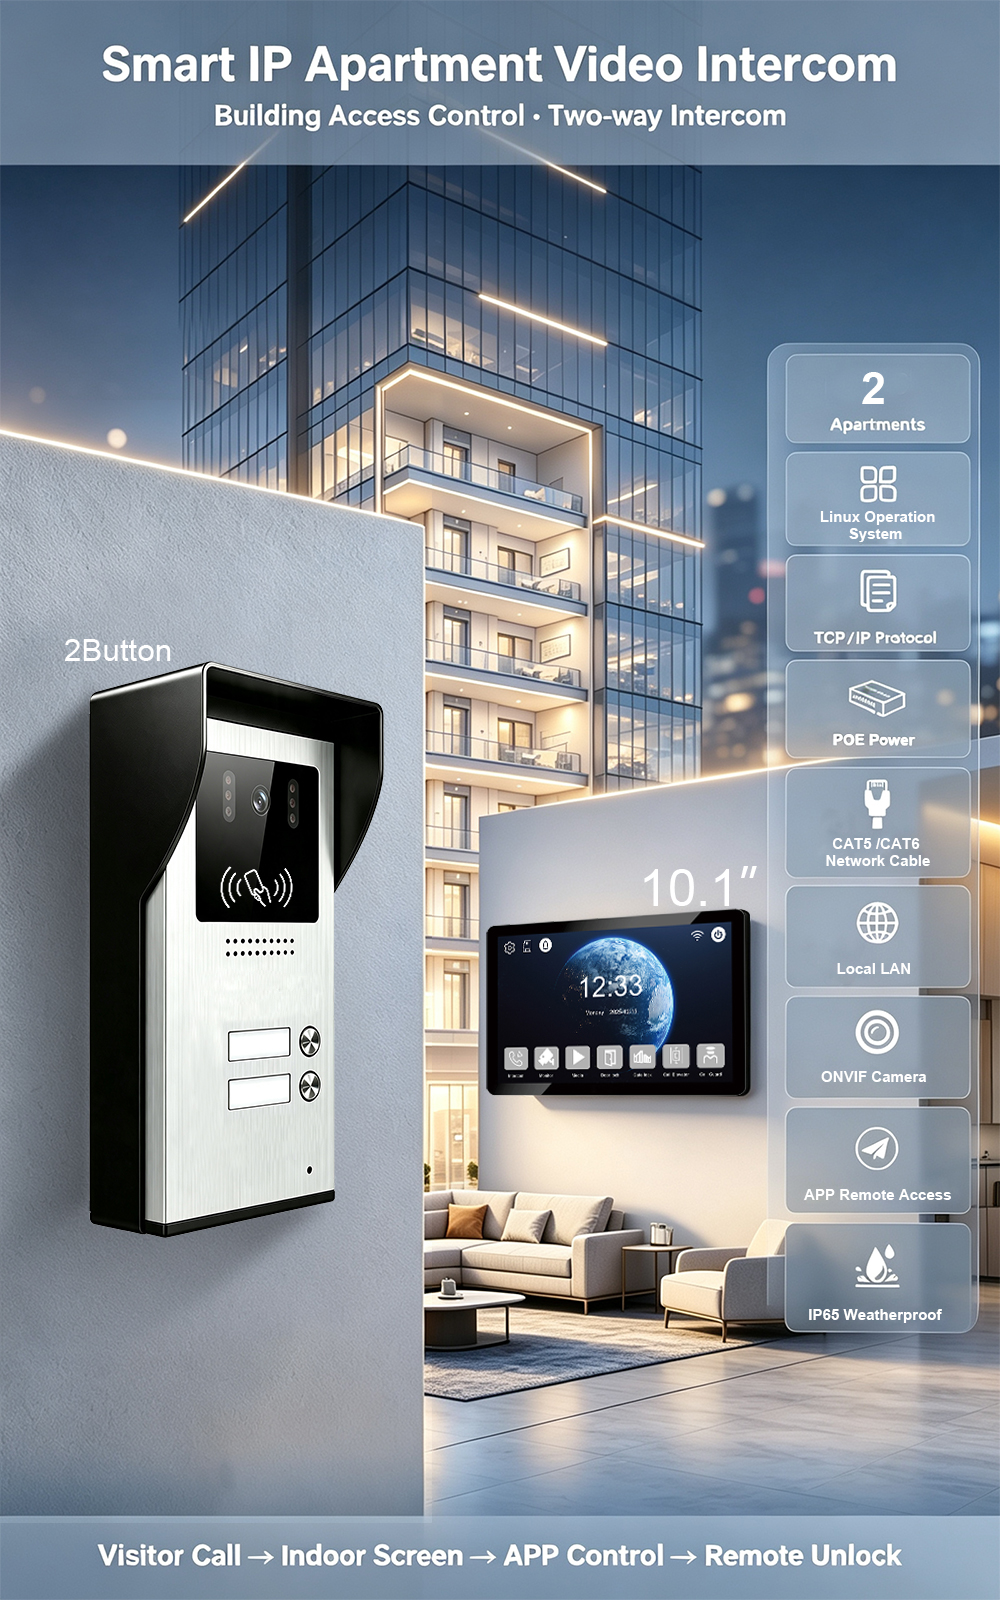
A complete wiring and configuration guide for two-unit residential buildings, duplexes, and small apartment projects.
When a building has two units—whether it is a duplex, a two-family home, or a small apartment property—the intercom system needs to do one simple thing well: let each unit answer its own door calls independently. A 2-button outdoor station paired with 7-inch indoor monitors is the ideal solution. It gives each unit its own call button, its own indoor monitor, and its own unlock control—without the complexity or cost of a larger system.
FARHD has been manufacturing 2-wire video intercom systems since 1998. This guide covers the wiring, configuration, and testing of a 2-button outdoor station with 7-inch indoor monitors, using the simple and reliable 2-wire connection.
Why 2-Wire for a Two-Unit Building?
The 2-wire system uses a single pair of standard two-core wires to transmit power, audio, video, and control signals. It is non-polarity, meaning you can connect the wires either way without risk of damage.
Key advantages:
- Installazione semplice – any electrician can complete the wiring.
- Reuses existing cabling – ideal for retrofits and older buildings.
- Up to 100 metres transmission – enough for most residential entrances.
- Economicamente vantaggioso – lower material and labour costs.
- Reliable – no network dependency, no Wi-Fi dropouts.
For a two-unit building, the 2-wire system is the most practical choice.
System Components
A typical 2-button 2-wire kit includes:
| Componente | Role |
|---|---|
| 2-Button Outdoor Station | Two call buttons, one for each unit. Includes camera, microphone, speaker, and card reader (optional). |
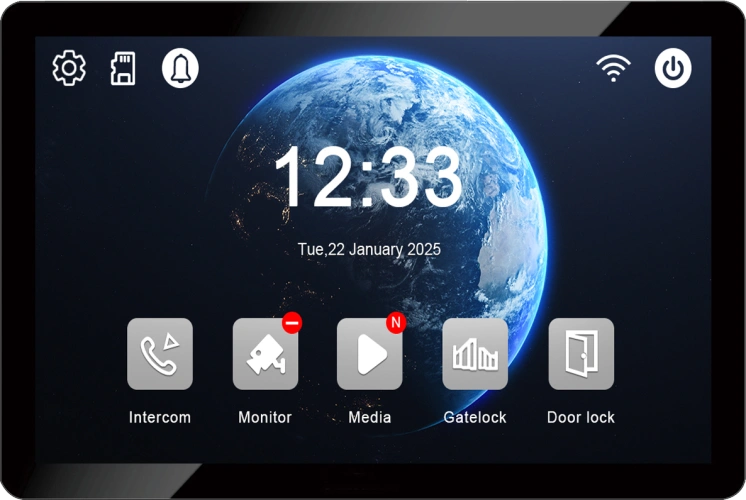
| 7″ Indoor Monitors | One per unit. Answer calls, view video, unlock door. |
| 2-Wire Switch / Distributor | Optional. Distributes signal to multiple monitors. Recommended for reliable performance. |
| Alimentazione | 15V DC adapter or central power supply. |
| 2-Core Cable | Non-polarity, ≥0.5mm², up to 100m per run. |
| Electric Lock | Controlled by relay output. Requires separate 12V DC power supply. |
The 7-inch indoor monitors feature IPS touchscreens, 1024×600 resolution, and support for two-way audio, video, and unlock control.
Wiring Topology Options
There are two common ways to wire a 2-button system.
1. Direct Bus Wiring (Simplest for Two Units)
The outdoor station connects directly to the two indoor monitors via a shared 2-wire bus.
text
[Outdoor Station] ── 2-wire ── [Indoor Monitor 1] ── 2-wire ── [Indoor Monitor 2]
Vantaggi:
- Fewer components—no switch required.
- Simple wiring for short distances.
Considerations:
- Each monitor must have a unique room number.
- A fault on the bus can affect both units.
- Maximum distance and number of monitors may be limited by the outdoor station’s power output.
Ideale per: Small buildings with short cable runs and only two units.
2. Star Wiring with 2-Wire Switch (Recommended)
The outdoor station connects to a 2-wire switch, and each indoor monitor connects independently.
text
[Outdoor Station] ── 2-wire ── [2-Wire Switch] ── 2-wire ── [Indoor Monitor 1]
                                                   └── 2-wire ── [Indoor Monitor 2]
Vantaggi:
- Fault isolation—one unit’s issue does not affect the other.
- Easier room number configuration.
- Supports future expansion (additional monitors or outdoor stations).
Ideale per: Most two-unit installations, especially where reliability and future expansion matter.
Raccomandazione: Use a 2-wire switch for star wiring. It provides stable power distribution and simplifies troubleshooting.
Step-by-Step Wiring Guide
Step 1: Mount the Outdoor Station
- Mount at 1.5–1.8 metres above ground.
- Avoid direct sunlight and heavy rain exposure.
- Use the included rain cover and mounting bracket.
Step 2: Mount the Indoor Monitors
- Mount each 7-inch monitor in a convenient indoor location (hallway, living room, or bedroom).
- Recommended height: 1.2–1.4 metres.
- Ensure there is a power outlet nearby if the monitor requires an adapter.
Step 3: Run the 2-Wire Cables
- Use 2-core cable (≥0.5mm²).
- Keep cable runs under 100 metres. For longer distances, use thicker gauge (0.75mm² or 1.0mm²).
- Avoid running cables parallel to AC power lines to prevent interference.
Step 4: Connect the Outdoor Station
- Connect the 2-wire cable to the outdoor station’s terminals. Polarity does not matter.
- If an electric lock is used, connect the lock wires to the relay output (NO and COM).
- A separate 12V DC power supply is required for the lock.
Step 5: Connect the 2-Wire Switch (If Used)
- Connect the cable from the outdoor station to the switch’s input.
- Connect each indoor monitor’s cable to the switch’s output ports.
- Power the switch with the supplied adapter.
Step 6: Connect the Indoor Monitors
- Connect each monitor’s 2-wire cable to the switch output or bus.
- Ensure each monitor receives power via the 2-wire connection.
Step 7: Power On and Test
- Power on the system.
- Press button 1. Indoor Monitor 1 should ring.
- Press button 2. Indoor Monitor 2 should ring.
- Test two-way audio, video, and unlock function.
Configuration: Room Numbers and Button Mapping
After wiring, each indoor monitor must be assigned a unique room number, and each button on the outdoor station must be mapped to the correct unit.
Step 1: Assign Room Numbers to Indoor Monitors
Via Indoor Monitor Menu:
- On the 7-inch monitor, enter the Settings menu.
- Seleziona Room Number o Address Setting.
- Enter the apartment number (e.g., 101 for Unit 1, 102 for Unit 2).
- Save and exit.
- Repeat for the second monitor.
Importante: Each monitor must have a unique room number. Duplicate numbers will cause both monitors to ring at the same time.
Step 2: Map Outdoor Station Buttons to Units
For a 2-button station:
- By default, Button 1 calls Unit 1, Button 2 calls Unit 2.
- If your numbering is different (e.g., 101 and 102), configure the mapping.
Configuration methods:
- Via indoor monitor menu: Some systems allow button mapping from the monitor’s settings.
- Via DIP switches or jumpers: Some models use physical switches on the outdoor station to set button addresses.
- Via management software: For advanced systems, assign each button to a specific room number.
Example mapping:
| Pulsante | Unit | Room Number |
|---|---|---|
| 1 | Unit 1 | 101 |
| 2 | Unit 2 | 102 |
Label each button with the resident’s name or unit number for easy identification.
Step 3: Configure System Settings
- Unlock duration: Set the relay release time (typically 3–10 seconds).
- Ringtone volume: Adjust indoor monitor ringtone volume.
- Video settings: Adjust brightness, contrast, and night vision if available.
- Language: Select the preferred language for the UI.
Step 4: Optional App Configuration (Tuya / Smart Life)
If the 7-inch indoor monitor supports Wi-Fi and Tuya Smart Life:
- Connect the monitor to a 2.4GHz Wi-Fi network.
- Download the Tuya Smart or Smart Life app.
- Create an account and tap “Add Device.”
- Follow the pairing instructions.
- Assign the device to a room and name it (e.g., “Unit 1”).
- Test remote answering, live view, and unlock.
Nota: Not all 2-wire systems support app integration. Check your specific model’s specifications.
Testing and Commissioning
After configuration, test every function:
| Test | What to Verify |
|---|---|
| Button 1 call | Rings Indoor Monitor 1 within 1.5 seconds. |
| Button 2 call | Rings Indoor Monitor 2 within 1.5 seconds. |
| : Fornisce filmati video dei visitatori. | Clear conversation, no echo, no dropouts. |
| Qualità video | Clear image, correct viewing angle, night vision activates in low light. |
| Unlock function | Door releases reliably; relay click audible. |
| Funzioni app | Remote answer, live view, and unlock work over Wi-Fi (if supported). |
If any test fails, check wiring connections, cable continuity, and power supply voltage before replacing hardware.
Risoluzione dei problemi comuni
| Problema | Possibile causa | Soluzione |
|---|---|---|
| Both monitors ring at once | Duplicate room numbers | Assign unique numbers to each monitor |
| Button does not ring correct monitor | Button mapping incorrect | Reconfigure button mapping |
| No video | Loose cable | Re-seat 2-wire connections |
| No audio | Volume muted | Check volume settings |
| Unlock fails | Relay wiring | Verify lock power and relay connections |
| App not connecting | Wi-Fi on 5GHz | Switch to 2.4GHz network |
| Monitor does not power on | Insufficient power | Check 2-wire switch power supply |
Best Practices for 2-Button Systems
- Use quality cable – ≥0.5mm² copper for 2-wire runs.
- Keep cable runs under 100 metres – for longer distances, use thicker gauge or a repeater.
- Avoid parallel runs with power lines – prevents interference.
- Label both ends of every cable – simplifies maintenance.
- Test each unit after configuration – call from the outdoor station and verify all functions.
- Secure outdoor connections – use waterproof gel caps or silicone.
- Document room numbers and wiring – essential for future service.
- Update firmware – check for updates after installation.
Why Choose FARHD for Your 2-Wire System?
FARHD has been designing and manufacturing video intercom systems since 1998, with over 28 years of industry experience. Our 2-wire systems are trusted in over 100 countries for their reliability, ease of installation, and robust feature set.
Key advantages:
- Source factory – Factory-direct pricing, full quality control.
- 2-wire simplicity – Reuses existing wiring, non-polarity, up to 100m.
- 7-inch indoor monitors – IPS touchscreen, clear video, responsive touch.
- 2-button outdoor station – Ideal for duplexes and two-unit buildings.
- Room number configuration – Flexible, supports 1–4 digit numbers.
- Resistente alle intemperie – IP65 outdoor stations, -40°C to +70°C.
- OEM/ODM/SKD – Custom branding, packaging, and software.
- No MOQ – Start with a sample; scale as you grow.
- Certificazioni globali – CE, FCC, RoHS, IP65, EMC.
Our products are installed in thousands of apartments, villas, and residential projects worldwide.
Frequently Asked Questions
Q: Can I connect two indoor monitors directly to a 2-button outdoor station without a switch?
A: Yes, for short distances and simple installations. However, using a 2-wire switch is recommended for better reliability and fault isolation.
Q: How do I assign which button calls which monitor?
A: Configure room numbers on each indoor monitor and map the outdoor station buttons accordingly. Most systems default to Button 1 = Unit 1, Button 2 = Unit 2.
Q: What happens if both monitors have the same room number?
A: Both will ring at the same time. Always assign unique room numbers.
Q: Can I add a third indoor monitor later?
A: Yes, if the system supports expansion and you use a 2-wire switch with available ports.
Q: Does the system work without internet?
A: Yes. Basic calling, video, and unlock functions work without internet. Internet is only required for remote app access.
Q: What is the maximum cable distance?
A: Up to 100 metres with ≥0.5mm² cable. For longer distances, use thicker gauge or a repeater.
Contact Us for Catalog, Pricing, and Samples
The FARHD 2-button outdoor station with 7-inch indoor monitors is the ideal choice for two-unit residential buildings. With easy 2-wire wiring, simple configuration, and reliable performance, it delivers everything you need for secure, convenient entry.
Contact us today for catalog, pricing, or to request a sample.
📩 Email: [email protected]
🌐 Website: www.farhd.com
📱 WhatsApp: +86 188 2370 9809 / +86 199 2545 1918
FARHD – Video Intercom Manufacturer Since 1998.
#2WireIntercom #2ButtonStation #7InchMonitor #DuplexIntercom #ApartmentIntercom #WiringGuide #Configuration #FARHD #OEM #ODM #BuildingSecurity
Potreste anche essere interessati
-
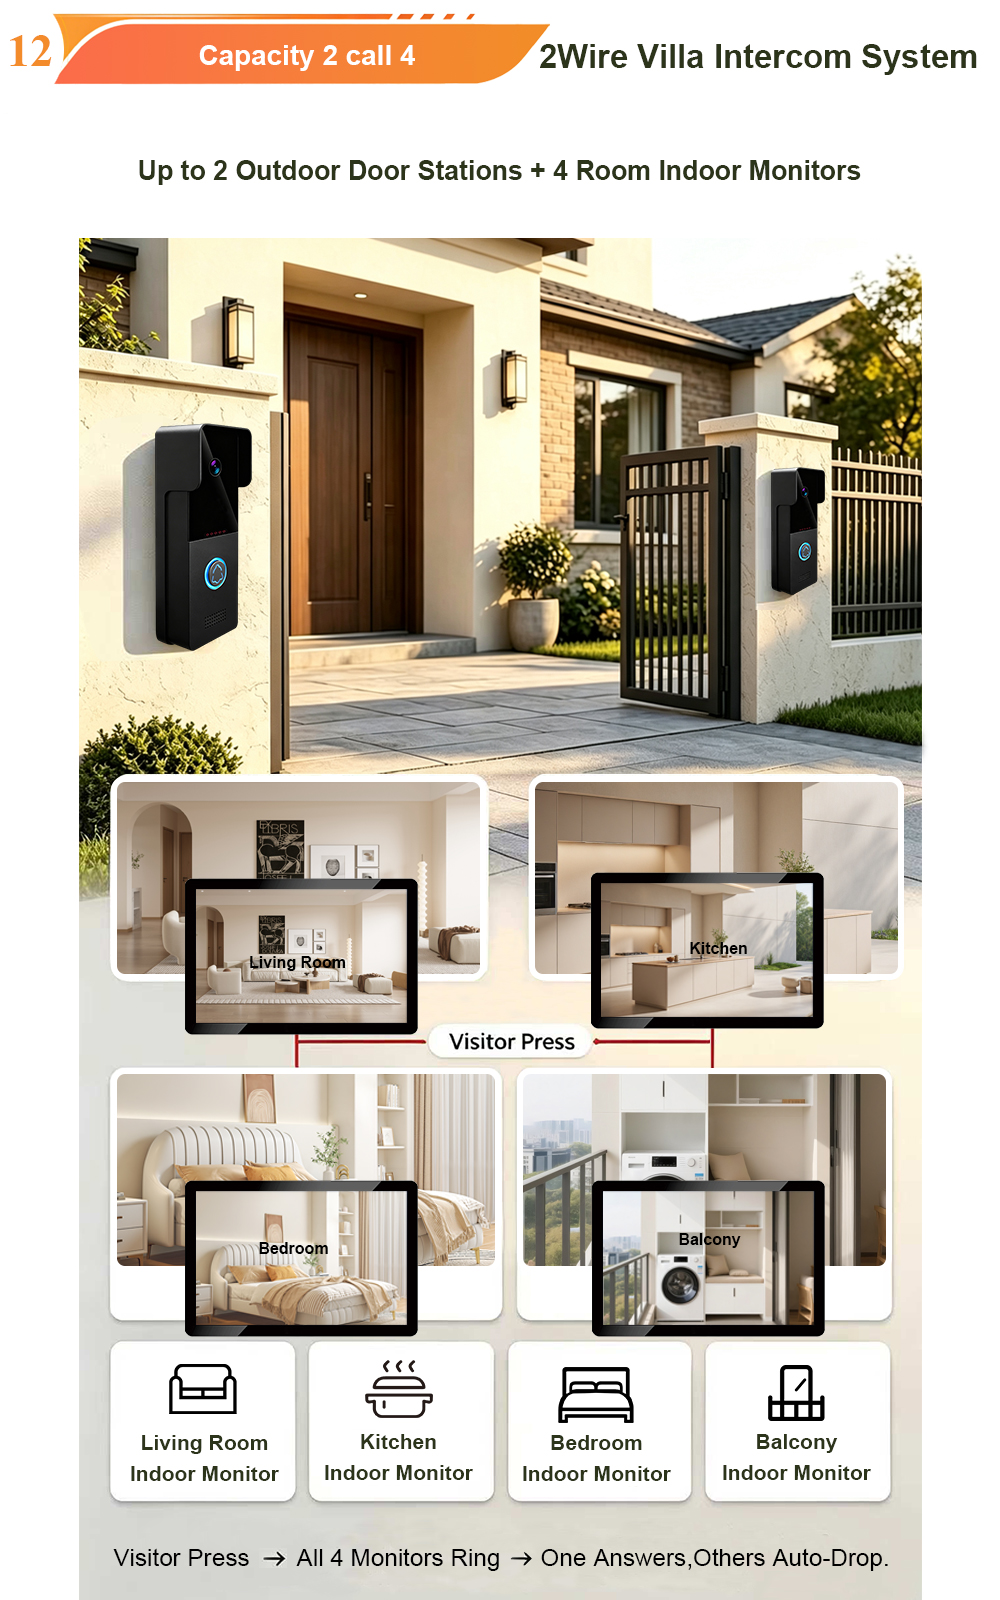
2-Wire Villa Connection: 2 Outdoor Call Panels (Card Unlock) with 4 Indoor Monitors (10″ IPS Display)
When a villa has multiple entrances—a main gate and a secondary gate, for example—and multiple living areas across different floors, a single outdoor station and one indoor monitor are rarely enough. The ideal solution is a scalable 2-wire system that supports two outdoor call panels and up to four indoor monitors. FARHD’s 2-wire villa solution…
-
Welcome to FARHD Factory: See How Your Video Intercom Systems Are Made
Overseas buyers are warmly invited to visit our source factory in Shenzhen, China. See real production lines, test samples on site, and check our strict quality control process. Since 1998, FARHD has been a source manufacturer with full in-house R&D, production, QC, and after-sales for video intercom systems. No MOQ. OEM & ODM custom service…
-
FARHD: 28-Year Source Factory for Video Intercom Systems – IP, 2-Wire, 4-Wire, Wireless, Analog & Audio
When you need a reliable source factory for video intercom systems, experience matters. FARHD has been manufacturing building intercom solutions since 1998—over 28 years of expertise. From IP and 2-wire to 4-wire, wireless, analog, and audio intercoms, we supply villas, apartment projects, and global distributors with Tuya APP remote door release and factory-direct pricing. In…
-
2-Wire & 4-Wire Villa Intercom, IP Outdoor Station, Indoor Monitor & Smart Home Linkage – Custom Design Available
Looking for a reliable villa intercom system that combines flexible wiring options, smart home integration, and full customization? FARHD offers 2-wire and 4-wire villa intercoms, IP outdoor stations, indoor monitors, and smart home linkage—all designed, manufactured, and tested in-house. Global buyers are warmly invited to book a factory visit. When you are sourcing intercom systems…