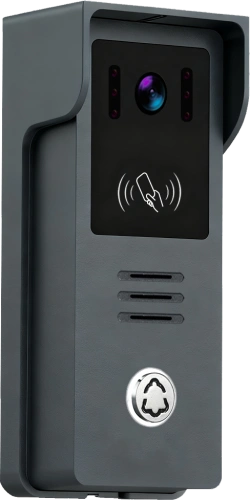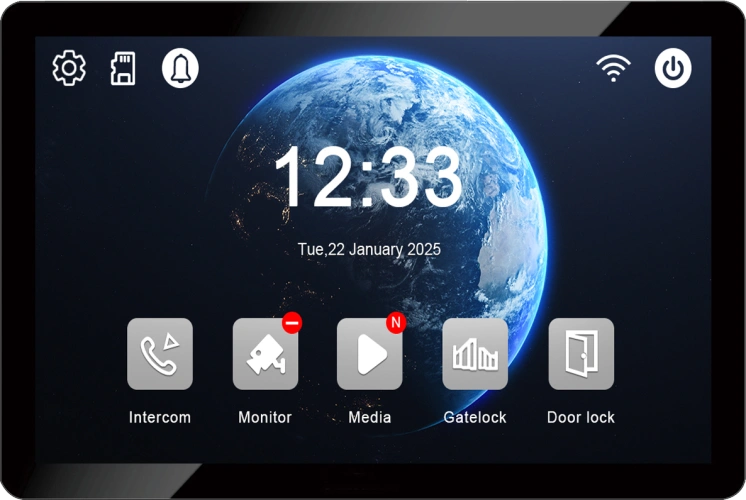
Electric Strike Connection with 2-Wire Video Door Phone: Unlock by Card, Indoor Monitor, and App
Settembre 22, 2026
Condividi questo articolo
A complete guide to wiring an electric strike to a 2-wire video door phone system—and using three convenient unlock methods: RFID card, indoor monitor, and mobile app. Whether you are upgrading an existing building or specifying a new system, this guide covers the essentials for reliable, secure access control.
Electric strikes are one of the most common locking mechanisms used in apartment buildings, offices, and gated communities. They replace the fixed strike plate in a door frame with a mechanism that releases the latch when powered, allowing the door to open. When combined with a 2-wire video door phone, they create a seamless, convenient entry experience: residents can see and speak with visitors, then unlock the door with a card, a button on the indoor monitor, or a tap on their smartphone.
FARHD’s 2-wire video door phone systems are designed for easy integration with electric strikes. The system uses a single pair of wires to carry power, video, audio, and control signals—and includes a relay output specifically for lock control. This means you can connect an electric strike without additional complex wiring.
This guide explains how to connect an electric strike to a FARHD 2-wire video door phone system, and how the three unlock methods work.
Understanding Electric Strikes
Before wiring, it is important to understand the type of electric strike you have, as this affects how it connects to the relay.
What is an electric strike?
An electric strike is a locking device that replaces the standard strike plate in a door frame. It has a movable keeper that, when released, allows the door latch to swing free. When the door is closed, the latch engages with the keeper, keeping the door secure.
Two main types:
| Tipo | Operation | Power Required to Unlock? | Typical Use |
|---|---|---|---|
| Fail-secure (electric strike) | Locked by default; requires power to release | Yes – power is applied to unlock | Most common; used with electric strikes |
| Fail-safe (some electric strikes) | Unlocked by default; requires power to lock | No – power is removed to unlock | Less common; used in fire safety applications |
For most residential and commercial applications, fail-secure electric strikes are used. These require a power supply to release the latch. The relay on the video door phone acts as a switch to control that power.
Importante: The relay on a video door phone is typically a dry contact (NO/COM). It does not supply power to the strike. A separate power supply for the strike is required.
System Components You Will Need
To connect an electric strike to a 2-wire video door phone, gather the following:
| Componente | Scopo |
|---|---|
| 2-Wire Video Door Phone Kit | Includes outdoor station and indoor monitor |
| Electric Strike | Fail-secure type recommended |
| Power Supply for Strike | Matches strike voltage and current (e.g., 12V DC, 1A) |
| 2-Core Cable | For 2-wire connection between outdoor station and indoor monitor |
| 2-Core Cable for Strike | For connecting strike to relay and power supply |
| Strumenti | Wire strippers, screwdrivers, multimeter |
Wiring Diagram Overview
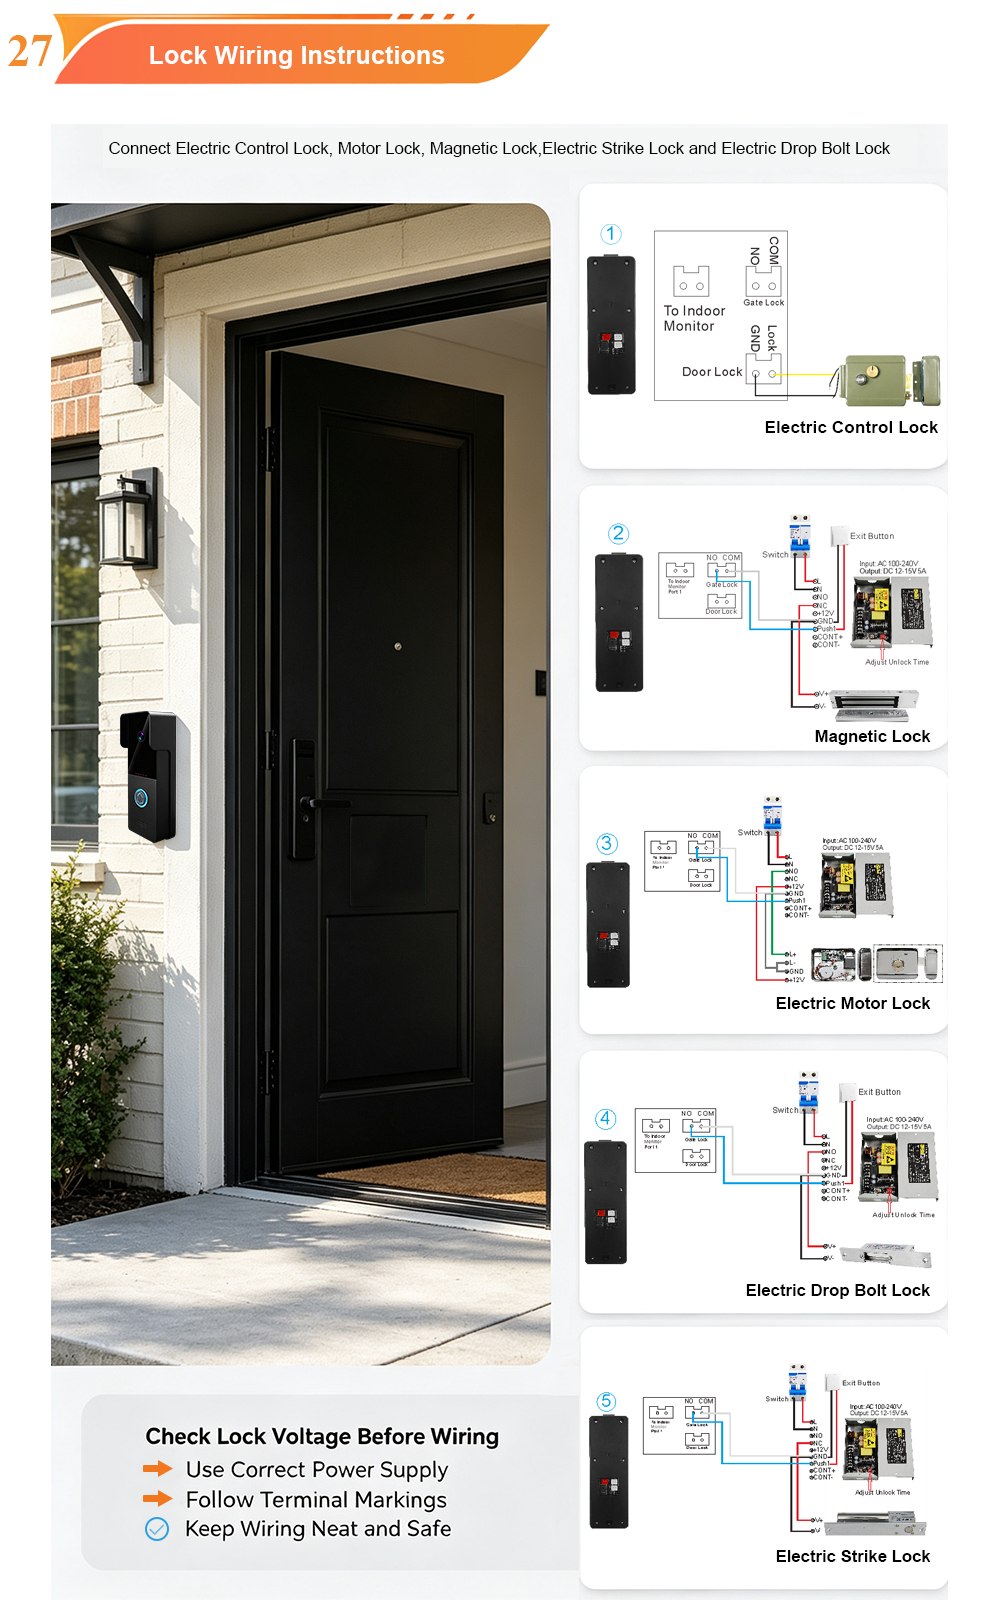
The basic wiring for connecting an electric strike to a 2-wire video door phone is as follows:
text
[Power Supply +] ----> [Electric Strike +]
[Electric Strike -] ----> [COM terminal on Outdoor Station]
[Power Supply -] ----> [NO terminal on Outdoor Station]
How it works:
- When the relay is not triggered, NO and COM are open. No power flows to the strike, and the door remains locked.
- When an unlock command is sent (via card, indoor monitor, or app), the relay closes the circuit between NO and COM. Power flows from the supply, through the strike, and back to the supply. The strike releases, and the door can be opened.
This configuration works for fail-secure strikes. For fail-safe strikes, you would use the NC terminal instead, and the logic is reversed (power removed to unlock).
Step-by-Step Connection Guide
Step 1: Mount the Outdoor Station and Indoor Monitor
- Mount the outdoor station at the entrance at a suitable height (typically 1.4–1.6 metres).
- Mount the indoor monitor in a convenient indoor location.
- Run the 2-core cable between them.
Step 2: Connect the 2-Wire Cable
- Connect the two wires to the 2-wire terminals on the outdoor station (no polarity).
- Connect the other end to the 2-wire terminals on the indoor monitor.
- Power the indoor monitor with the provided adapter. The indoor monitor supplies power to the outdoor station.
Step 3: Connect the Electric Strike
- Locate the relay output terminals on the outdoor station. They are usually labelled NO (Normally Open), COM (Common), and NC (Normally Closed).
- Connect the negative (–) wire of the strike power supply to the NO terminal.
- Connect the negative (–) wire of the strike to the COM terminal.
- Connect the positive (+) wire of the strike to the positive (+) wire of the power supply.
Nota: Some electric strikes are polarity-sensitive. Always check the strike’s datasheet.
Step 4: Power On and Test
- Power on the indoor monitor.
- Test the unlock function using the indoor monitor’s unlock button. You should hear the relay click and the strike release.
- If the strike does not operate, check wiring and power supply voltage with a multimeter.
Unlock Methods: Card, Indoor Monitor, and App
Once connected and configured, the system supports three primary unlock methods.
1. Unlock by RFID Card
The outdoor station includes a built-in RFID/IC card reader. Residents can unlock the door by presenting a registered card to the reader.
How to set up:
- Access the card management menu on the indoor monitor (admin password required; default is often
666666). - Select “Add Card” and present the new card to the reader on the outdoor station.
- The system will confirm registration.
How it works:
- When a registered card is presented, the system verifies it and triggers the relay. The electric strike releases, and the door opens.
- Lost cards can be deleted from the system to prevent unauthorized access.
Vantaggi:
- Fast, convenient entry for daily use.
- Ideal for children, elderly residents, and staff.
- No need to carry keys or remember codes.
2. Unlock by Indoor Monitor
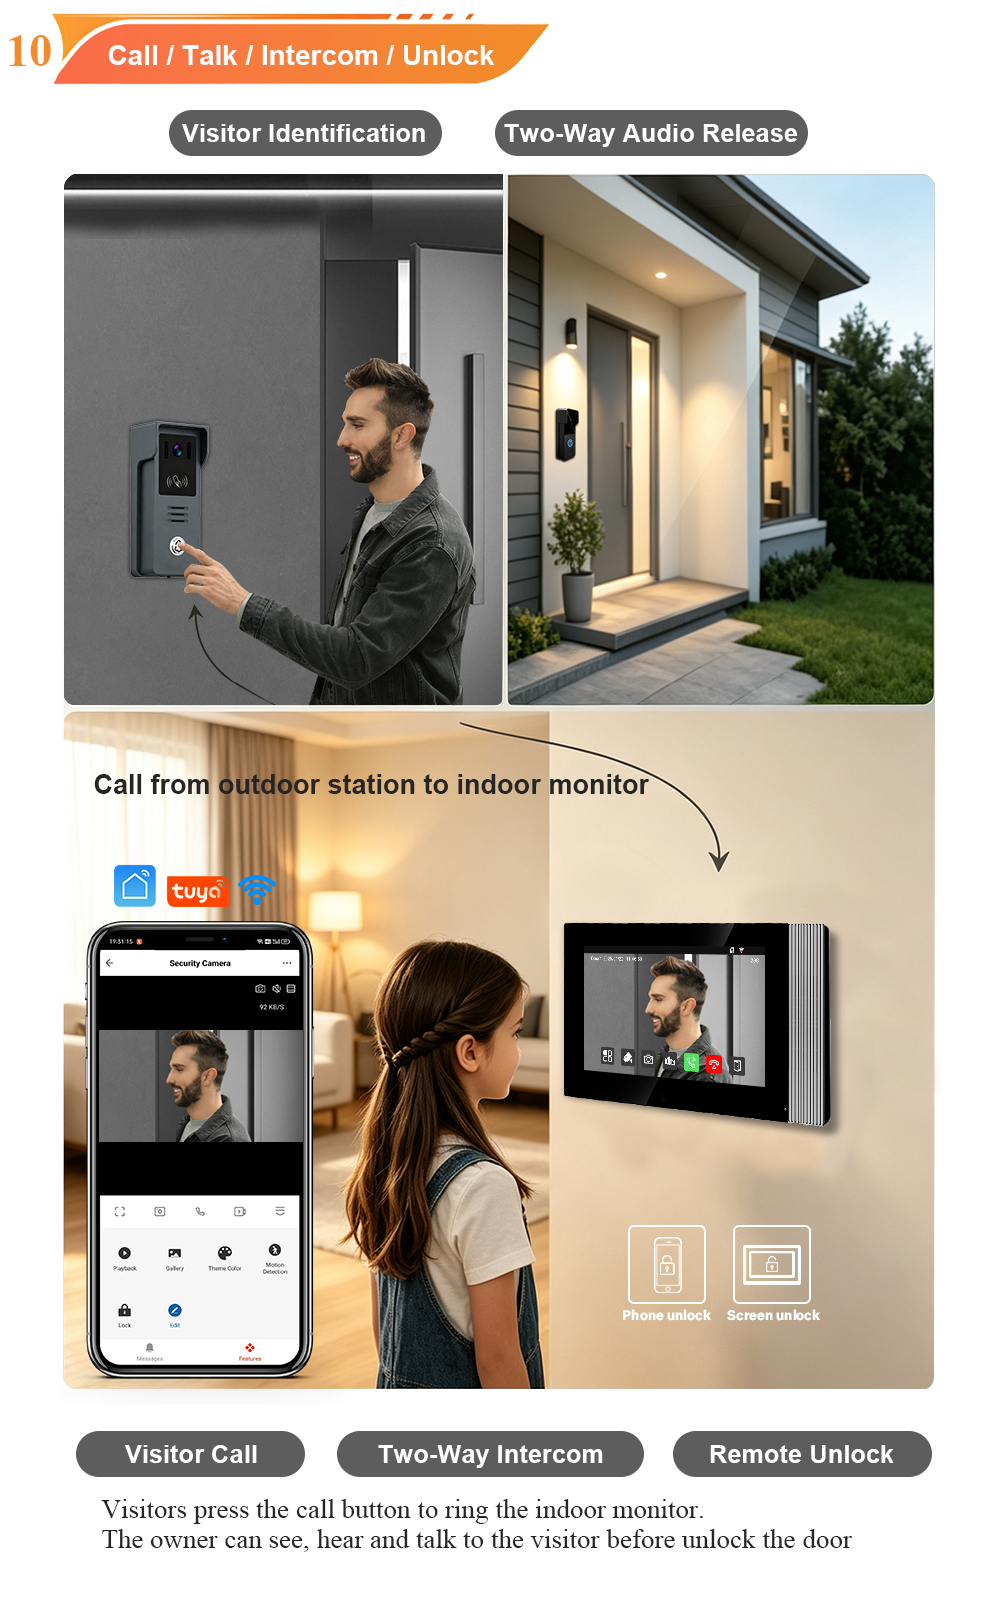
The indoor monitor features a dedicated unlock button on its touchscreen. When a visitor calls, or at any time, the resident can press this button to release the door.
How it works:
- During a call, the unlock icon appears on the screen. Tap it to unlock.
- From the main menu, you can also access the unlock function.
- The relay triggers, and the electric strike releases.
Vantaggi:
- Simple and intuitive—no phone or card needed.
- Perfect for answering visitors from inside the apartment.
- Works even if the resident does not have their phone nearby.
3. Unlock by Mobile App (Tuya / Smart Life)
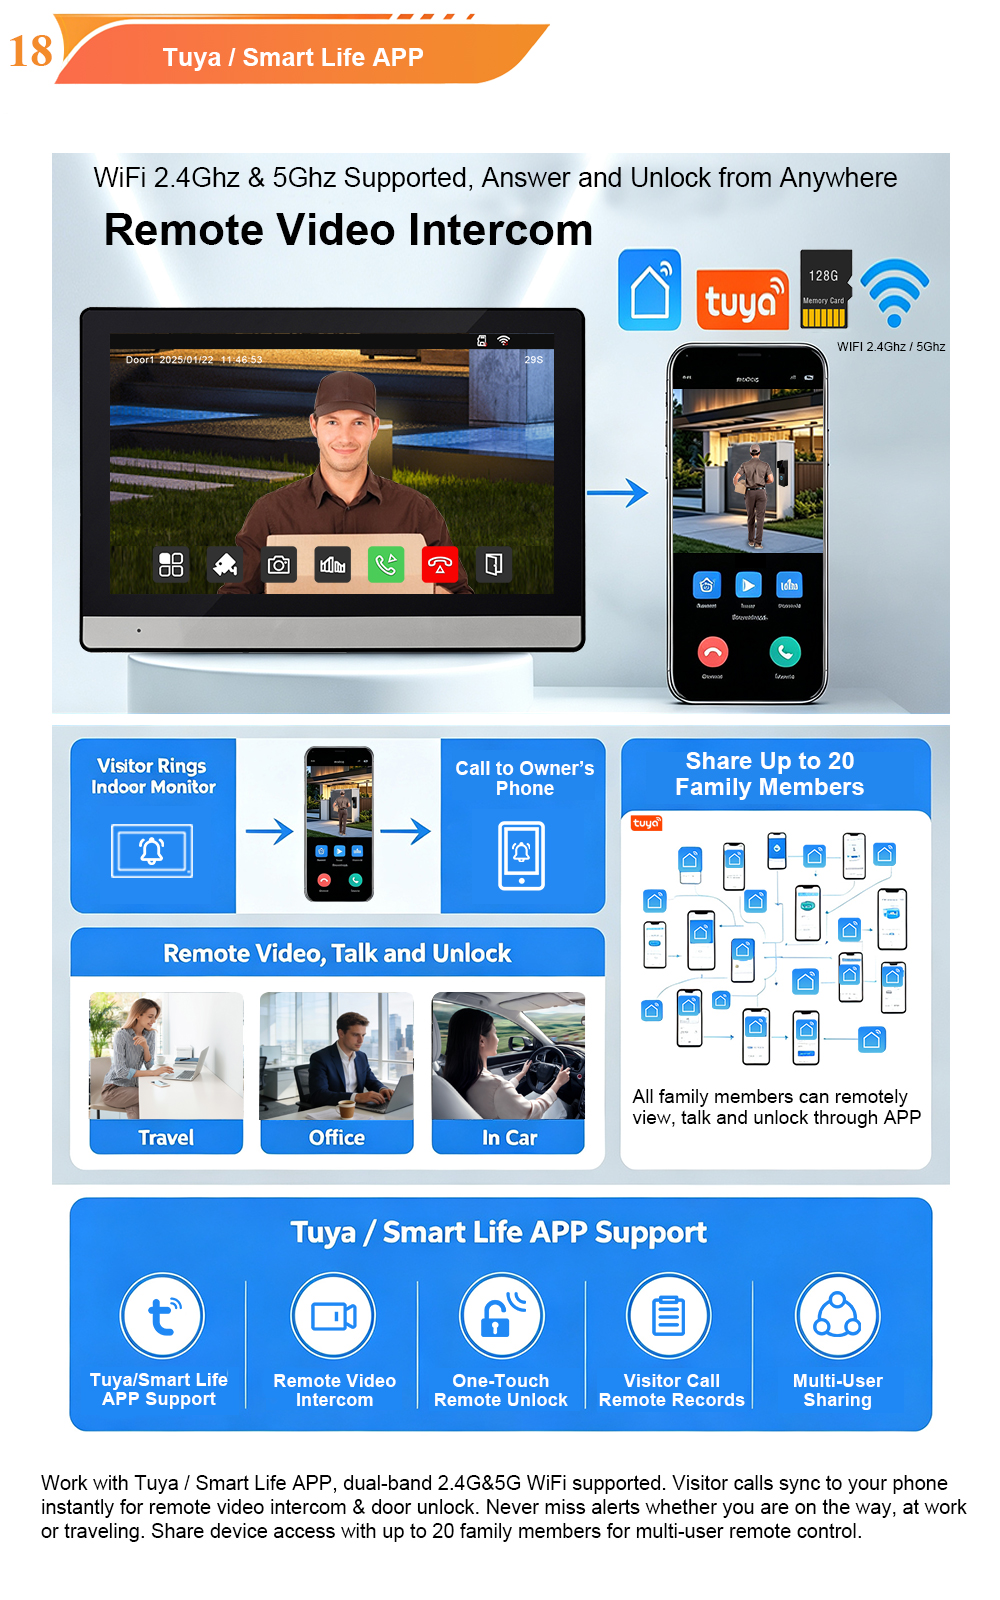
The system integrates with the Tuya Smart Life app, allowing residents to unlock the door from anywhere in the world.
How to set up:
- Connect the indoor monitor to your 2.4GHz Wi-Fi network.
- Download the Tuya Smart or Smart Life app and create an account.
- Add the device by following the in-app pairing instructions.
- Once paired, you can unlock the door remotely with a single tap.
How it works:
- When a visitor calls, the resident receives a push notification on their smartphone. They can see the visitor, speak with them, and tap the unlock button to release the strike.
- Residents can also unlock from the app’s device list without an active call.
Vantaggi:
- Remote access from anywhere with internet.
- Ideal for letting in deliveries, guests, or service providers when you are not home.
- Up to 20 family members can share access.
Configuration and Settings
After wiring and testing, configure the system to suit your preferences.
Indoor Monitor Settings:
- Adjust ringtone volume and melody.
- Set screen brightness.
- Select language (multi-language support).
- Configure unlock duration (how long the relay stays closed—typically 3–10 seconds).
App Settings:
- Enable push notifications for calls and motion alerts.
- Set motion detection sensitivity.
- Configure storage options (microSD card up to 128GB).
- Add family members and set permissions.
Card Management:
- Add or delete cards as needed.
- Assign cards to specific users or apartments (for multi-unit systems).
Risoluzione dei problemi comuni
| Problema | Possibile causa | Soluzione |
|---|---|---|
| Strike does not release | Relay not triggering | Check unlock command; verify relay wiring |
| No power to strike | Check power supply voltage and connections | |
| Wrong relay terminal | Ensure NO/COM used correctly for fail-secure strike | |
| App unlock not working | Wi-Fi disconnected | Check indoor monitor Wi-Fi connection |
| App not paired | Re-pair device in Tuya app | |
| Card not recognized | Card not registered | Add card via indoor monitor menu |
| Card reader faulty | Check wiring and power to outdoor station | |
| Indoor monitor unlock fails | Relay wiring issue | Verify relay connections |
| Firmware glitch | Power cycle the system |
For persistent issues, consult the user manual or contact FARHD technical support.
Best Practices for Reliable Operation
- Use a dedicated power supply for the strike. Do not attempt to power the strike from the intercom system.
- Match the power supply to the strike. Check voltage and current requirements.
- Use quality cable. For 2-wire runs, use ≥0.5mm² copper cable. For strike wiring, use appropriate gauge.
- Seal outdoor connections. Use waterproof connectors to prevent corrosion.
- Test thoroughly before final mounting. Verify all functions before securing devices to walls.
- Label cables. This simplifies future maintenance.
- Keep firmware updated. Check for updates periodically.
Why Choose FARHD for Your 2-Wire Video Intercom?
FARHD has been designing and manufacturing video intercom systems since 1998, with over 28 years of industry experience. Our 2-wire systems are trusted in over 90 countries for their reliability, ease of installation, and deep integration with access control.
Key advantages:
- Source factory – Factory-direct pricing, full quality control.
- 2-wire simplicity – Reuses existing wiring, non-polarity, up to 100m.
- Multiple unlock methods – App, card, indoor monitor, and electric lock.
- Tuya Smart Life integration – Remote access from anywhere.
- Rigorous quality control – Functional, aging, temperature, waterproof tests.
- OEM/ODM ready – Custom branding, packaging, and software.
- No MOQ for trial orders – Start with a sample; scale as you grow.
- Certificazioni globali – CE, FCC, RoHS, IP65, EMC.
Our products are installed in thousands of villas, apartments, and commercial buildings worldwide.
Conclusion: Secure, Convenient, and Simple
Connecting an electric strike to a 2-wire video door phone is a straightforward process when you follow the right steps. With three unlock methods—RFID card, indoor monitor, and mobile app—you gain complete control over your entrance, whether you are at home or on the other side of the world.
The FARHD 2-wire video door phone system makes this easy. Its 2-wire technology simplifies installation, its relay output provides reliable lock control, and its Tuya app integration adds remote convenience. Whether you are upgrading an existing intercom or specifying a new system, this is a solution that delivers security, convenience, and peace of mind.
Ready to upgrade your entrance security?
📩 Contact us for catalog, pricing, or to request a sample.
🌐 Website: www.farhd.com
📧 Email: [email protected]
Potreste anche essere interessati
-
2-Wire Video Door Phone Connection with Electric Rim Lock: Unlock by Card, Indoor Monitor, and App
A complete guide to wiring an electric rim lock to a FARHD 2-wire video door phone system—and configuring three convenient unlock methods: RFID card, indoor monitor, and mobile app. Whether you are upgrading an existing building or specifying a new system, this guide covers the essentials for reliable, secure access control. Electric rim locks are…
-

Video Intercom Manufacturer & Source Factory Since 1998 | OEM ODM SKD Building Intercom
Video Intercom Manufacturer & Vertical Source Factory in China FARHD is a professional video intercom manufacturer with over 28 years of specialized experience in building security intercom systems. Established in 1998, we are a genuine building intercom factory focused on independent R&D, in-house production, and customized manufacturing for global B2B clients, including distributors, importers, engineering contractors, real estate…
-
FARHD Video Intercom System: Versatile Solutions for Apartments and Villas
When it comes to building security and smart access, one size does not fit all. Different buildings have different wiring, different layouts, and different resident expectations. That’s why FARHD offers a comprehensive range of video intercom systems—with various indoor monitors and outdoor stations to match any apartment or villa project. Since 1998, FARHD has been…
-
Low-Temperature Test: FARHD Video Intercom Screens Keep Running Smoothly in Freezing Cold
Inside the freezing chamber, it keeps working — normal display, no black screen, no shutdown. Real quality isn’t just about lab data; it’s about staying reliable in extreme conditions. A video intercom that withstands freezing cold — because your door security can’t take a day off. In many parts of the world, winter is not…