4-Wire AHD Villa Kit – Connection and Basic Functions Instructions
juli 14, 2026
Deel dit artikel
A stable, reliable, and interference‑free video intercom solution designed for villas, townhouses, and residential projects.
For homeowners and installers who prioritise stability and simplicity, the 4‑wire AHD (Analog High Definition) video intercom kit remains a time‑tested choice. Unlike IP‑based systems that depend on your home network, this system uses dedicated cabling to deliver high‑definition video and crystal‑clear two‑way audio – without the complexity of network configuration or the risk of Wi‑Fi interference.
This guide provides a comprehensive overview of the connection process and core functions, helping you set up your 4‑wire AHD villa kit with confidence.
What Is a 4‑Wire AHD Villa Kit?
The “4‑wire” designation refers to the four‑core cable that connects the indoor monitor to the outdoor call panel. This system architecture offers several distinct advantages:
- Stable and reliable – Dedicated point‑to‑point cabling ensures consistent signal transmission, unaffected by network congestion or wireless interference.
- Plug‑and‑play simplicity – No complex IP configuration, no router setup. Any electrician can install it.
- High‑definition video – AHD technology delivers 720P or 1080P HD video over standard cable.
- Long transmission distance – Supports cable runs up to 100 metres, ideal for villa driveways and garden gates.
A typical kit includes one or more indoor monitors and a weatherproof outdoor call panel – a complete solution for villas, townhouses, or small office buildings.
What’s Inside the Kit?
A standard 4‑wire AHD villa kit typically includes:
| Component | Beschrijving |
|---|---|
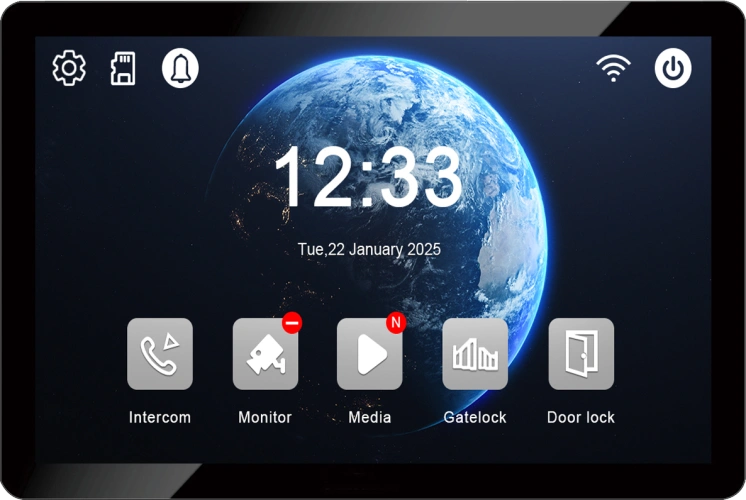
| Binnenmonitor | 7‑inch or 10‑inch TFT/IPS display with touch or button control – the system’s central hub |
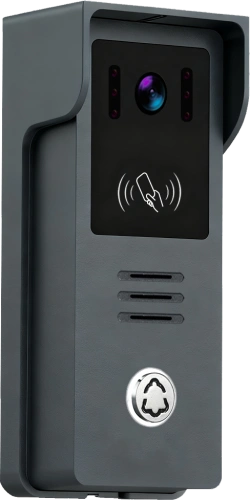
| Outdoor Call Panel | HD camera, microphone, speaker, call button – for visitor communication |
| 4‑Core Connection Cable | Transmits power, video, audio, and control signals between indoor and outdoor units |
| Power Adapter | Supplies power to the indoor monitor (which then powers the outdoor panel) |
| Mounting Accessories | Brackets, screws, and user manual |
Some advanced models also include inputs for additional security sensors (e.g., door contacts, motion detectors) or support for connecting analog CCTV cameras.
Basic Connection Guide
Before starting any wiring, ensure the power is disconnected and refer to the specific manual included with your kit. The following is a general connection procedure.
1. Plan Installation Locations
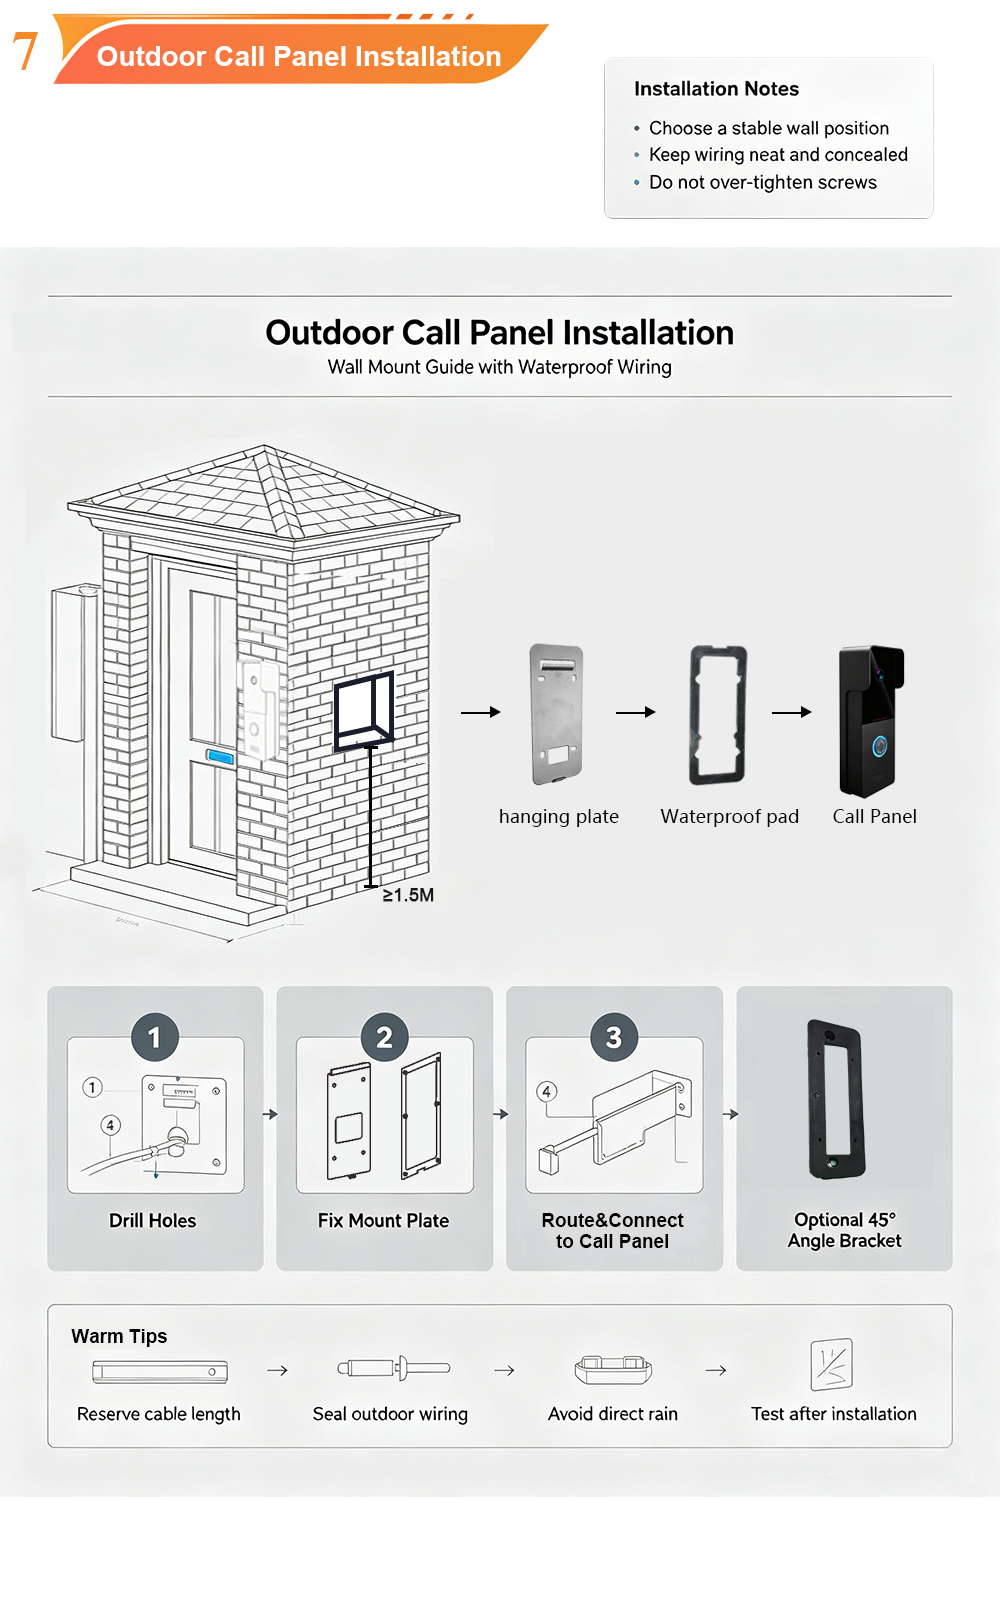
- Buiten Paneel – Mount near the entrance at approximately 1.5 metres (eye level). Avoid direct sunlight and excessive rain exposure.
- Binnenmonitor – Place in a convenient location such as the living room, hallway, or kitchen – somewhere you can easily hear the ringtone and answer calls.
2. Run the Cable
Use the provided 4‑core cable (or a suitable equivalent such as Cat5e/6 solid copper cable – individual solid core wires cannot be used). Run the cable from the outdoor panel location to the indoor monitor location.
3. Connect the Outdoor Panel
Connect the 4‑core cable to the terminals on the outdoor panel. While terminal labelling may vary by model, they typically include:
- VCC / POWER – Power positive
- GND – Power negative / ground
- VIDEO – Video signal
- AUDIO – Audio signal
4. Connect the Indoor Monitor
Connect the other end of the cable to the corresponding 4‑wire terminals on the indoor monitor. These are usually labelled clearly as Video, Audio, GND, DATA/Power.
5. Connect the Electric Lock (Optional)
To enable remote door unlocking, connect the electric lock’s control wires to the indoor monitor’s “Unlock Relay” terminals. The wiring configuration will depend on your lock type (magnetic lock, electric strike, etc.) – refer to your kit’s manual for the specific wiring diagram.
6. Power On and Test
After completing all connections, plug in the power adapter to the indoor monitor. Once the system boots up, you can perform a functional test.
Pro Tip: Before permanently mounting the units, it is advisable to complete all wiring connections and conduct a functional test on a workbench or the floor. This makes troubleshooting easier and ensures everything works before final installation.
Core Functions – What This System Can Do
Once connected and powered on, you can begin using the system’s key features:
Visitor Call & Video Intercom
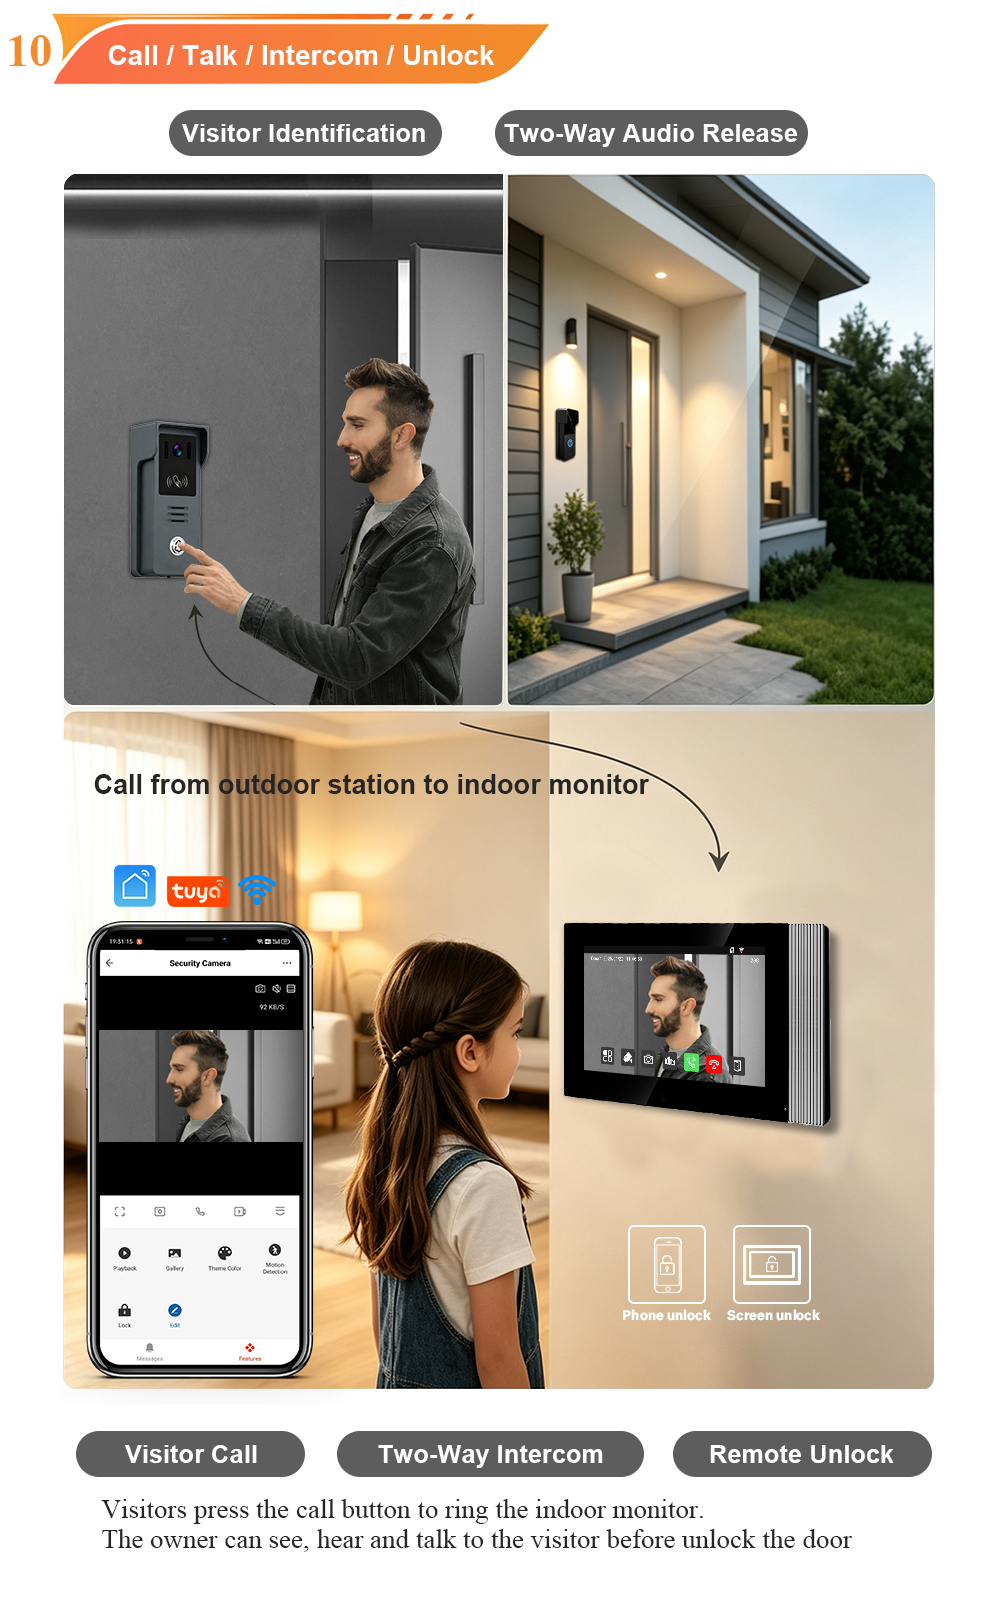
This is the system’s primary function. When a visitor presses the call button on the outdoor panel, the indoor monitor rings and automatically displays the live video feed. You can then communicate with the visitor using the built‑in two‑way audio.
Remote Door Unlock
After confirming the visitor’s identity, simply press the “Unlock” button on the indoor monitor screen to release the door lock. Some models also support additional access methods, such as RFID card readers or keypads connected to the system.
Live toezicht
You can manually activate the camera feed on the indoor monitor at any time to check the outdoor view – no visitor call required. This functions as an always‑available “digital peephole,” letting you see what is happening outside your door.
Multi‑Monitor Expansion (Room‑to‑Room)
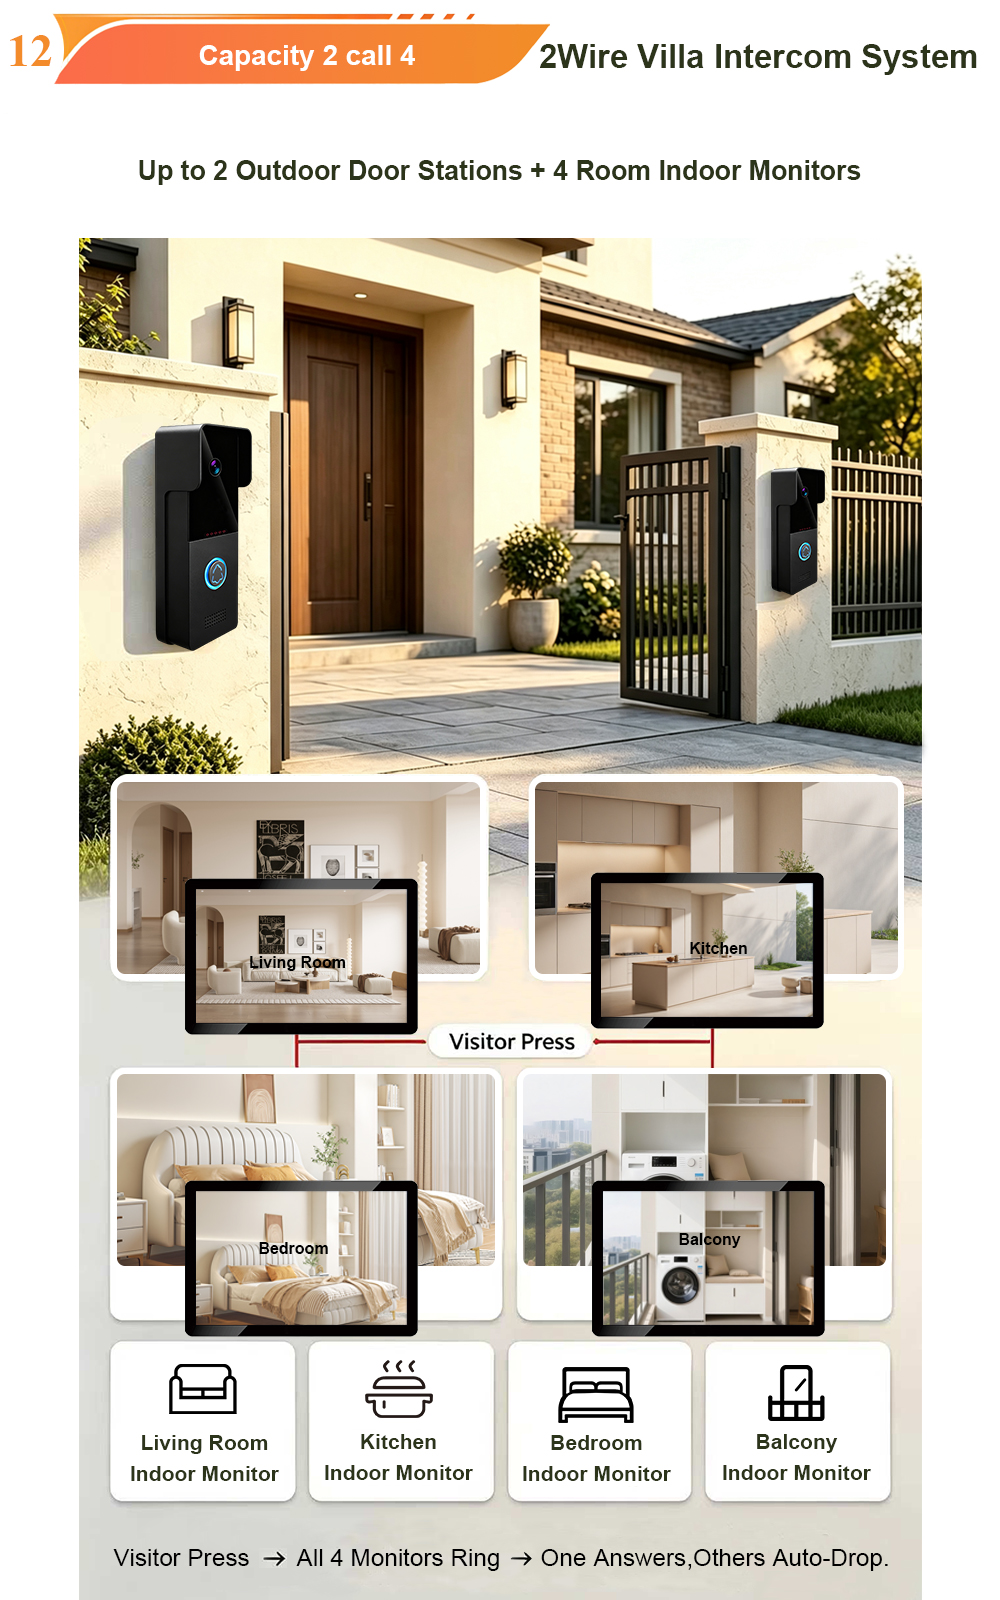
For larger villas with multiple rooms, the system supports connecting several indoor monitors. You can place one in the living room, another in the master bedroom, and even a third in the kitchen – allowing you to answer calls from anywhere and communicate between rooms.
Customisation
You can adjust ringtone volume, screen brightnessen contrast to suit your preferences. Many models also offer multiple ringtone options, so you can choose a sound that fits your style.
Problemen oplossen
| Uitgave | Possible Solution |
|---|---|
| Indoor monitor has no power | Check the power adapter connection. Ensure the indoor monitor is receiving power. |
| No call or no audio | Verify that all 4‑wire connections are secure – especially the audio and signal lines. Ensure the cable is not damaged. |
| Blurry or distorted video | Check the video connection for loose contacts. Confirm that the cable length does not exceed the recommended maximum (typically 100 metres). Avoid sharp bends in the cable or routing it near strong interference sources. |
Why Choose FARHD’s 4‑Wire AHD Villa Kit?
- Proven analog stability – No network dependency, no Wi‑Fi dropouts, no “device offline” errors.
- High‑definition video – AHD technology delivers clear, detailed images day and night.
- Eenvoudige installatie – Any electrician can install it – no IP configuration required.
- Durable outdoor panel – IP65 weatherproof, -40°C to +70°C operating range.
- Expandable – Supports multiple indoor monitors and optional sensor integration.
- Cost‑effective – Lower hardware and installation costs compared to IP systems.
Ready to Secure Your Villa?
✅ Laatste gedachten 4‑wire AHD villa kit offers the perfect balance of modern features, rock‑solid reliability, and cost‑effective installation. With a clear HD display, two‑way audio, remote unlock, and expandable system design, this kit delivers the security and convenience your family deserves.
📩 Contact us for catalog, pricing, or to request a sample.
🌐 Website: www.farhd.com
📧 Email: [email protected]
Mogelijk bent u ook geïnteresseerd in
-
2-Wire Video Door Phone Connection with Electric Rim Lock: Unlock by Card, Indoor Monitor, and App
A complete guide to wiring an electric rim lock to a FARHD 2-wire video door phone system—and configuring three convenient unlock methods: RFID card, indoor monitor, and mobile app. Whether you are upgrading an existing building or specifying a new system, this guide covers the essentials for reliable, secure access control. Electric rim locks are…
-

Video Intercom Manufacturer & Source Factory Since 1998 | OEM ODM SKD Building Intercom
Video Intercom Manufacturer & Vertical Source Factory in China FARHD is a professional video intercom manufacturer with over 28 years of specialized experience in building security intercom systems. Established in 1998, we are a genuine building intercom factory focused on independent R&D, in-house production, and customized manufacturing for global B2B clients, including distributors, importers, engineering contractors, real estate…
-
FARHD Video Intercom System: Versatile Solutions for Apartments and Villas
When it comes to building security and smart access, one size does not fit all. Different buildings have different wiring, different layouts, and different resident expectations. That’s why FARHD offers a comprehensive range of video intercom systems—with various indoor monitors and outdoor stations to match any apartment or villa project. Since 1998, FARHD has been…
-
Low-Temperature Test: FARHD Video Intercom Screens Keep Running Smoothly in Freezing Cold
Inside the freezing chamber, it keeps working — normal display, no black screen, no shutdown. Real quality isn’t just about lab data; it’s about staying reliable in extreme conditions. A video intercom that withstands freezing cold — because your door security can’t take a day off. In many parts of the world, winter is not…