IP Apartment Intercom System Setup Guide: Guard Station Binding with 8″ Outdoor Station & 7″ Indoor Monitor
lipiec 9, 2026
Udostępnij ten artykuł
In modern community management, a smart intercom system serves as the vital link between property management and residents, safeguarding the security of the entire community. As a professional manufacturer with 28 years of industry experience, FARHD is committed to providing stable, reliable solutions that help you build an efficient and convenient community intercom network.
This guide provides a step‑by‑step walkthrough for configuring and binding the Stacja ochrony, 8‑inch Outdoor Stationoraz 7‑inch Indoor Monitor within FARHD’s IP Apartment Intercom System.
💡 Core Concept – Centralised Management
The system operates on a centralised management model. Think of it this way:
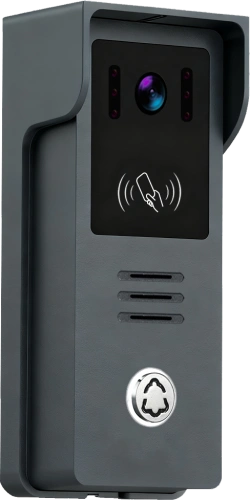
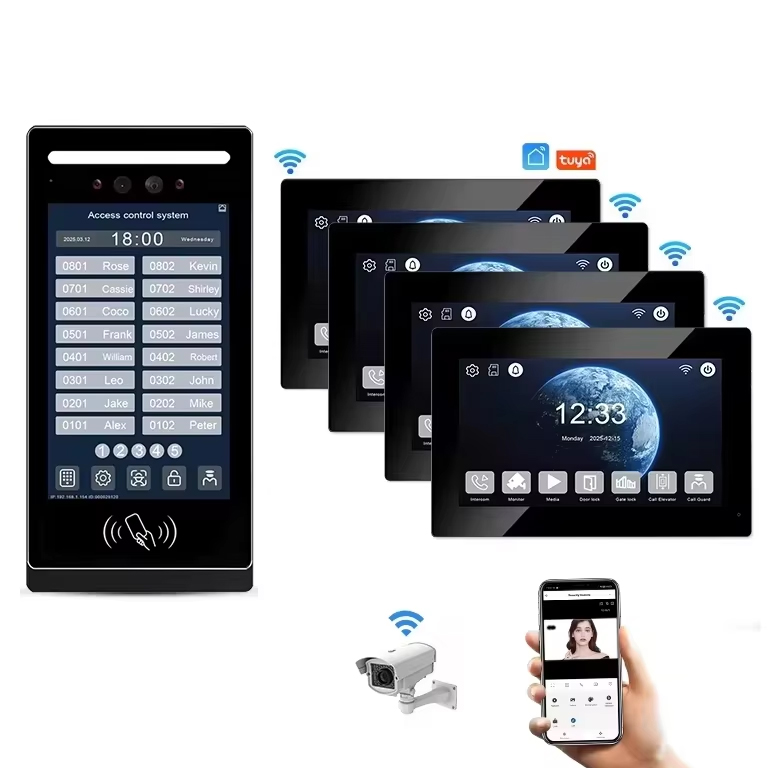
- Stacja zewnętrzna – The “access terminal” installed at the building entrance. Visitors use it to call residents.
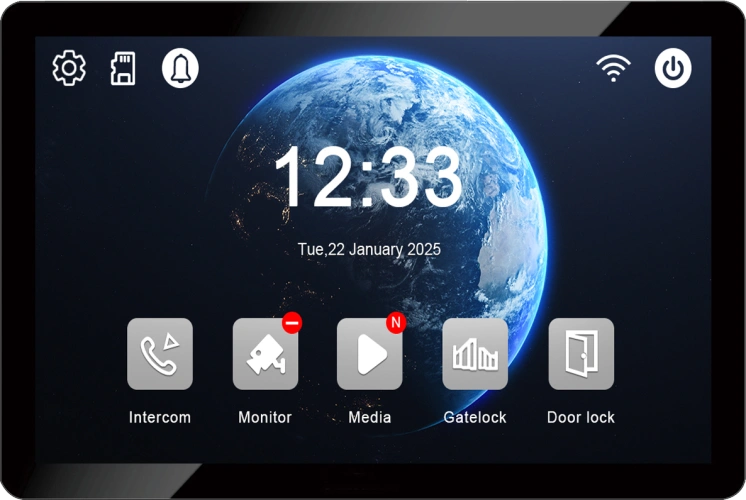
- Monitor wewnętrzny – The “answering terminal” installed inside each apartment. Residents use it to answer calls and unlock the door.
- Stacja ochrony – The “brain” of the entire system. All outdoor stations and indoor monitors must “report” to the Guard Station, identifying themselves and their locations, thereby building a complete internal directory of the entire system.
📝 Preparation: A Unified Network Is Essential
Before beginning configuration, please ensure that:
- The Guard Station, Outdoor Station, and Indoor Monitor are all powered on.
- All devices are connected to the same Local Area Network (LAN).
This is the prerequisite for all devices to “see” each other and establish communication.
🔧 Configuration Workflow
We recommend following the Guard Station → Outdoor Station → Indoor Monitor sequence for configuration.
1. 🖥️ Configure the Guard Station
As the “brain” of the system, the Guard Station must be configured first.
- Set a Fixed IP Address: In the Guard Station’s settings menu, navigate to “Network Parameters” or “Device Settings” and assign a fixed IP address. A fixed IP prevents the device from changing its address after a restart, which would cause other devices to lose connection.
- Enable SIP Service: In an intercom system, the SIP server coordinates all calls between devices. In most cases, you can set the Guard Station itself as the SIP server. In the Guard Station’s “Engineering Settings” or “Associated Network Configuration” menu, locate the “SIP Server IP” option and enter the Guard Station’s own IP address.
2. 🏠 Configure the Outdoor Station & Indoor Monitor
The goal of this step is to tell the Outdoor Station and Indoor Monitor who their “manager” is.
- Set Fixed IP Addresses: Similar to the Guard Station, assign fixed IP addresses to the Outdoor Station and Indoor Monitor. Ensure that their IP addresses are on the same subnet as the Guard Station.
- Point to the Guard Station (Critical Step): This is the key to binding. In the network settings of the Outdoor Station and Indoor Monitor, look for options such as “Associated Network Configuration”, “SIP Server Settings”, lub “Management Station IP”.
- Enter the Guard Station’s IP address as the SIP Server IP lub Management Station IP.
- For the Outdoor Station, you may also need to set its device number to 0 (in its numbering configuration), which designates it as the main door station for that building entrance.
3. 🌐 Register Devices with the Guard Station
After completing the above steps, all devices are now pointing to the same “manager.” The final step is to complete the registration process on the Guard Station.
- Log in to the Guard Station’s configuration interface, typically accessible via its built‑in web page or management software.
- Under “Device Management” lub “Resident List”, add the configured Outdoor Station(s) and Indoor Monitor(s).
- Associate Room Numbers: This is the key to accurate calling. In the system, bind each Indoor Monitor to a specific room number. This ensures that when a visitor enters a room number on the Outdoor Station, the call is routed to the correct apartment.
✅ Verification & Testing
After completing the configuration, perform the following tests to verify successful binding:
- Call Test – Enter a bound room number on the Outdoor Station. The corresponding Indoor Monitor should ring and connect.
- Guard Station Call Test – From the Guard Station, call an Indoor Monitor or the Outdoor Station. Check that communication is normal.
- Unlock Test – During a call, test the remote unlock function from both the Indoor Monitor and the Guard Station.
💡 Important Tips
- IP Address is Critical – Carefully record the Guard Station’s IP address, as all Outdoor Stations and Indoor Monitors must point to it.
- Maintain Consistency – All device location information—such as building number, unit number, and floor—must be consistent across the system to enable correct call routing.
- Consult Official Documentation – Specific interfaces and terminology may vary slightly between different projects or models. If you encounter any issues during configuration, the most reliable resource is the product manual or technical documentation provided by FARHD for your specific project.
By following these steps, you can integrate FARHD’s Guard Station, Outdoor Station, and Indoor Monitor into a fully functional IP intercom system, establishing an efficient, reliable, and easy‑to‑manage community security network.
If you encounter any issues during configuration or wish to learn more about FARHD products, please feel free to contact us.
📧 E-mail: [email protected]
🌐 Website: www.farhd.com
Możesz być również zainteresowany
-
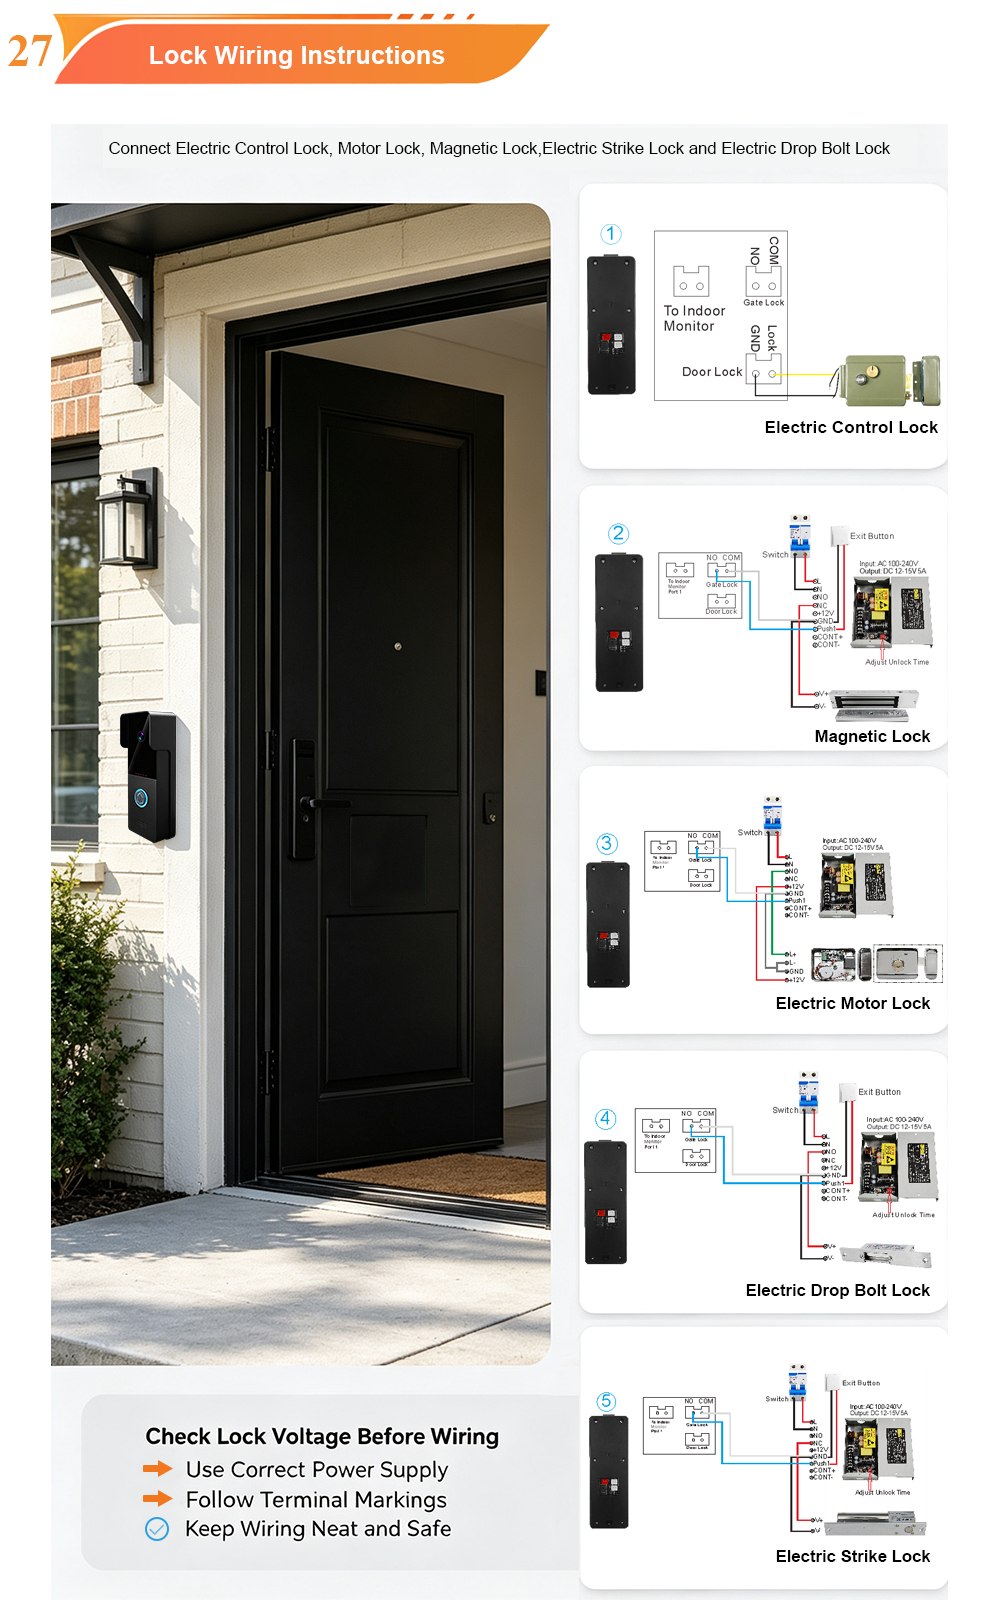
2-Wire Video Door Phone Connection with Electric Rim Lock: Unlock by Card, Indoor Monitor, and App
A complete guide to wiring an electric rim lock to a FARHD 2-wire video door phone system—and configuring three convenient unlock methods: RFID card, indoor monitor, and mobile app. Whether you are upgrading an existing building or specifying a new system, this guide covers the essentials for reliable, secure access control. Electric rim locks are…
-

Video Intercom Manufacturer & Source Factory Since 1998 | OEM ODM SKD Building Intercom
Video Intercom Manufacturer & Vertical Source Factory in China FARHD is a professional video intercom manufacturer with over 28 years of specialized experience in building security intercom systems. Established in 1998, we are a genuine building intercom factory focused on independent R&D, in-house production, and customized manufacturing for global B2B clients, including distributors, importers, engineering contractors, real estate…
-
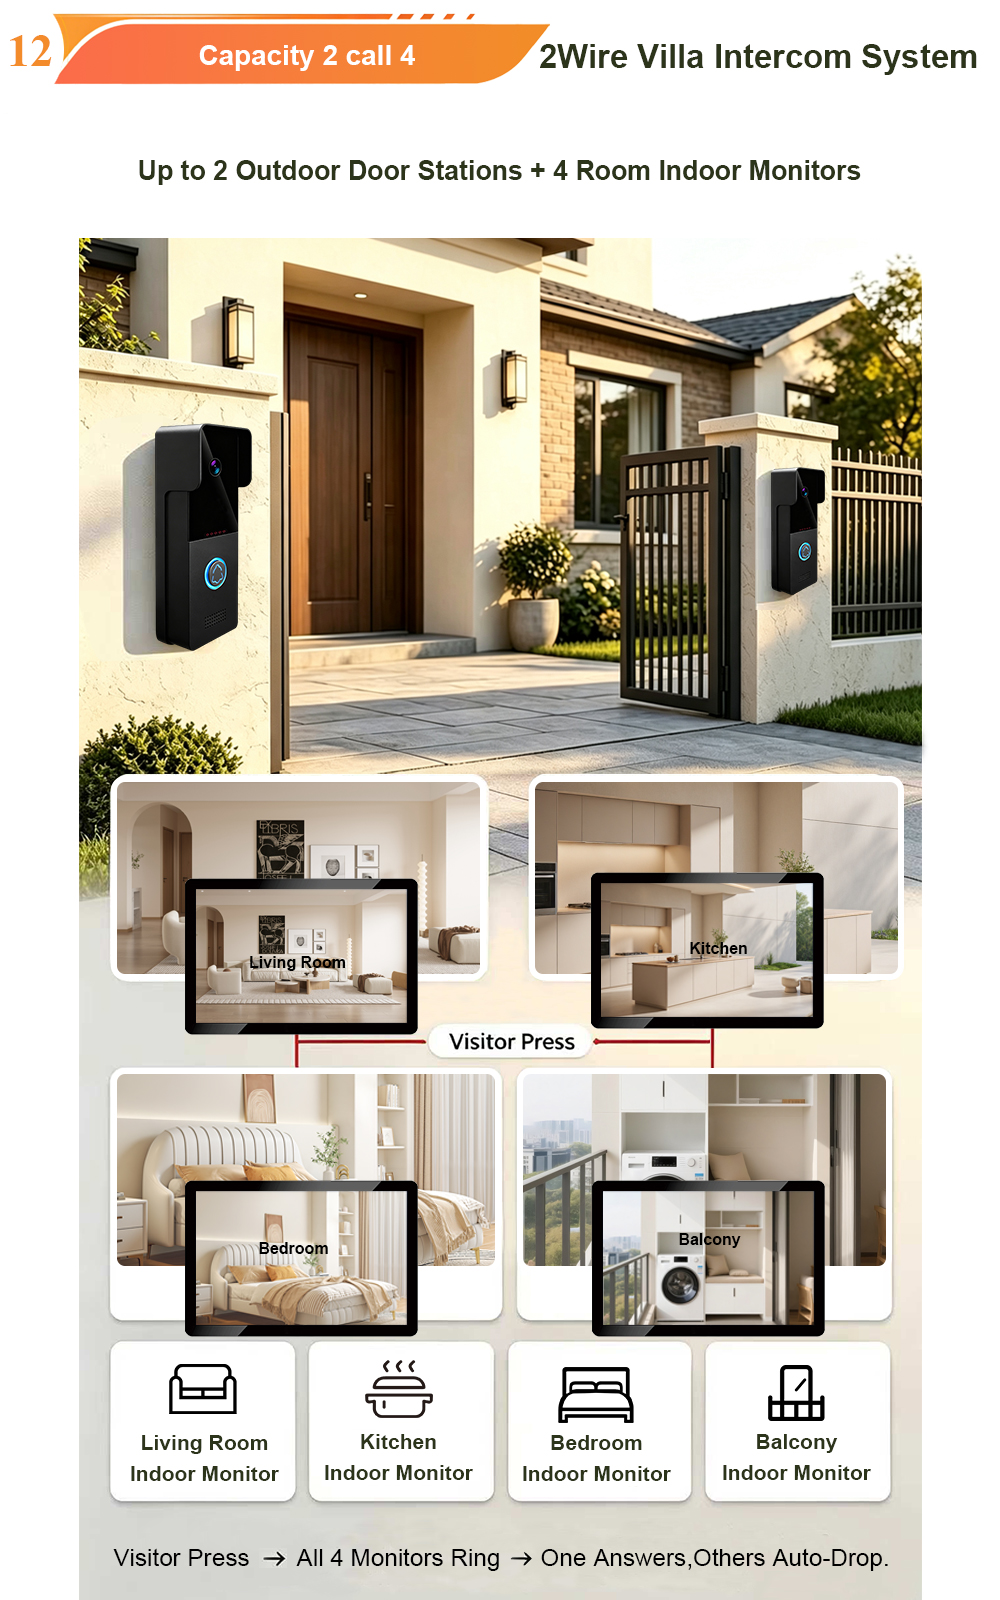
FARHD Video Intercom System: Versatile Solutions for Apartments and Villas
When it comes to building security and smart access, one size does not fit all. Different buildings have different wiring, different layouts, and different resident expectations. That’s why FARHD offers a comprehensive range of video intercom systems—with various indoor monitors and outdoor stations to match any apartment or villa project. Since 1998, FARHD has been…
-
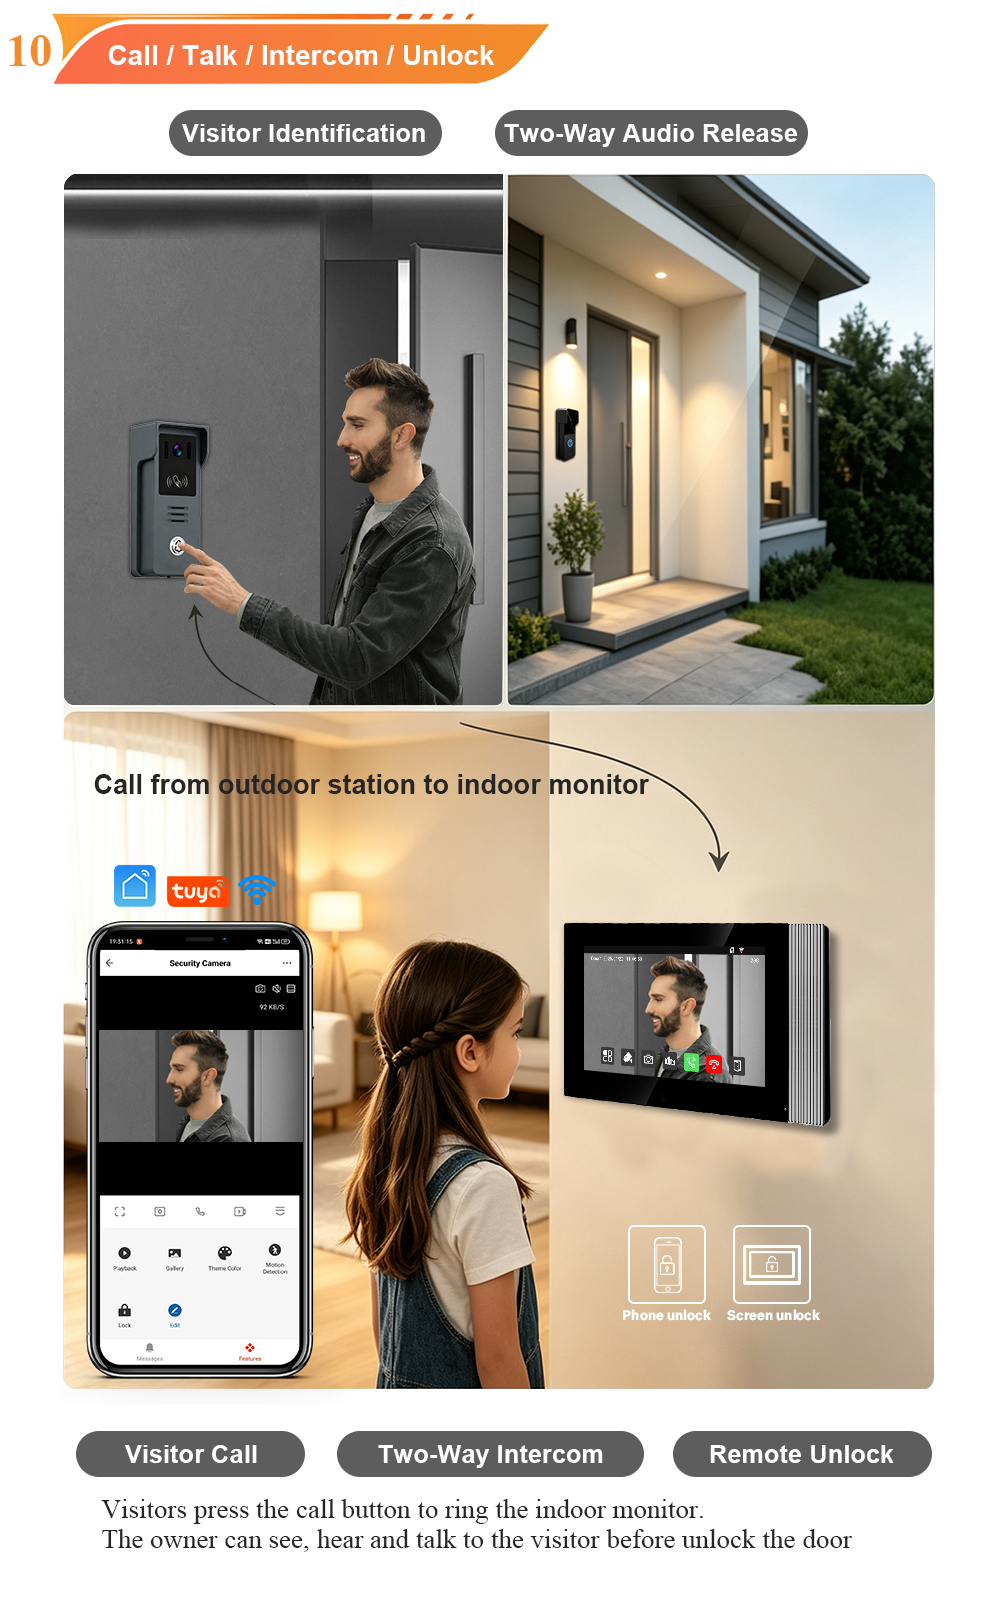
Low-Temperature Test: FARHD Video Intercom Screens Keep Running Smoothly in Freezing Cold
Inside the freezing chamber, it keeps working — normal display, no black screen, no shutdown. Real quality isn’t just about lab data; it’s about staying reliable in extreme conditions. A video intercom that withstands freezing cold — because your door security can’t take a day off. In many parts of the world, winter is not…