IP Villa Kit Wire Connection Method – A Step‑by‑Step Guide
7 August, 2026
Share This Article
An IP (Internet Protocol) video intercom system is the modern standard for villa security, offering high‑definition video, remote access via smartphone, and seamless integration with your home network. While the benefits are clear, the wiring might seem daunting at first. This guide will walk you through the entire process, from planning your layout to the final configuration, ensuring a stable and reliable setup.
🏗️ What Makes IP Wiring Different?
Unlike traditional analog systems (2‑wire or 4‑wire) that use dedicated cables for power and signal, an IP intercom leverages your home’s network infrastructure. This brings several key advantages:
- Simplified Cabling: A single standard network cable (Cat5e or Cat6) carries both power and data.
- Power over Ethernet (PoE): This technology allows the devices to draw power directly from the network cable, eliminating the need for a separate power adapter at the door station.
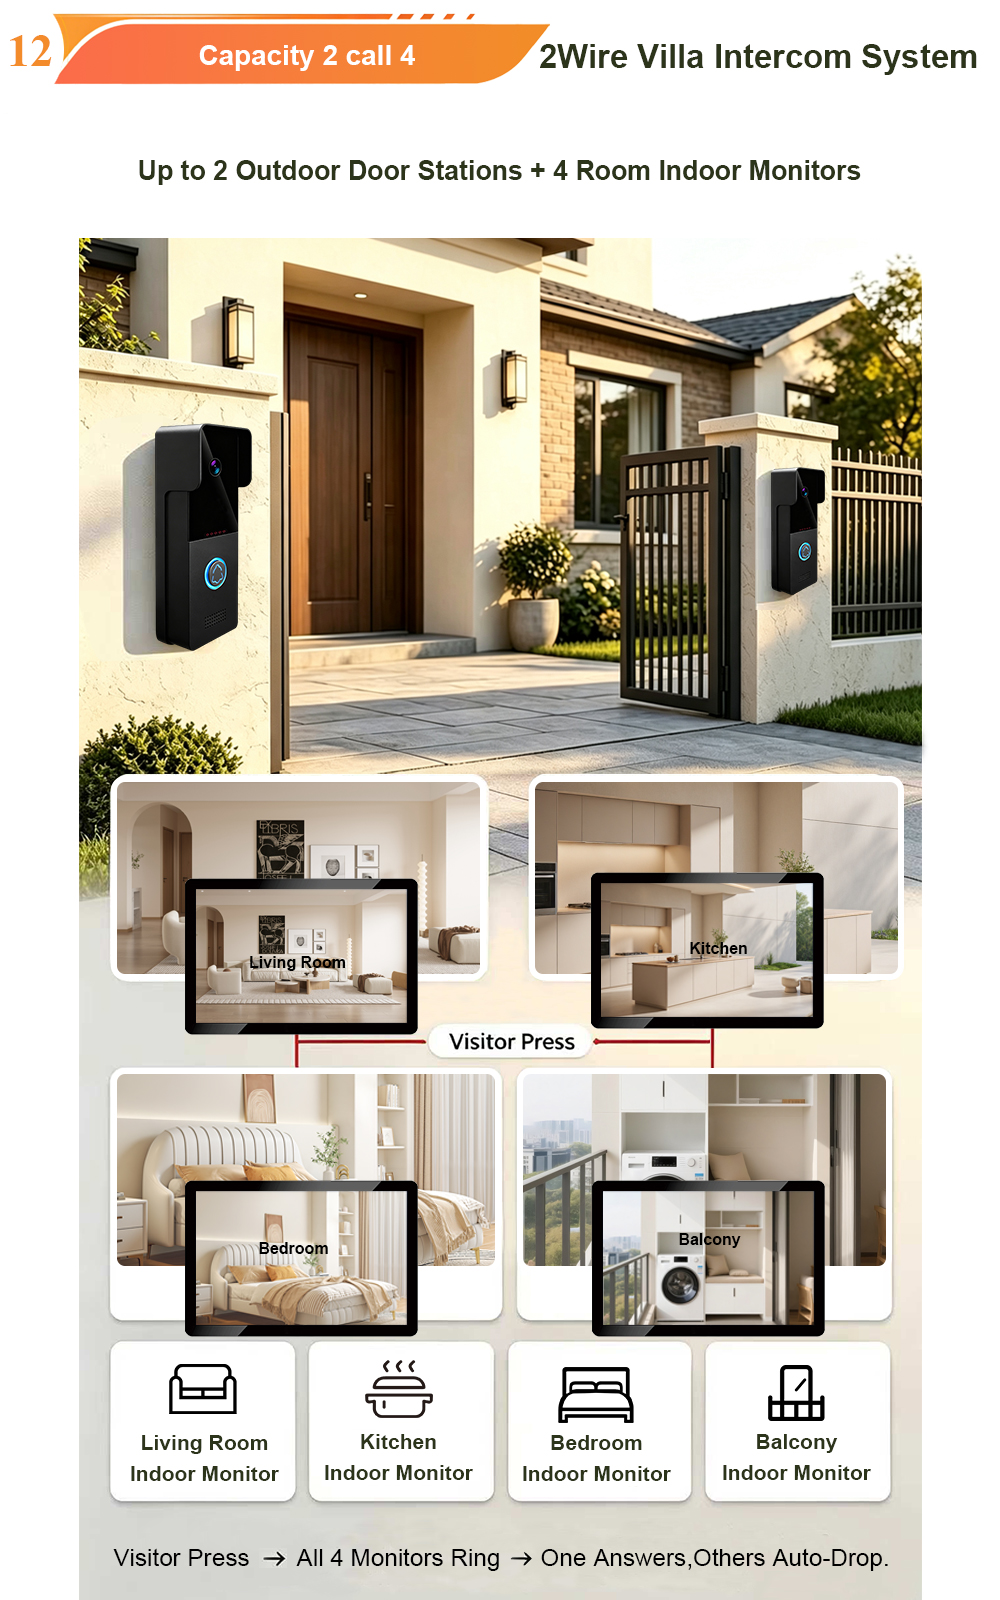
- Scalability: IP systems are designed to be expanded. A typical villa kit can support up to 2 outdoor calling stations and 4 indoor monitors.
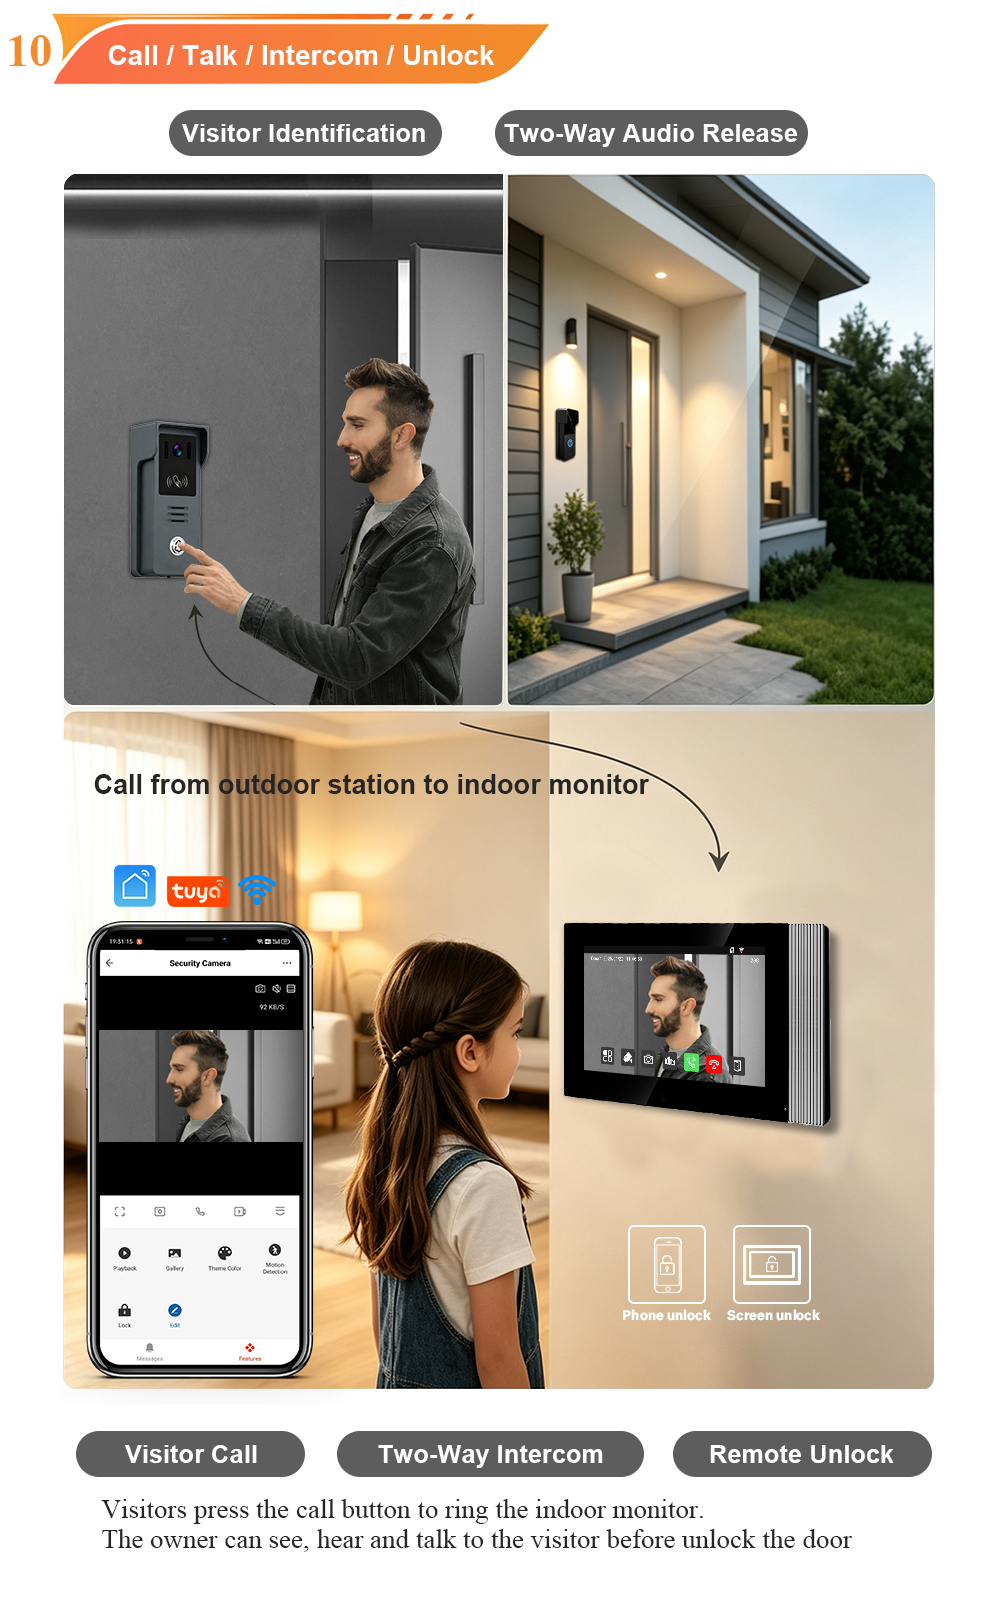
- Remote Access: An IP network connection enables features like remote video answering and door unlocking via a smartphone app.
🛠️ Preparation: What You’ll Need
Before you start, ensure you have the following:
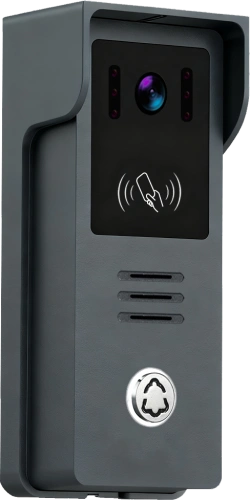
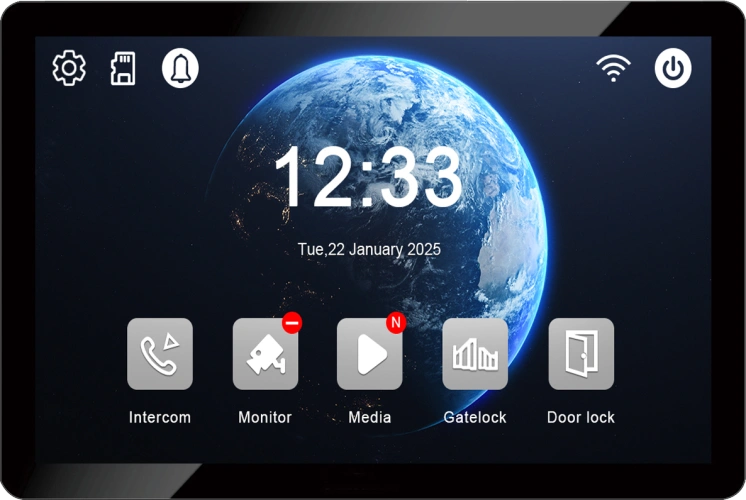
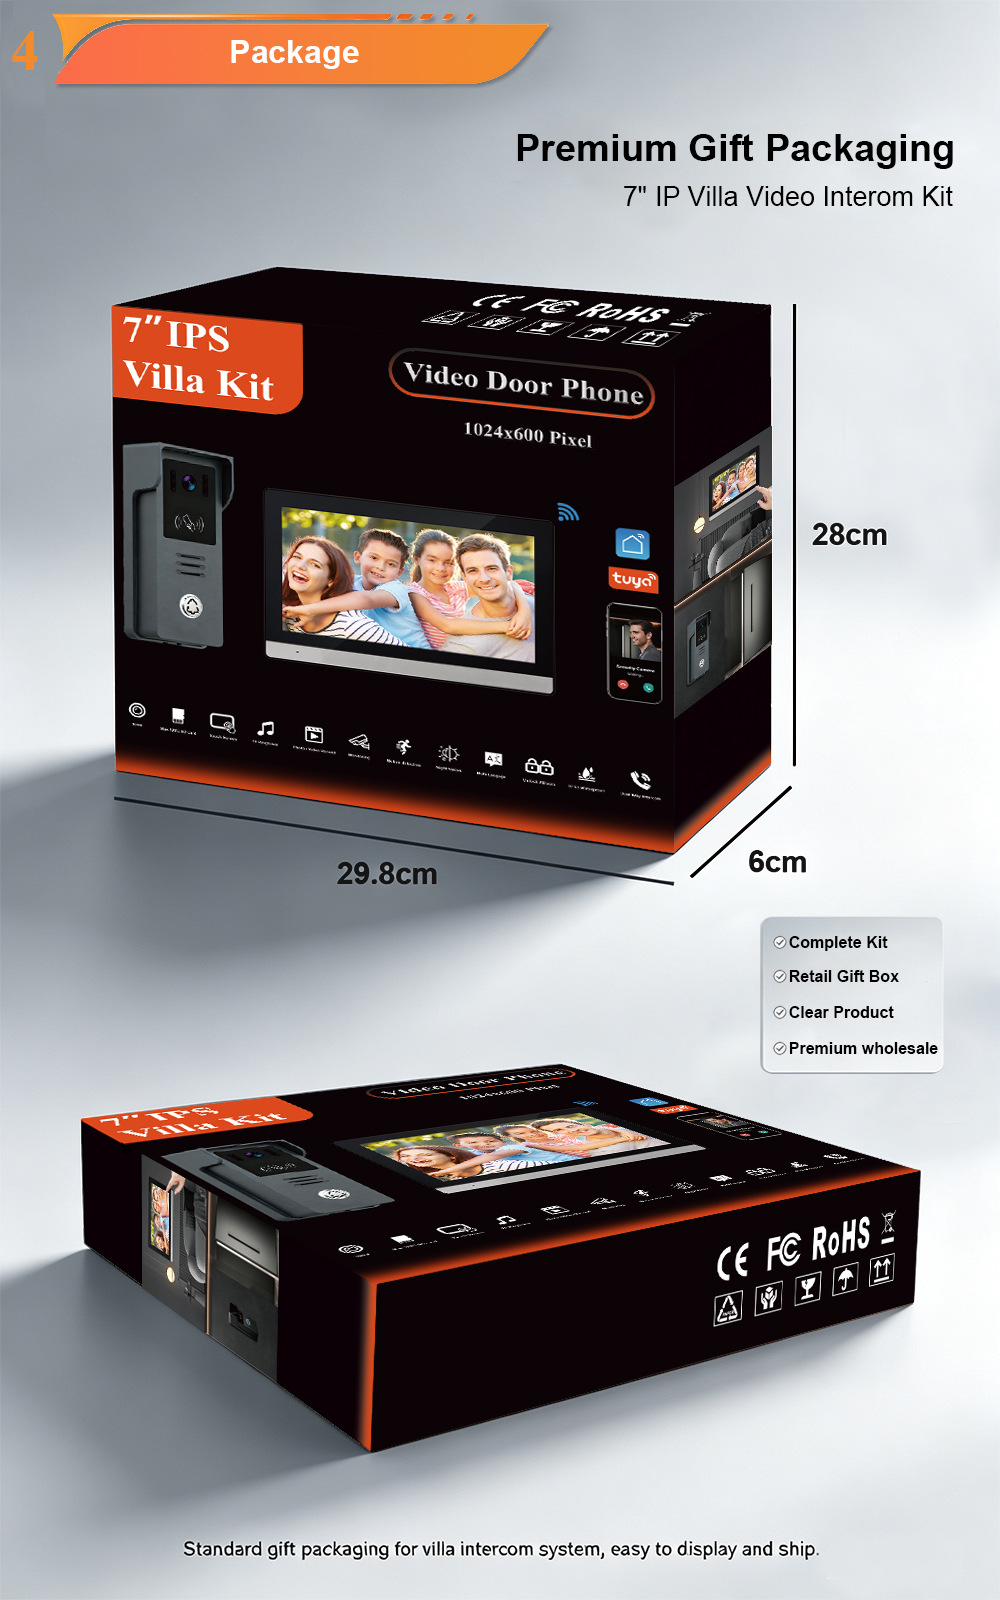
- Your FARHD IP Villa Kit: The core components: an indoor monitor and an outdoor door station.
- Network Cables (Cat5e or Cat6): Ensure you have enough cable length to run from each device to your network switch, typically a PoE switch.
- A PoE Switch or Injector: This device supplies power to your intercom units through the network cable. Make sure your switch provides enough power (PoE budget) for all connected devices.
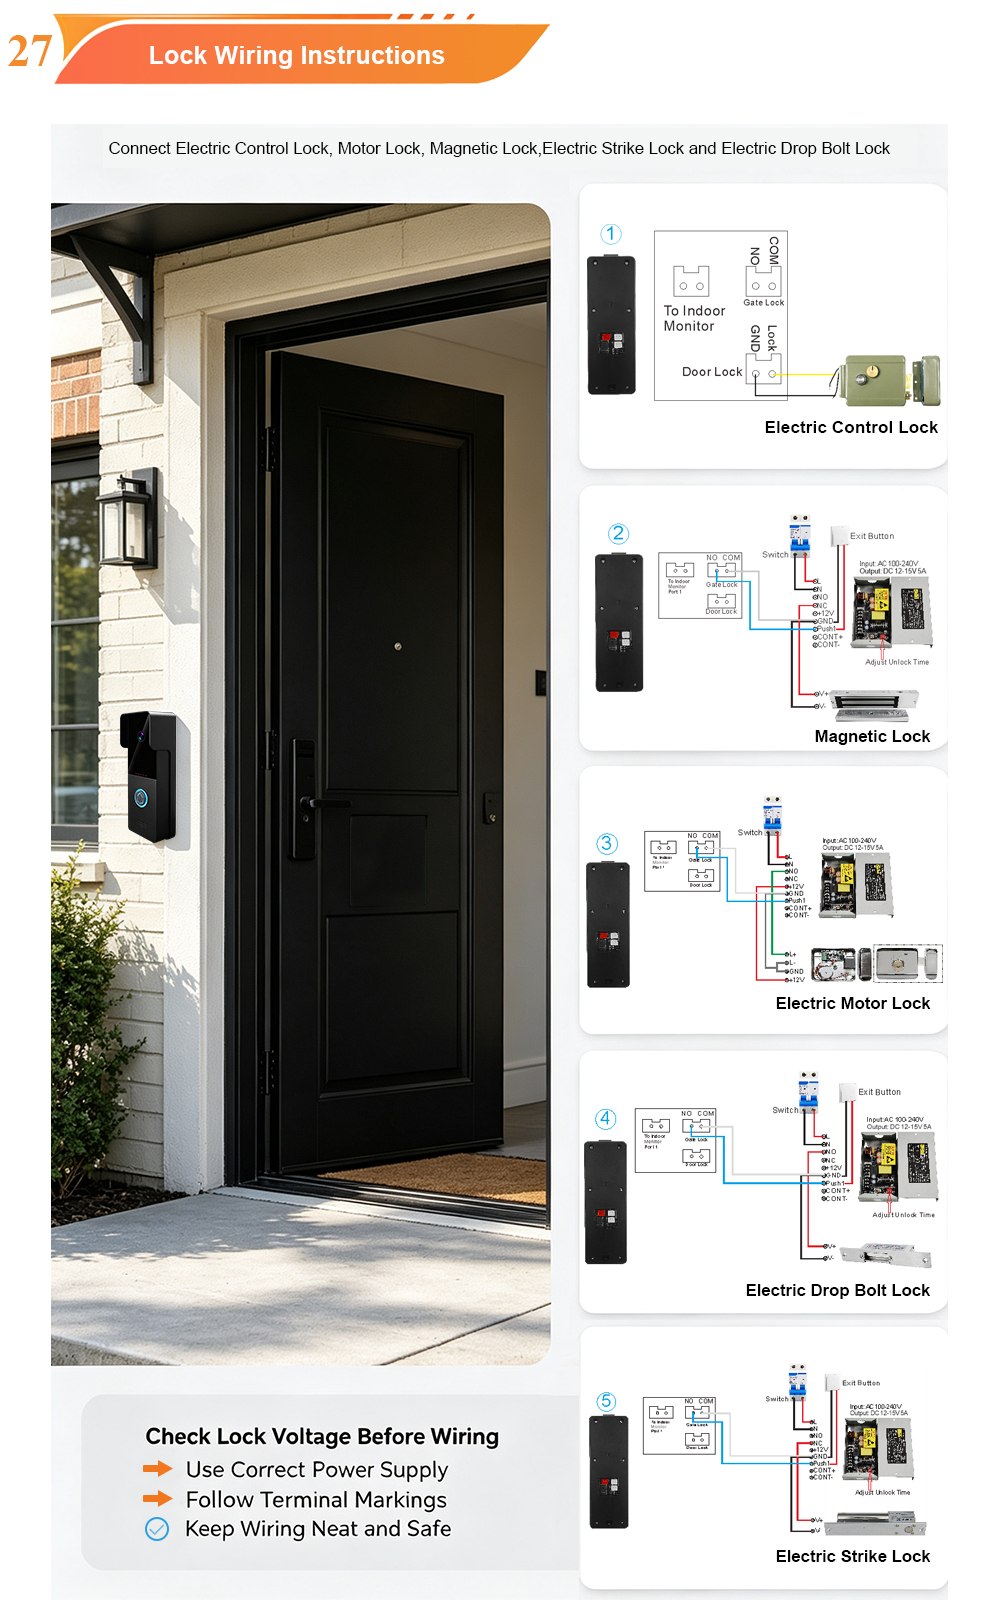
- Lock Control Cables: A separate, standard two‑core cable is usually required to connect the door station’s relay to your electric lock (magnetic lock, electric strike, etc.).
- Basic Tools: A drill, screwdrivers, a wire stripper, and cable ties for neat installation.
📝 Step-by-Step Wiring Guide
Follow these steps to get your FARHD IP Villa Kit wired correctly.
Step 1: Plan Your Installation & Mounting
- Outdoor Station: Choose a location on your gate or front door frame, ideally at a height of 1.4 to 1.7 meters for the best camera angle. Ensure it is sheltered from direct rain and sun where possible.
- Indoor Monitor: Select a convenient spot inside, such as your living room or hallway. The primary wiring connection is the same for all indoor monitors.
Step 2: Wire the Outdoor Station
The outdoor station is the central connection point for both the network and the door lock.
- Connect the Network Cable: Run your Cat5e/Cat6 cable from the outdoor station’s location to your PoE switch. Connect the cable to the RJ45 port on the back of the unit.
- Connect the Electric Lock (if applicable): Run a separate two‑core cable from the electric lock to the outdoor station. Connect the lock’s wires to the appropriate terminals on the station. This is typically the NO (Normally Open) and COM (Common) terminals of the relay. When you remotely unlock the door, the relay will close this circuit, providing power to the lock.
Step 3: Wire the Indoor Monitor
The indoor monitor is typically powered via PoE from the same network switch.
- Connect the Network Cable: Run another Cat5e/Cat6 cable from your indoor monitor’s location to the same PoE switch.
- Connect the Cable: Plug the cable into the RJ45 port on the back of the indoor monitor.
Note: For IP systems, the indoor monitor and door station communicate with each other through the network switch. They do not connect directly to each other via a single cable.
Step 4: Complete the System Wiring
This is where everything comes together.
- Connect to the Network Switch: Take the network cables from your outdoor station and indoor monitor and plug them into the PoE ports on your network switch.
- Connect the Switch to Your Router: If you want remote access via a smartphone app, connect your PoE switch to your home modem or router. This connects the intercom system to the internet.
⚙️ Initial Software Configuration
Once the physical wiring is complete and the devices are powered up, you’ll need to do some basic software configuration.
- Power On: Connect your PoE switch to power. Both the indoor monitor and outdoor station should power up.
- First Boot: On the indoor monitor’s first boot, you’ll see a setup wizard. This is where you will:
- Network Configuration: The devices typically use DHCP by default. You may need to assign static IP addresses to the indoor monitor and outdoor station to ensure stable communication. This is done through the system’s configuration menu, which may be accessible via the screen or the device’s web interface.
🔧 Troubleshooting & Tips
- No Power: Ensure your switch is actually a PoE switch and is providing power. Some switches have PoE ports and non‑PoE ports, so check the labelling.
- Lock Not Working: The relay output of the outdoor station typically provides a dry contact (a switch) and does not supply power to the lock itself. You will likely need a separate power supply for your electric lock.
- Video/Audio Issues: Check the quality and length of your network cables. For distances under 100 meters, Cat5e or Cat6 is generally sufficient. Poor quality or very long cables can cause signal degradation.
- RF Interference: For 2‑wire IP systems, ensure the two‑wire cable is not run in close parallel with high‑voltage power cables, as this can cause interference.
💎 The FARHD Advantage
FARHD has been a professional OEM/ODM manufacturer of video intercom systems since 1998. We provide not only high‑quality kits but also comprehensive support, from detailed wiring diagrams to dedicated technical assistance. By choosing FARHD, you’re choosing a partner dedicated to making your villa’s security simple, smart, and reliable.
Ready to experience the clarity and convenience of an IP system?
📩 Contact us for a catalog, pricing, or to request a sample.
🌐 Website: www.farhd.com
📧 Email: [email protected]
FARHD – Video Intercom Manufacturer Since 1998.
You may also Interest
-
2-Wire Video Door Phone Connection with Electric Rim Lock: Unlock by Card, Indoor Monitor, and App
A complete guide to wiring an electric rim lock to a FARHD 2-wire video door phone system—and configuring three convenient unlock methods: RFID card, indoor monitor, and mobile app. Whether you are upgrading an existing building or specifying a new system, this guide covers the essentials for reliable, secure access control. Electric rim locks are…
-

Video Intercom Manufacturer & Source Factory Since 1998 | OEM ODM SKD Building Intercom
Video Intercom Manufacturer & Vertical Source Factory in China FARHD is a professional video intercom manufacturer with over 28 years of specialized experience in building security intercom systems. Established in 1998, we are a genuine building intercom factory focused on independent R&D, in-house production, and customized manufacturing for global B2B clients, including distributors, importers, engineering contractors, real estate…
-
FARHD Video Intercom System: Versatile Solutions for Apartments and Villas
When it comes to building security and smart access, one size does not fit all. Different buildings have different wiring, different layouts, and different resident expectations. That’s why FARHD offers a comprehensive range of video intercom systems—with various indoor monitors and outdoor stations to match any apartment or villa project. Since 1998, FARHD has been…
-
Low-Temperature Test: FARHD Video Intercom Screens Keep Running Smoothly in Freezing Cold
Inside the freezing chamber, it keeps working — normal display, no black screen, no shutdown. Real quality isn’t just about lab data; it’s about staying reliable in extreme conditions. A video intercom that withstands freezing cold — because your door security can’t take a day off. In many parts of the world, winter is not…