Audio Intercom 3‑Button Outdoor Station – Connection with Indoor Handsets
أغسطس 22, 2026
شارك هذه المقالة
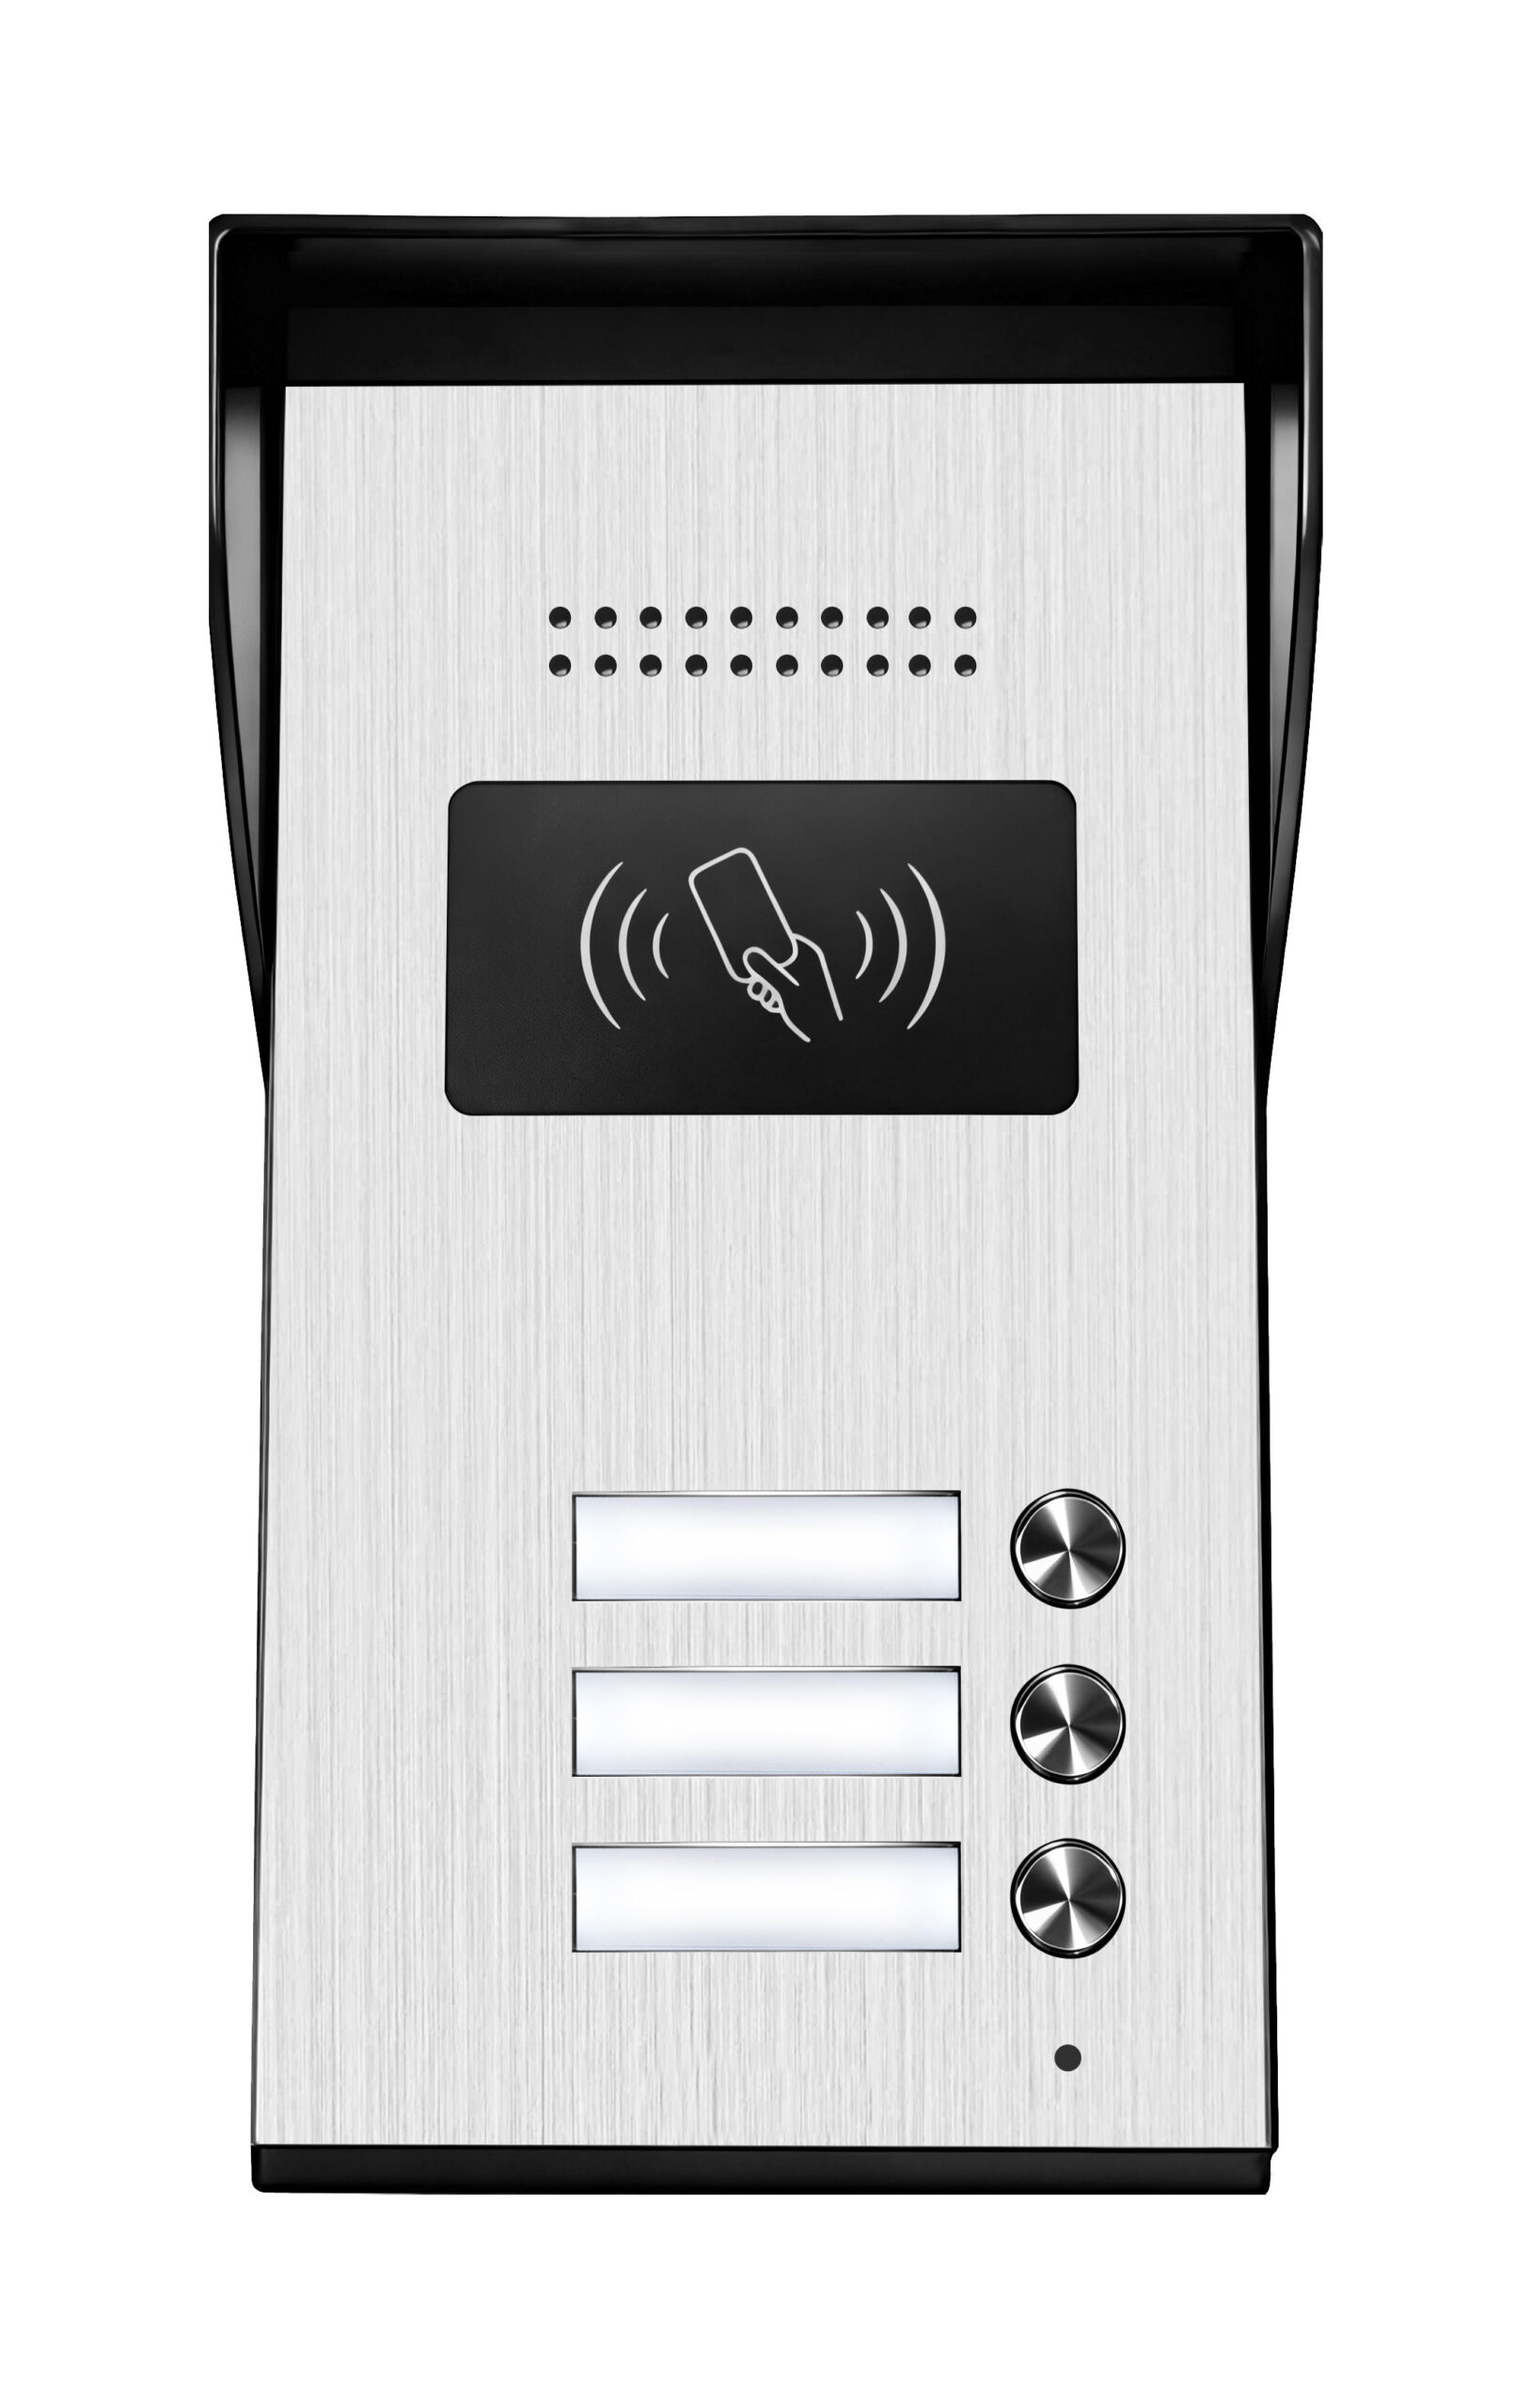
A simple, scalable, and cost‑effective entry communication solution for multi‑unit residential buildings, small offices, and shared entrances.
For buildings with multiple units – duplexes, triplexes, small apartment buildings, or shared office spaces – a single call button is rarely enough. Visitors need a way to reach the right resident or office, and residents need a way to communicate with visitors and control entry.
That is where a 3‑button audio intercom system comes in. With three call buttons on the outdoor station و dedicated indoor handsets for each unit, this system provides clear, reliable audio communication between visitors and residents – without the complexity or cost of video, Wi‑Fi, or smartphone apps.
This guide covers everything you need to know about connecting and using a 3‑button audio intercom system – from wiring and installation to configuration and troubleshooting.
Why Choose a 3‑Button Audio Intercom?
Audio intercoms remain one of the most cost‑effective and reliable entry communication solutions available. Here is why they are still a popular choice for multi‑unit buildings:
- Supports multiple units – Three call buttons allow up to three residents or offices to be reached from a single outdoor station.
- تركيب بسيط – Most systems use straightforward wiring between the outdoor station and each indoor handset.
- لا توجد تبعية للإنترنت – Works without Wi‑Fi, cloud services, or smartphone apps. Reliable communication, always.
- Low cost – Significantly cheaper than video or IP systems – both in hardware and installation.
- Low maintenance – Fewer components mean fewer things that can fail. No firmware updates, no battery changes.
- Easy to use – Visitors press the button for the desired unit. Residents pick up the handset and talk. Everyone understands it instantly.
- Expandable – Up to four indoor units can be connected per residential unit, with serial or parallel wiring options.
الأفضل لـ: Duplexes, triplexes, small apartment buildings (up to 3 units), shared office entrances, and budget‑conscious residential projects.
What’s in the System?
A 3‑button audio intercom system consists of the following components:
Typical scope of delivery for a 3‑button system:
- 1x Outdoor station with three call buttons
- 3x Indoor handsets (one for each unit)
- 1x Power supply
- Assembly materials and mounting hardware
Step‑by‑Step Connection Guide
⚠️ Important: Before starting any wiring, disconnect power to avoid damaging the system. Always follow the specific wiring diagram provided with your kit. Incorrect wiring can damage the system.
Step 1: Plan Your Installation
- Outdoor station – Mount near the entrance at approximately 1.4 to 1.5 metres (eye level). Choose a location sheltered from direct rain where possible.
- Indoor handsets – Mount one handset in each unit or office at a convenient location – hallway, living room, or reception area – where residents can easily hear the ringtone and answer calls.
- Plan the cable routes between the outdoor station and each indoor handset. For a 3‑button system, 3 lines are required per call button from the outdoor unit to each residential unit.
Step 2: Choose Your Cable
Most 3‑button audio intercom systems use multi‑conductor wiring between the outdoor station and indoor handsets. Suitable cable types include:
- Twisted pair cable (e.g., Cat5 or telecoms wire)
- Doorbell wire (multi‑core)
- Standard multi‑core cable (≥0.5mm²)
نصيحة: For longer distances (over 50 metres), use heavier gauge cable (e.g., 0.75mm² or 1.0mm²) to reduce voltage drop.
Step 3: Wiring Options
There are two main wiring configurations for connecting multiple indoor handsets to a single outdoor station:
1. Serial Connection (Daisy‑Chain)
- Indoor handsets are connected in series – from one handset to the next.
- Simplifies cabling but may require careful addressing of each unit.
2. Radial Connection (Parallel)
- Each indoor handset is wired independently from a central distribution point.
- More wiring but offers easier troubleshooting and independent operation.
ملاحظة: الـ radial wiring system is generally preferable for its reliability and ease of maintenance.
Step 4: Connect the Outdoor Station
- Mount the outdoor station securely to the wall or gatepost using the included bracket.
- Connect the cables from each indoor handset to the corresponding terminals on the outdoor station.
- Terminals typically include:
Step 5: Connect the Indoor Handsets
- Mount each indoor handset on the wall using the included bracket.
- Connect the cables from each handset to the outdoor station (or to the central distribution point for radial wiring).
- For serial wiring, connect from one handset to the next in sequence.
- If connecting an electric lock, connect the lock wires to the unlock relay terminals on one of the handsets (or the outdoor station).
Step 6: Connect the Power Supply
- Connect the power supply to the system (typically via the outdoor station or a central distribution point).
- Plug the power adapter into a wall outlet.
- Check the LED indicators on the outdoor station and indoor handsets – they should light up, indicating power is supplied.
Step 7: Configure and Test the System
- Test each button – Press call button 1, 2, and 3 on the outdoor station. The corresponding indoor handset should ring.
- Test audio – Pick up each handset (or press the talk button) – you should hear clear two‑way audio with the visitor.
- Test unlock – Press the unlock button on each handset – the door lock (if connected) should release.
- Adjust volume – Most handsets have volume controls for both ringtone and speech.
- Set ringtones – Some systems allow different ringtones to differentiate call sources (e.g., main door vs. side entrance).
Terminal connections (typical system):
| Terminal | محطة خارجية | Indoor Handset |
|---|---|---|
| 1 | Call button 1 / Communication | الاتصال |
| 2 | Call button 2 / Communication | الاتصال |
| 3 | Call button 3 / Communication | الاتصال |
| Lock (optional) | NO / COM | NO / COM (on one handset) |
| الطاقة | DC input | Powered via outdoor station |
ملاحظة: For a single‑family house, 3 lines are required from the outdoor unit to the indoor unit و 2 lines from the outdoor unit to the door opener.
Key Features & Functions
📞 Three Dedicated Call Buttons
Each button on the outdoor station corresponds to a specific unit or office. Visitors simply press the button for the resident they want to reach – no directory, no codes, no confusion.
🗣️ Two‑Way Audio
Full‑duplex audio allows natural conversation between visitor and resident. The outdoor station’s weatherproof speaker and microphone ensure clear communication even in noisy or windy conditions.
🔓 Remote Unlock
Residents can unlock the door by pressing the unlock button on their indoor handset. Compatible with most electric locks – electric control locks, magnetic locks, and electric strikes.
🔔 Multiple Ringtones
Some systems support up to five different ringtones to differentiate between various call sources – for example, distinguishing a call from the main entrance from a call from a secondary entrance or a guard unit.
📊 System Status LEDs
LED indicators on the indoor handset provide system status information – power, call active, door lock status, and more.
🎚️ Adjustable Volume
Side switches or buttons allow adjustment of ringtone volume and speech volume.
🏗️ Expandable
Up to four indoor units can be connected in parallel per residential unit. Multiple outdoor stations can also be supported in larger systems.
Common Features of the Indoor Handset
A typical 3‑button audio intercom indoor handset includes:
استكشاف مشكلات شائعة وإصلاحها
Why Choose FARHD Audio Intercoms?
FARHD is a professional OEM/ODM manufacturer with over 28 years of experience in video and audio intercom R&D and manufacturing. Since 1998, we have been delivering high‑quality intercom systems and one‑stop solutions to clients worldwide.
- Founded in 1998 – 28+ years of intercom expertise
- Source factory – Competitive pricing, full quality control
- OEM / ODM supported – Custom logo, packaging, and configurations available
- وصول عالمي – Serving clients in over 90 countries
- No MOQ for trial orders – Start with a sample; scale as you grow
- Complete product range – Audio, 2‑wire, 4‑wire, IP, SIP, and wireless intercom systems
Ready to Install Your 3‑Button Audio Intercom?
الـ 3‑button audio intercom system is the simplest, most reliable way to add entry communication to duplexes, triplexes, small apartment buildings, and shared office entrances. With three dedicated call buttons, dedicated indoor handsets for each unit, and straightforward wiring, you can have clear, reliable communication between your entrance and indoor spaces – no internet, no apps, no complexity.
📩 Contact us for catalog, pricing, or to request a sample.
🌐 Website: www.farhd.com
📧 Email: [email protected]
FARHD – Video & Audio Intercom Manufacturer Since 1998.
قد يثير اهتمامك أيضًا
-
2-Wire Video Door Phone Connection with Electric Rim Lock: Unlock by Card, Indoor Monitor, and App
A complete guide to wiring an electric rim lock to a FARHD 2-wire video door phone system—and configuring three convenient unlock methods: RFID card, indoor monitor, and mobile app. Whether you are upgrading an existing building or specifying a new system, this guide covers the essentials for reliable, secure access control. Electric rim locks are…
-

Video Intercom Manufacturer & Source Factory Since 1998 | OEM ODM SKD Building Intercom
Video Intercom Manufacturer & Vertical Source Factory in China FARHD is a professional video intercom manufacturer with over 28 years of specialized experience in building security intercom systems. Established in 1998, we are a genuine building intercom factory focused on independent R&D, in-house production, and customized manufacturing for global B2B clients, including distributors, importers, engineering contractors, real estate…
-
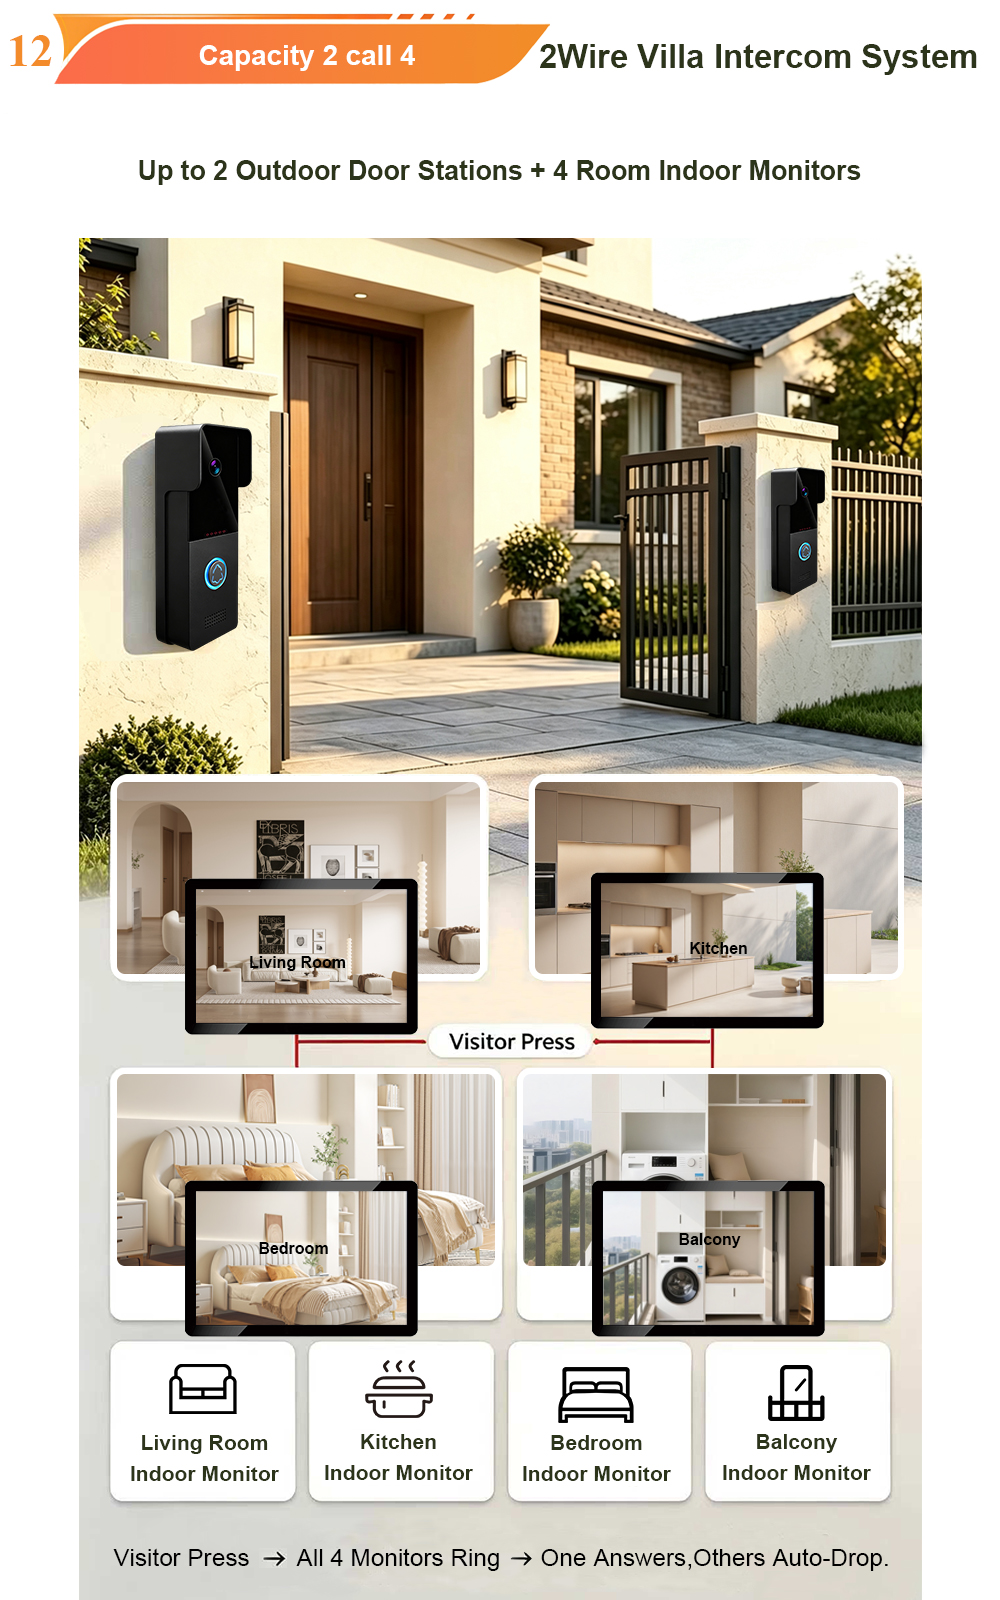
FARHD Video Intercom System: Versatile Solutions for Apartments and Villas
When it comes to building security and smart access, one size does not fit all. Different buildings have different wiring, different layouts, and different resident expectations. That’s why FARHD offers a comprehensive range of video intercom systems—with various indoor monitors and outdoor stations to match any apartment or villa project. Since 1998, FARHD has been…
-
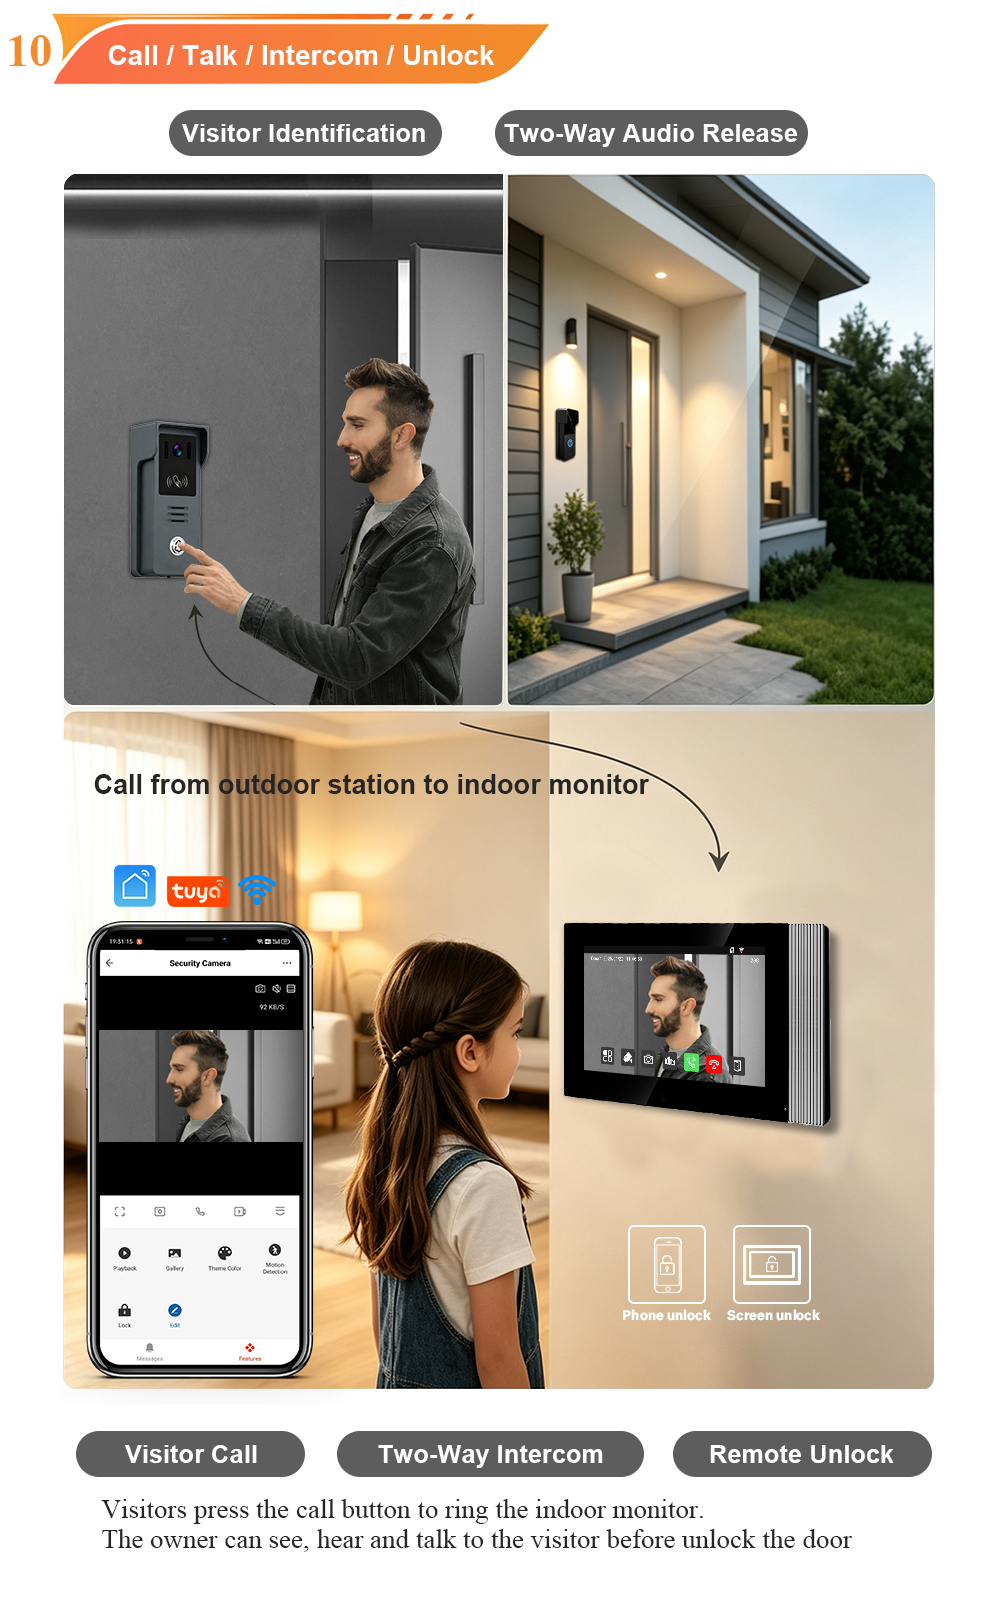
Low-Temperature Test: FARHD Video Intercom Screens Keep Running Smoothly in Freezing Cold
Inside the freezing chamber, it keeps working — normal display, no black screen, no shutdown. Real quality isn’t just about lab data; it’s about staying reliable in extreme conditions. A video intercom that withstands freezing cold — because your door security can’t take a day off. In many parts of the world, winter is not…