✨ 2‑Wire 10‑Inch Video Intercom – Wiring Introduction
Mai 29, 2026
Diesen Artikel teilen

Simple wiring, powerful performance – perfect for villas, apartments, and home security upgrades.
The 2‑wire video intercom system is one of the most popular choices for residential buildings and villas because it combines einfache Installation mit reliable video and audio transmission. Today, we will walk you through the basic wiring principles of our 10‑inch 2‑wire video intercom system – from cable selection to connecting the indoor monitor and outdoor station.
Whether you are a professional installer or a DIY‑minded homeowner, this guide will help you understand how to set up a 2‑wire system correctly.
What Is 2‑Wire Technology?
Unlike traditional analog systems that require separate wires for power, audio, and video (often 4 or more wires), a 2‑wire system transmits power, video, audio, and control signals over a single pair of ordinary two‑core cables. This dramatically simplifies wiring – especially for retrofit projects where existing two‑core wires (e.g., old intercom lines, telephone wires) can be reused.
Key advantages:
- No polarity – connect either way, no risk of reverse polarity damage.
- Long transmission distance – up to 100 metres (with ≥0.5mm wire).
- Low material cost – standard 0.5mm² or 0.75mm² two‑core cable is inexpensive and widely available.
- Minimal wall damage – ideal for upgrading old buildings without pulling new cables.
System Components Overview
A basic 2‑wire villa or apartment kit includes:
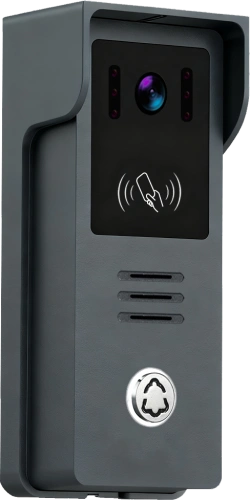
- Outdoor station (doorbell) – with camera, microphone, speaker, call button, and optional RFID card reader.
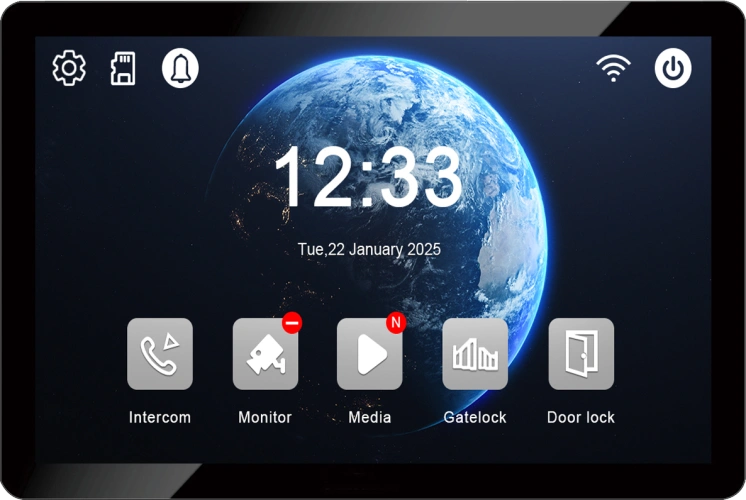
- Innenmonitor – 10‑inch IPS touchscreen, speaker, microphone, unlock relay, and power input.
- Power supply – usually a 15V or 18V DC adapter (central power supply can also be used for multiple units).
- 2‑core cable – connects the outdoor station to the indoor monitor (and optionally to additional indoor monitors).
Wiring Diagram – Basic Setup (1 Outdoor + 1 Indoor)
The simplest configuration: one outdoor station connected to one indoor monitor.
text
[Outdoor Station] ---- (2‑core cable) ---- [Indoor Monitor] ---- [Power Supply]
Step‑by‑step wiring instructions:
- Run a 2‑core cable from the outdoor station location to the indoor monitor location.
- Use ≥0.5mm² copper wire. For distances >50 metres, use 0.75mm² or thicker.
- Maximum distance: 100 metres.
- Connect the wires to the outdoor station terminals.
- Most 2‑wire outdoor stations have two terminals labelled “1” and “2” or “A” and “B”.
- No polarity – you can connect either wire to either terminal. This eliminates guesswork.
- Connect the other end of the same two wires to the indoor monitor’s 2‑wire input terminals.
- Indoor monitors also have two labelled terminals (e.g., “LINE IN”, “BUS”, or “1/2”).
- Again, polarity does not matter.
- Power the indoor monitor.
- Plug the provided 15V/1.2A power adapter into the indoor monitor’s power jack.
- The indoor monitor will supply power to the outdoor station over the same 2‑wire cable – no separate power supply needed at the door.
- Power on and test.
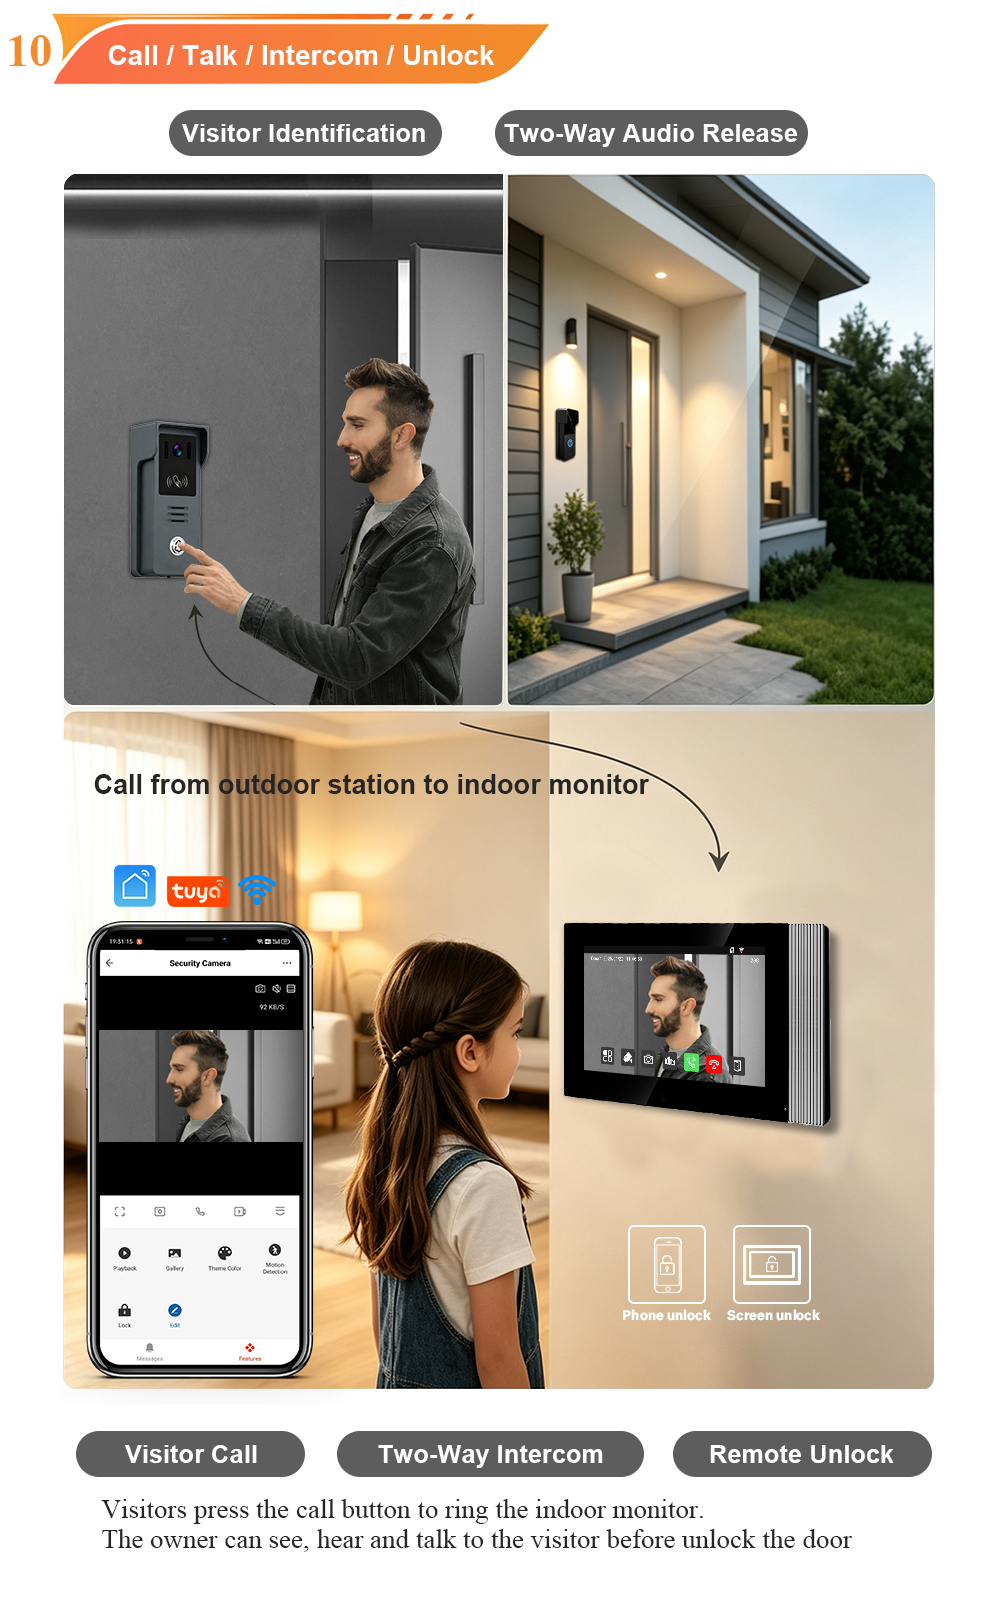
- The indoor monitor should boot up. Press the call button on the outdoor station – the indoor monitor should ring and display the video feed.
That is it! No complex network settings, no IP addresses, no polarity concerns.
Wiring for Multiple Indoor Monitors (Expansion)
If your villa or apartment has multiple rooms where you want to answer the door (e.g., living room and master bedroom), you can connect up to 4 indoor monitors in series or using a 2‑wire distributor.
Series connection (simplest for up to 2‑4 monitors):
text
Outdoor ---- Indoor 1 ---- Indoor 2 ---- Indoor 3
- All monitors share the same two‑wire line from the outdoor station.
- Each indoor monitor must be set with a unique device ID (usually via a DIP switch or on‑screen menu) to avoid conflicts.
- The power supply can be connected to any one of the indoor monitors (or to a dedicated power supply on the line).
Using a 2‑wire distributor (switch):
- For larger systems (e.g., 2 outdoor stations + 4 indoor monitors), a passive or active 2‑wire distributor splits the signal to multiple branches.
- This is common in apartment buildings where each apartment has its own indoor monitor, but the outdoor station is shared.
Wiring for 2 Outdoor Stations (e.g., Front Gate + Back Door)
Many villas have two entrances – front gate and back door. You can connect up to 2 outdoor stations to the same 2‑wire bus.
- Both outdoor stations are wired in parallel to the same two‑wire line.
- The indoor monitor rings with a different ringtone for each outdoor station (if supported), or the screen displays which station is calling.
- Residents can unlock the corresponding door by pressing the “door unlock” or “gate unlock” button on the indoor monitor.
Cable Recommendations
| Distance | Recommended Cable | Hinweis |
|---|---|---|
| < 50m | 2×0.5mm² twisted pair or plain two‑core | Standard electrical wire works. |
| 50‑100m | 2×0.75mm² or 2×1.0mm² | Thicker wire reduces voltage drop. |
| Over 100m | Not recommended without signal booster | Use a 2‑wire repeater or upgrade to IP. |
Cable type: Unshielded twisted pair (UTP) is fine for most residential installations. If the cable runs near high‑power electrical lines, use shielded cable to avoid interference.
Häufige Fehler vermeiden
- Using too thin wire – For long distances, thin wire causes voltage drop, leading to flickering video or no power at the outdoor station. Always follow the recommended gauge.
- Connecting power to the outdoor station directly – In a 2‑wire system, power is supplied through the indoor monitor. Do not connect an external power supply to the outdoor station’s 2‑wire terminals – this can damage the device.
- Mixing 2‑wire with 4‑wire devices – They are not directly compatible. Use a converter if you need to mix technologies.
- Exceeding the maximum number of devices – Adding too many indoor monitors or outdoor stations without a powered distributor can overload the line. Consult the product manual for limits (typically 2 outdoor + 4 indoor).
Testing Your Installation
After wiring, perform these tests:
- Call test – Press the call button on the outdoor station. The indoor monitor should ring within 1‑2 seconds.
- Video test – Check that the image is clear, not flickering, and shows the correct wide angle.
- Audio test – Speak into the outdoor station’s microphone and listen through the indoor monitor’s speaker (and vice versa). Audio should be clear with no echo or static.
- Unlock test – Press the unlock icon on the indoor monitor. You should hear the door lock click (if connected).
- Night vision test – Cover the outdoor station’s light sensor or test in a dark room. The IR LEDs should activate, and the video should switch to black‑and‑white night mode.
Why Choose FARHD’s 2‑Wire 10‑Inch System?
- Plug‑and‑play wiring – No polarity, no network configuration.
- High‑quality 10‑inch IPS touchscreen – Clear, vivid display for easy visitor identification.
- 1080P HD camera + night vision – See visitors day or night.
- Tuya app optional – For remote answering and unlocking (on select models).
- Expandable – Add more indoor monitors or a second outdoor station as needed.
- OEM/ODM-Support – Customize for your brand.
Need More Help?
We provide detailed wiring diagrams in each product manual. For custom projects or large installations, our technical support team is available to assist you.
📩 Contact us for catalog, wiring diagrams, or technical support.
🌐 Website: www.farhd.com
📧 Email: [email protected]
💬 Reply “2WIRE10” – we will send you a complete wiring guide and product datasheet.
#VideoDoorPhone #intercom #villa #apartment #homesecurity
Das könnte Sie auch interessieren
-
2-Wire Video Door Phone Connection with Electric Rim Lock: Unlock by Card, Indoor Monitor, and App
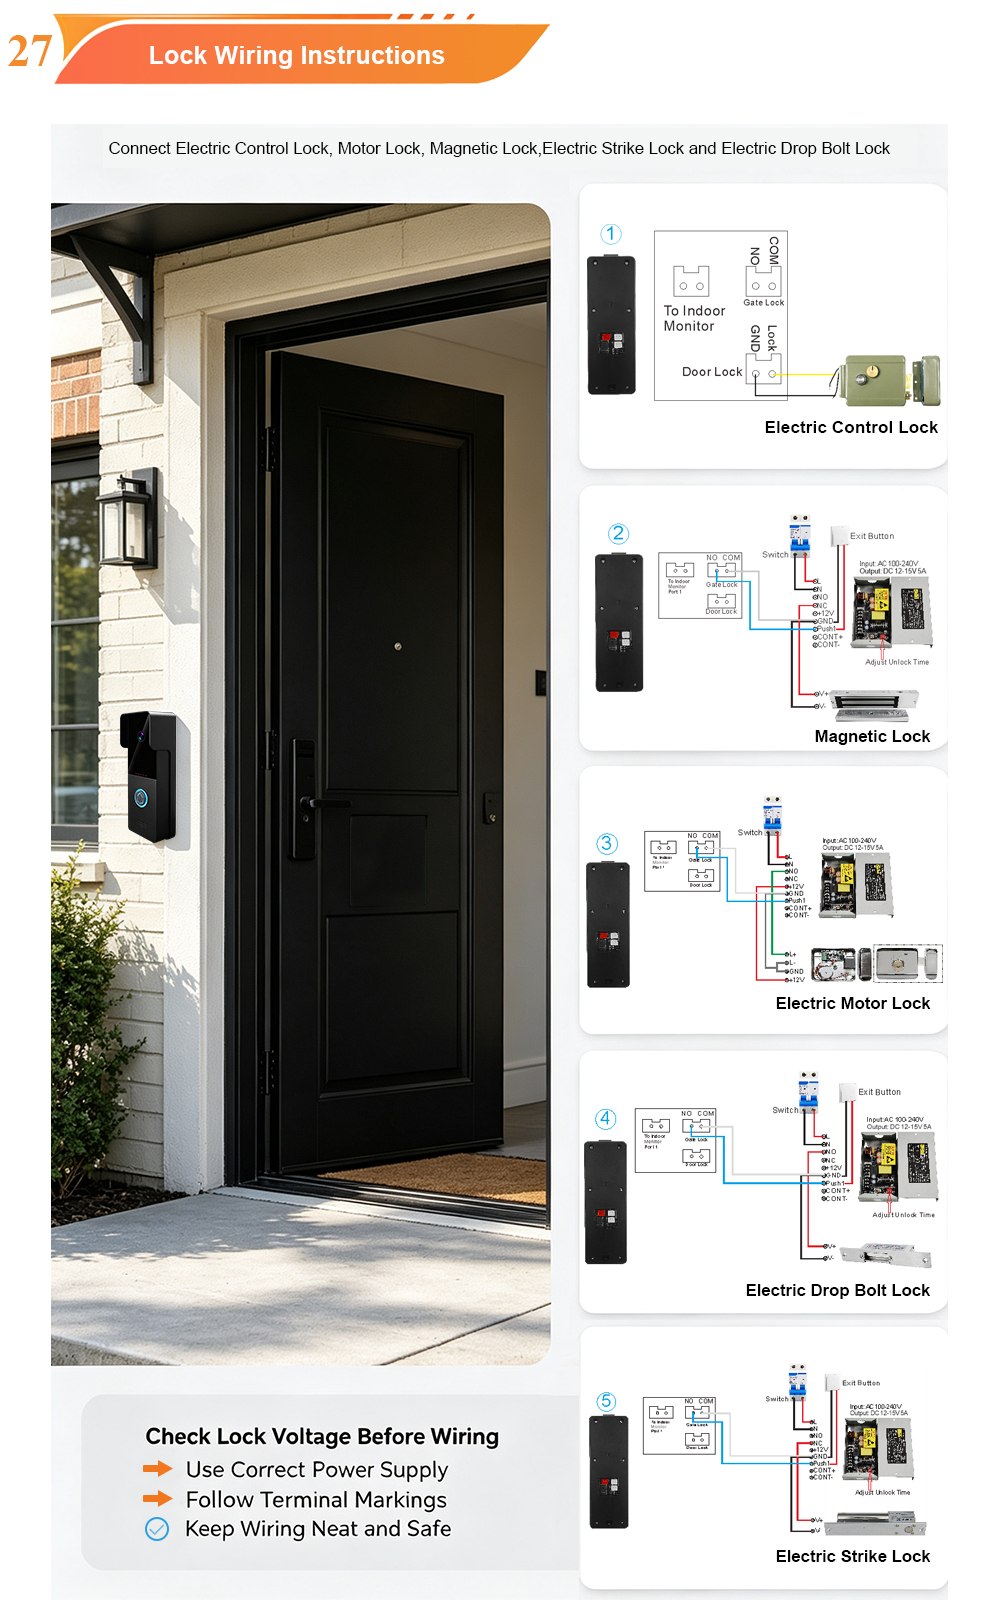
A complete guide to wiring an electric rim lock to a FARHD 2-wire video door phone system—and configuring three convenient unlock methods: RFID card, indoor monitor, and mobile app. Whether you are upgrading an existing building or specifying a new system, this guide covers the essentials for reliable, secure access control. Electric rim locks are…
-

Video Intercom Manufacturer & Source Factory Since 1998 | OEM ODM SKD Building Intercom
Video Intercom Manufacturer & Vertical Source Factory in China FARHD is a professional video intercom manufacturer with over 28 years of specialized experience in building security intercom systems. Established in 1998, we are a genuine building intercom factory focused on independent R&D, in-house production, and customized manufacturing for global B2B clients, including distributors, importers, engineering contractors, real estate…
-
FARHD Video Intercom System: Versatile Solutions for Apartments and Villas
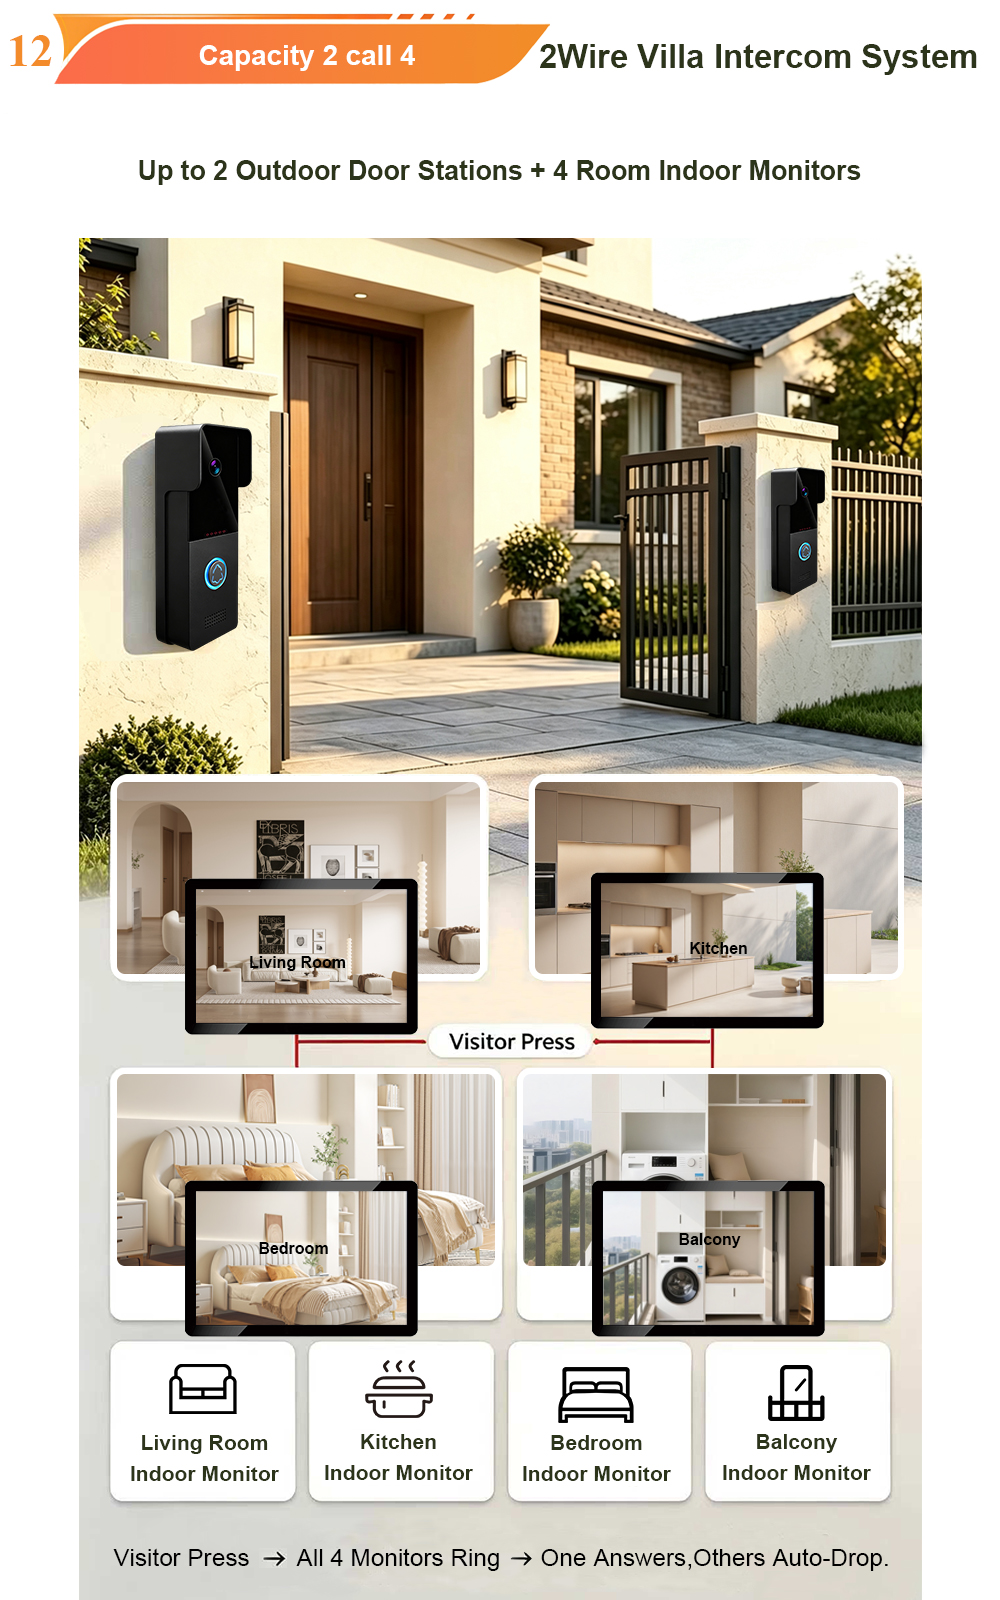
When it comes to building security and smart access, one size does not fit all. Different buildings have different wiring, different layouts, and different resident expectations. That’s why FARHD offers a comprehensive range of video intercom systems—with various indoor monitors and outdoor stations to match any apartment or villa project. Since 1998, FARHD has been…
-
Low-Temperature Test: FARHD Video Intercom Screens Keep Running Smoothly in Freezing Cold
Inside the freezing chamber, it keeps working — normal display, no black screen, no shutdown. Real quality isn’t just about lab data; it’s about staying reliable in extreme conditions. A video intercom that withstands freezing cold — because your door security can’t take a day off. In many parts of the world, winter is not…