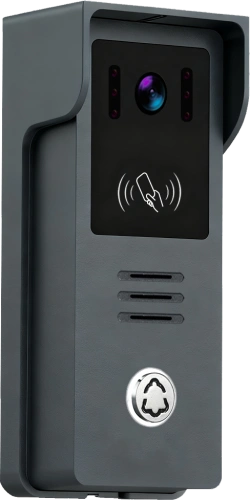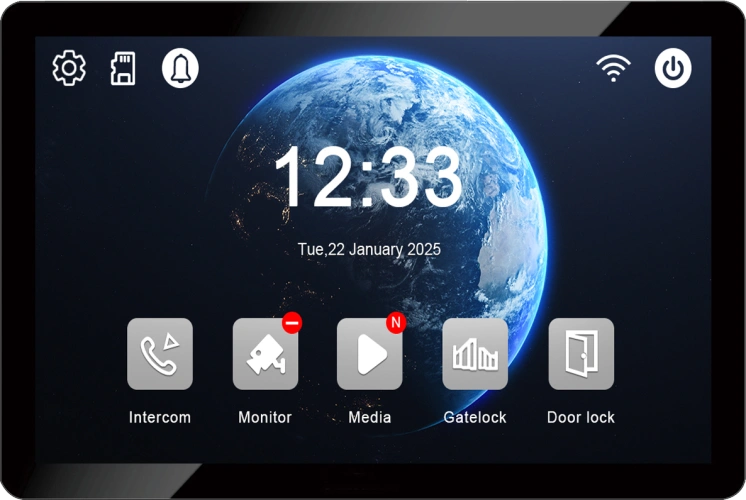
🎬 Full Wiring Guide for the Video Intercom Doorbell (Villa Set) – Upgrade Your Home Security Without Needing a Pro
junio 15, 2026
Comparte este artículo
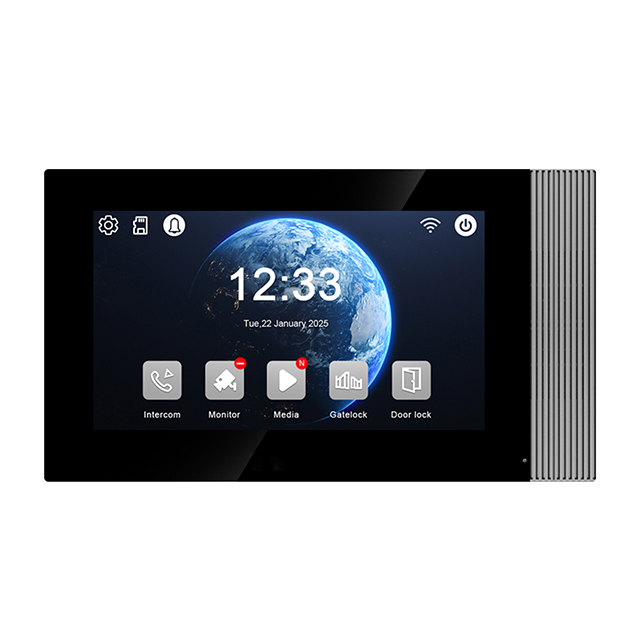
Learn to identify wires, connect power, and set up your villa video intercom system – all by yourself. No electrician? No problem.
So, you’ve bought a smart video intercom doorbell for your villa. The box is open, the components look great, but now you’re staring at a handful of wires and wondering: “Do I really need to call an electrician?”
The good news: probably not. With a basic understanding of wire types, a few simple tools, and our step‑by‑step guide, you can install a 2‑wire or 4‑wire video intercom system yourself – safely and correctly. This guide is written for homeowners, not professionals. We’ll walk you through every step, from identifying cables to powering up your new system.
Let’s turn you into a confident DIY installer.
What’s in This Guide?
- Wire types explained – No more confusion between 2‑wire, 4‑wire, and network cables.
- Tools you’ll need – Basic stuff you probably already own.
- Step‑by‑step wiring – From outdoor station to indoor monitor.
- Power connection – How to supply electricity without frying anything.
- Testing & troubleshooting – Make sure it works before you mount everything.
- Safety tips – Because electricity demands respect.
By the end, you’ll have a fully functional video intercom, and you’ll save the cost of a professional installer.
Part 1: Know Your Wires – 2‑wire vs. 4‑wire vs. IP
Before you touch any cables, you need to understand what kind of system you have. Most villa intercom kits are one of three types:
| Tipo de sistema | Wire Count | Lo mejor para | Polarity? | Max Distance |
|---|---|---|---|---|
| 2‑wire | 2 cores | Retrofit, long distance, simple | No | 100m |
| 4‑wire | 4 cores | Traditional analog, stable | Yes (usually) | 100m |
| IP (CAT5/6) | 8 cores (4 used) | New builds, app control, high speed | No (standardised) | 100m |
For DIY beginners, we highly recommend a 2‑wire system. Why? Because 2‑wire is non‑polarity – you cannot connect the wires backwards. It’s very forgiving and works over existing two‑core cables (often already in your walls from an old doorbell or telephone line).
If you have a 4‑wire system, you’ll need to be careful about polarity (which wire is positive/negative). Check your manual.
Part 2: Tools You’ll Need
You probably have most of these in your toolbox already:
- Pelacables – To remove insulation without nicking the copper.
- Small flathead screwdriver – For terminal screws on the indoor monitor and outdoor station.
- Voltage tester (non‑contact) – To ensure power is off before working.
- Drill and bits – If you need to mount the outdoor station on brick or concrete.
- Pencil and tape – To label wires (always a good habit).
- Nivel – So your outdoor station isn’t crooked.
That’s it. No oscilloscopes, no network cable testers, no crimping tools (unless you’re doing IP).
Part 3: Step‑by‑Step Wiring (2‑Wire System)
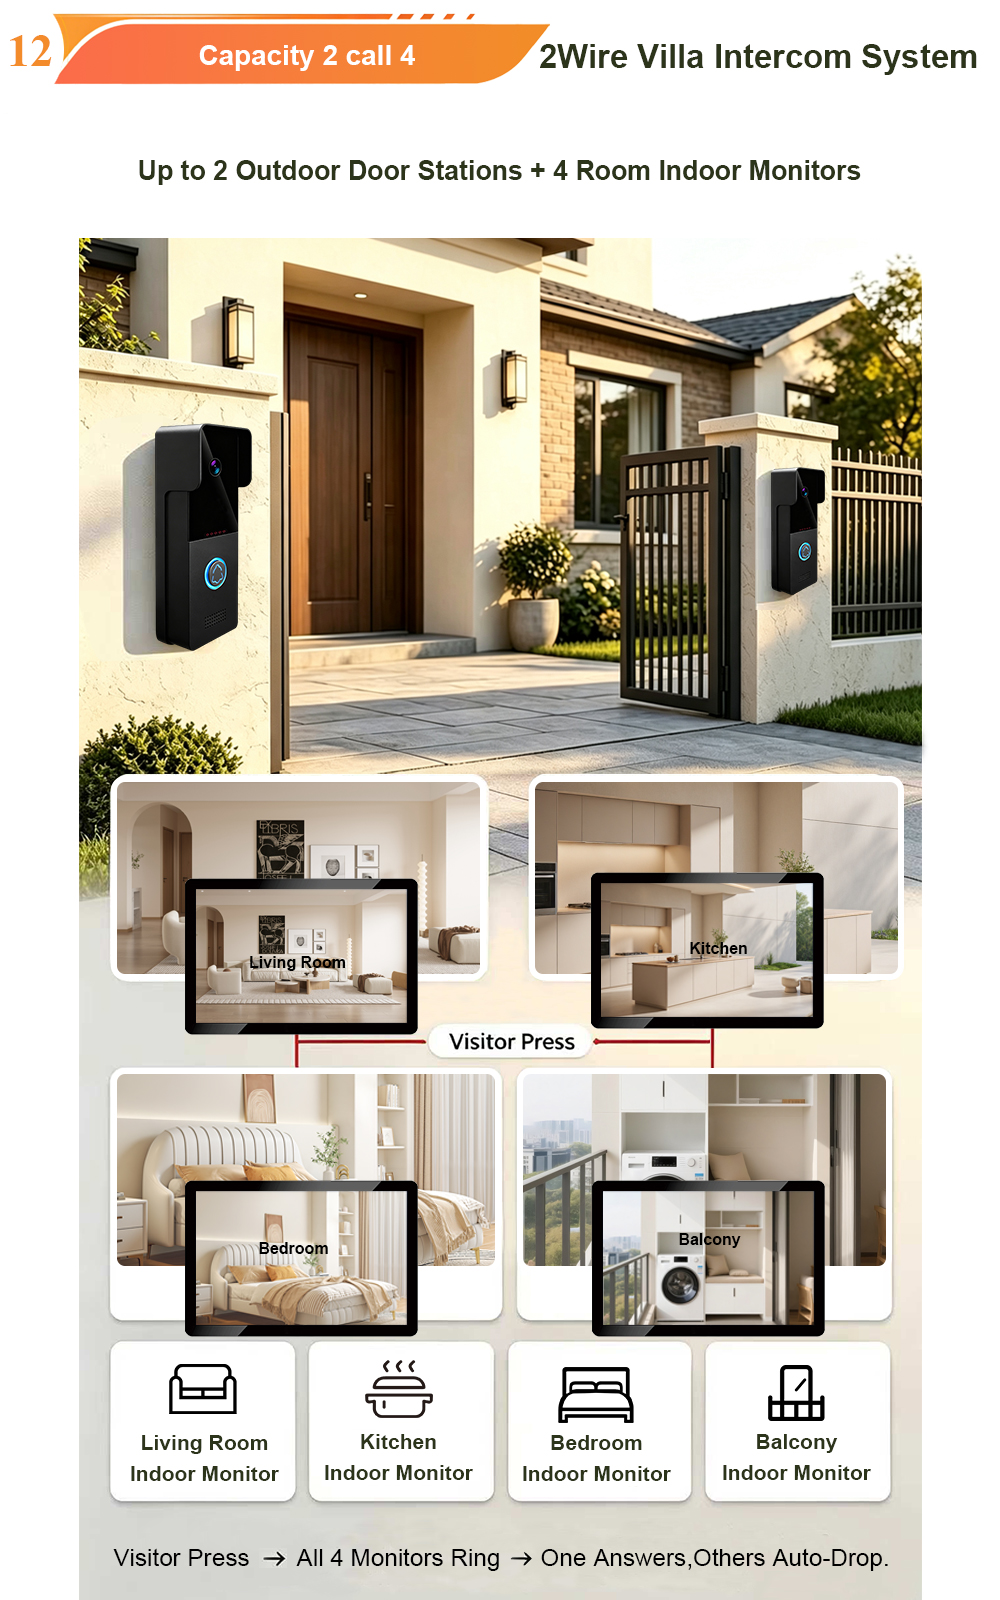
This is the most common and DIY‑friendly configuration. We’ll assume you have a 2‑wire video intercom kit with one outdoor station and one indoor monitor.
Step 1: Plan your cable route
Decide where to mount:
- Outdoor station – Next to your main entrance gate or front door. Height: about 1.5 metres (eye level for most adults).
- Monitor interior – Inside your living room, hallway, or kitchen. Choose a place where you spend time and can hear the ringtone.
Then plan the cable path between them. Ideally, you’ll run the 2‑wire cable through existing conduits or along baseboards. If your house already has old doorbell wires, you may be able to reuse them – that’s the beauty of 2‑wire technology.
Step 2: Prepare the wires
Cut a length of 2‑core cable (≥0.5mm² copper) to reach from the outdoor station to the indoor monitor. Leave an extra 20cm at each end for easy connection.
Strip about 1cm of insulation off each of the two wires. Twist the copper strands so they stay neat.
Step 3: Connect the outdoor station
Open the outdoor station’s back cover. You’ll see two terminals labelled “1” and “2” or “A” and “B”. Polarity does not matter. Connect one wire to terminal 1 and the other to terminal 2. Tighten the screws.
Close the back cover. The outdoor station is now wired.
Step 4: Run the cable to the indoor monitor
Pull the cable through your chosen route. If you’re reusing existing wiring, simply identify the two wires that come from the outdoor station location. Label them (e.g., “Outdoor +”) to avoid confusion later.
Step 5: Connect the indoor monitor
Open the indoor monitor’s back plate or terminal cover. Look for the 2‑wire input terminals – often labelled “LINE IN”, “BUS”, or “1/2”. Again, polarity does not matter. Connect the two wires to these terminals.
Importante: Do NOT connect the power adapter yet. We’ll do that after all wiring is complete.
Step 6: Connect power
The indoor monitor needs power. Plug the provided 15V 1.2A power adapter into a wall socket, then connect the DC plug to the indoor monitor’s power jack. The indoor monitor will supply power to the outdoor station over the same 2‑wire cable. No need for a separate power supply at the door.
Step 7: Power on and test
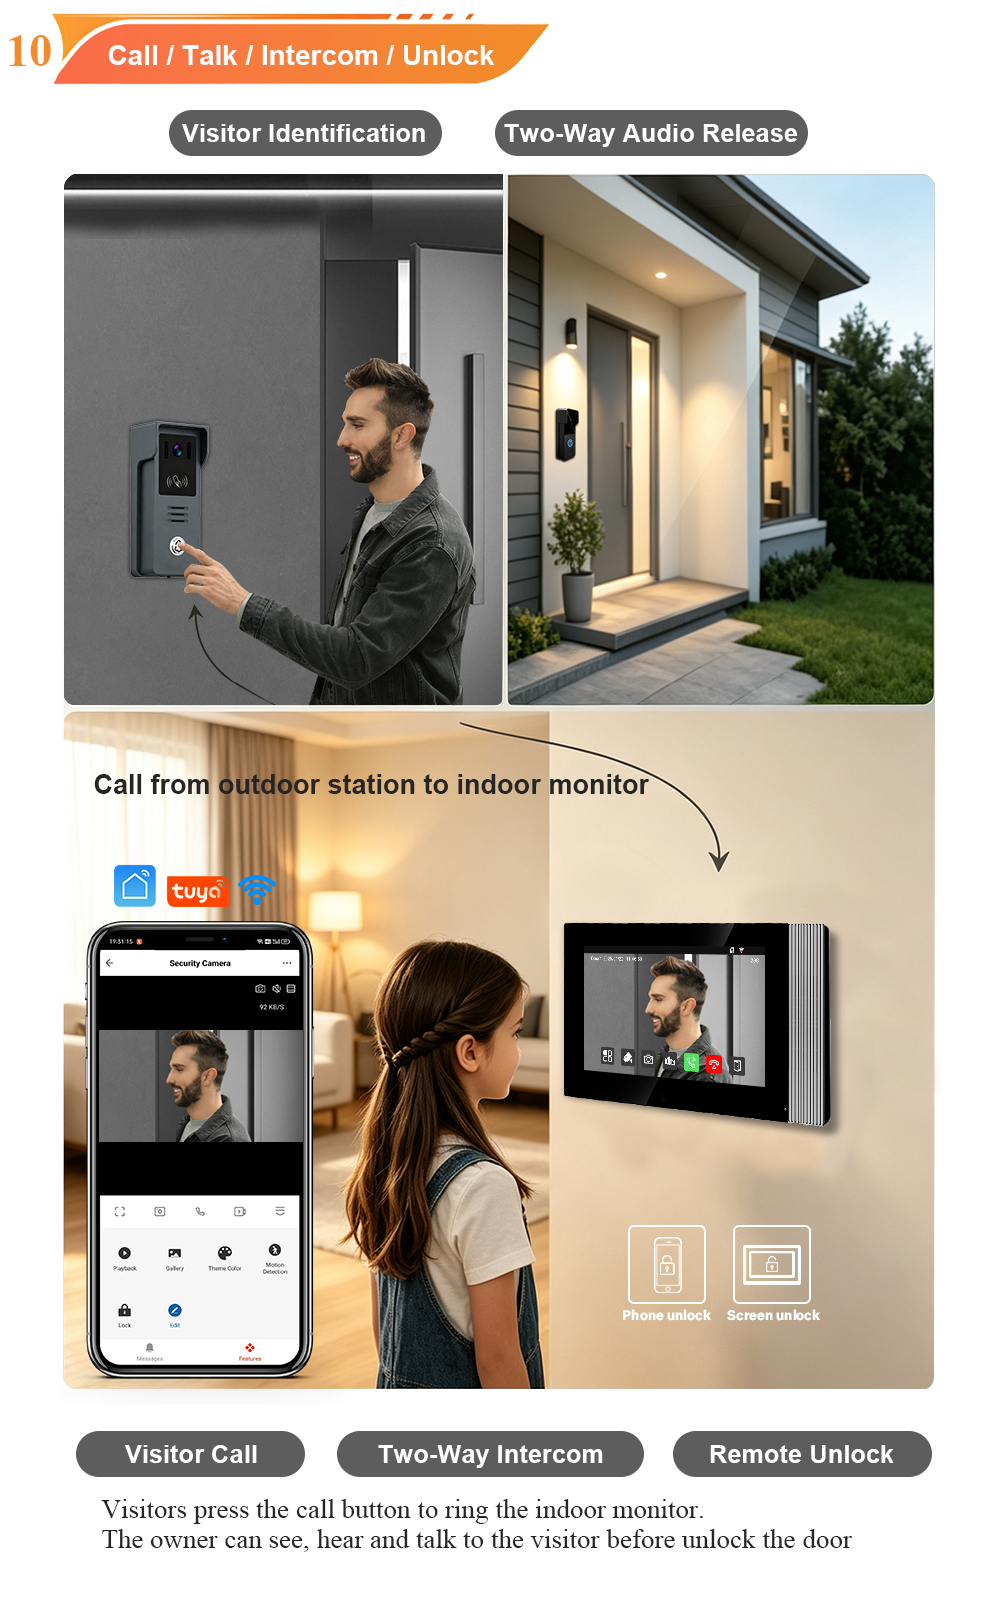
Turn on the power. The indoor monitor should light up. Press the call button on the outdoor station. Within a second or two, the indoor monitor should ring and display the video feed.
- If it works – Congratulations! You’ve successfully wired your villa intercom.
- If it doesn’t – Check that all wire connections are tight. Make sure the outdoor station’s call button is functioning. Try reversing the two wires (remember, polarity doesn’t matter, but sometimes a poor connection can be fixed by re‑stripping and re‑connecting).
Part 4: Wiring a 4‑Wire System (Traditional Analog)
If your kit uses 4 wires, the process is slightly different. You’ll have:
- Two wires for power (usually red/black or labelled +12V / GND)
- Two wires for signal (audio/video/unlock)
Polarity matters for the power wires. Connect red to positive (+), black to negative (-). Signal wires are usually non‑polarity.
Always follow the specific wiring diagram in your kit’s manual. If you’re unsure, switch to a 2‑wire system – it’s much more beginner‑friendly.
Part 5: IP (CAT5/6) Wiring – For the Tech‑Savvy
IP systems require network cables and sometimes a PoE switch. Steps:
- Run CAT5/6 cable from the outdoor station to your network switch (or directly to the indoor monitor if it has PoE passthrough).
- Crimp RJ45 connectors on both ends (requires a crimping tool).
- Connect the outdoor station to your network.
- Connect the indoor monitor to the same network (via Ethernet or WiFi).
- Configure IP addresses or use DHCP.
This is more complex and not recommended for absolute beginners. If you’re comfortable with networking, go ahead. Otherwise, stick with 2‑wire analog.
Part 6: Safety First – Always
- Apaga la corriente at the circuit breaker before connecting any wires to powered devices.
- Use a voltage tester to ensure no stray voltage on existing cables.
- Do not mix wire types – 2‑wire outdoor stations will not work with 4‑wire indoor monitors.
- Keep wires away from sharp edges – Use grommets if passing through metal.
- Waterproof outdoor connections – Use the included rain cover and seal any gaps with silicone if needed.
If at any point you feel uncomfortable, call a professional. But for most 2‑wire installations, a careful homeowner can absolutely do it themselves.
Part 7: Frequently Asked DIY Questions
Q: Can I use my old doorbell wires?
A: Yes – if they are two‑core (or you have two separate wires), and they are not too thin (≥0.5mm), they will likely work. Test with a multimeter for continuity.
Q: What if the video is fuzzy or flickers?
A: This is usually a poor connection or wire that is too thin. Re‑strip and tighten all terminal screws. If the problem persists, upgrade to thicker cable (0.75mm or 1.0mm).
Q: How far can the wires run?
A: Up to 100 metres with 0.5mm wire. For longer distances, use thicker wire or add a signal booster.
Q: Do I need a network or internet?
A: For basic calling and unlocking – no. For Tuya app remote access – yes, you’ll need a 2.4GHz WiFi connection.
Upgrade Your Villa Security – No Pro Needed
You’ve just learned everything you need to wire a video intercom doorbell for your villa. With a 2‑wire system, the process is straightforward, forgiving, and well within the reach of a motivated DIYer.
Ready to try it yourself? Choose a FARHD 2‑wire villa kit – we include clear wiring diagrams and labels to make your installation even easier. And if you get stuck, our technical support team is just an email away.
📩 Contact us for catalog, wiring diagrams, or to ask a technical question.
🌐 Website: www.farhd.com
📧 Email: [email protected]
#SmartVilla #DoorbellInstallation #Lif
También le puede interesar
-
2-Wire Video Door Phone Connection with Electric Rim Lock: Unlock by Card, Indoor Monitor, and App
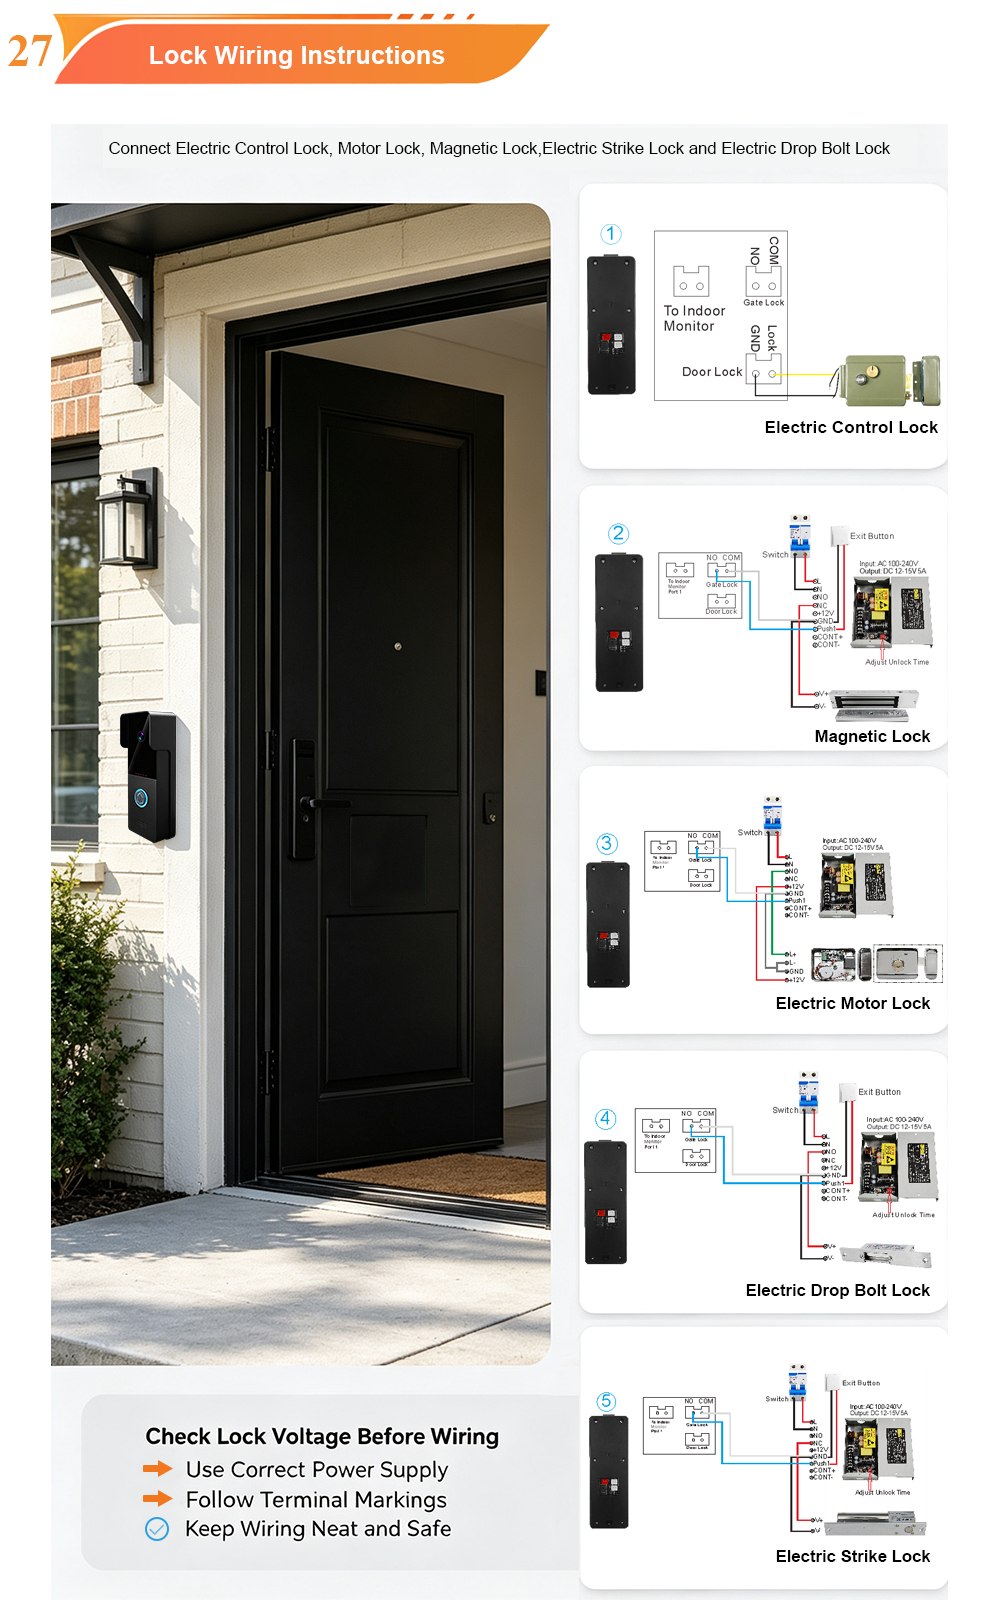
A complete guide to wiring an electric rim lock to a FARHD 2-wire video door phone system—and configuring three convenient unlock methods: RFID card, indoor monitor, and mobile app. Whether you are upgrading an existing building or specifying a new system, this guide covers the essentials for reliable, secure access control. Electric rim locks are…
-

Video Intercom Manufacturer & Source Factory Since 1998 | OEM ODM SKD Building Intercom
Video Intercom Manufacturer & Vertical Source Factory in China FARHD is a professional video intercom manufacturer with over 28 years of specialized experience in building security intercom systems. Established in 1998, we are a genuine building intercom factory focused on independent R&D, in-house production, and customized manufacturing for global B2B clients, including distributors, importers, engineering contractors, real estate…
-
FARHD Video Intercom System: Versatile Solutions for Apartments and Villas
When it comes to building security and smart access, one size does not fit all. Different buildings have different wiring, different layouts, and different resident expectations. That’s why FARHD offers a comprehensive range of video intercom systems—with various indoor monitors and outdoor stations to match any apartment or villa project. Since 1998, FARHD has been…
-
Low-Temperature Test: FARHD Video Intercom Screens Keep Running Smoothly in Freezing Cold
Inside the freezing chamber, it keeps working — normal display, no black screen, no shutdown. Real quality isn’t just about lab data; it’s about staying reliable in extreme conditions. A video intercom that withstands freezing cold — because your door security can’t take a day off. In many parts of the world, winter is not…