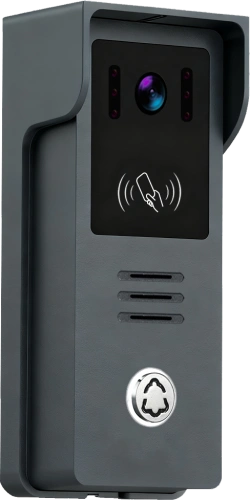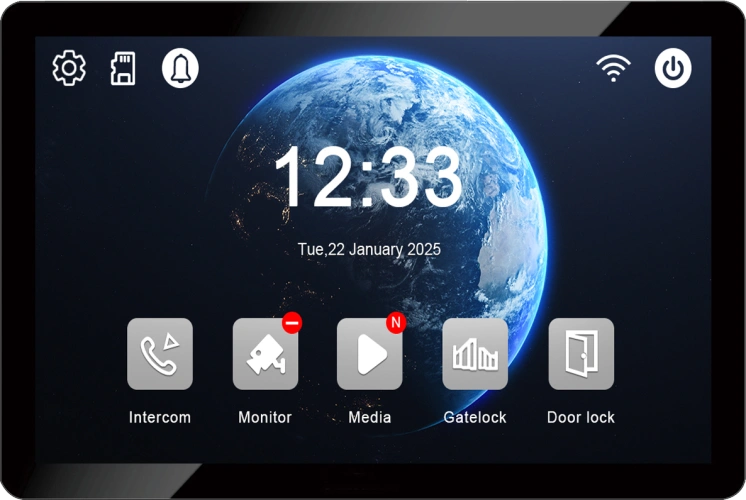
🔍 IP Villa Kit Wire Connection Method – A Quick Guide for a Clean, Reliable Setup
Июнь 15, 2026
Поделиться статьей

IP systems use standard network cables (CAT5/6) and offer remote access, high‑definition video, and easy integration with smart home apps like Tuya. Here’s how to connect your IP villa kit correctly – even if you’re not a professional installer.
Unlike analog 2‑wire or 4‑wire systems, an IP video intercom relies on Ethernet cabling (CAT5/6) for both data and, optionally, power (PoE). This makes installation incredibly clean – one cable per device – but you need to follow a few simple rules to ensure stable communication.
Below we explain the typical wiring of an IP villa kit consisting of one outdoor station and one or more indoor monitors.
What You’ll Need
- CAT5 or CAT6 network cable – solid copper, not CCA, for best performance.
- RJ45 connectors and a crimping tool (if you need to make your own cables).
- A PoE switch (optional but highly recommended) – supplies power through the Ethernet cable.
- Alternatively, a standard 15V/1.2A power adapter for the indoor monitor (if not using PoE).
Two Main Power Options
✅ Option A: PoE (Power over Ethernet) – The Simplest
- How it works: Both power and data flow through a single CAT5/6 cable. No extra power adapter needed at the indoor monitor.
- What you need: A PoE switch (IEEE 802.3af) or a PoE injector.
- Wiring: Connect the outdoor station and indoor monitor(s) to the same PoE switch using standard patch cables.
Advantage: Very clean installation, only one cable per device.
✅ Option B: External Power Supply (No PoE)
- How it works: The indoor monitor is powered by its own 15V DC adapter. The outdoor station receives power from the indoor monitor via the network cable (using unused wire pairs) or from a separate adapter.
- What you need: A standard 15V/1.2A power adapter (usually included in the kit).
- Wiring: Connect the outdoor station to the indoor monitor using a CAT5/6 cable. Then plug the power adapter into the indoor monitor.
Примечание: Not all IP villa kits support power‑over‑Ethernet from the indoor monitor. Check your model’s manual. For most modern FARHD IP kits, PoE is the preferred method.
Step‑by‑Step Wiring for an IP Villa Kit (with PoE)
- Plan your device locations.
– Outdoor station: near your main gate or front door.
– Indoor monitor: in your living room, hallway, or home office. - Run CAT5/6 cables.
From the outdoor station location to the central network switch (PoE switch).
From the indoor monitor location to the same PoE switch.
Maximum cable length: 100 metres. - Terminate the cables with RJ45 connectors (T568A or T568B – both work as long as they are consistent).
- Connect the outdoor station to one port of the PoE switch.
Connect the indoor monitor to another port of the same PoE switch. - Power on the PoE switch. The switch will supply power to both devices through the Ethernet cables. No additional power adapters are needed.
- Wait for the devices to boot (about 30‑60 seconds).
The indoor monitor should show the outdoor station’s camera feed. Press the outdoor station’s call button to test.
Wiring Diagram (Text Representation)
text
[Outdoor Station] <— CAT5/6 —> [PoE Switch] <— CAT5/6 —> [Indoor Monitor]
Both devices are connected to the same switch. The switch provides power via PoE. No separate power adapters are required.
What If You Don’t Have a PoE Switch?
You can still use an IP villa kit:
- Use a standard non‑PoE switch + a PoE injector between the switch and each device.
- Or use the included 15V power adapter for the indoor monitor, and rely on the indoor monitor to send power to the outdoor station over the Ethernet cable (if the kit supports that feature – check your manual).
For a hassle‑free installation, we strongly recommend investing in a basic PoE switch (4‑ or 8‑port). It simplifies cabling and future expansion.
Common Wiring Mistakes to Avoid
- Using poor quality cable – Avoid CCA (copper‑clad aluminium). Use solid copper CAT5e or CAT6.
- Crimping connectors incorrectly – Double‑check the pinout (T568A/T568B). A mis‑wired cable will cause connection issues.
- Exceeding 100 metres – For longer runs, use a network switch or a repeater.
- Placing the outdoor station too far from a power source – With PoE, the switch provides power; with non‑PoE, the indoor monitor must supply power over the cable (distance may be limited).
Testing Your Connection
After wiring:
- Check link lights on the PoE switch – both ports should show active link (usually a green LED).
- On the indoor monitor, go to the network settings menu and confirm it has obtained an IP address (DHCP is usually on by default).
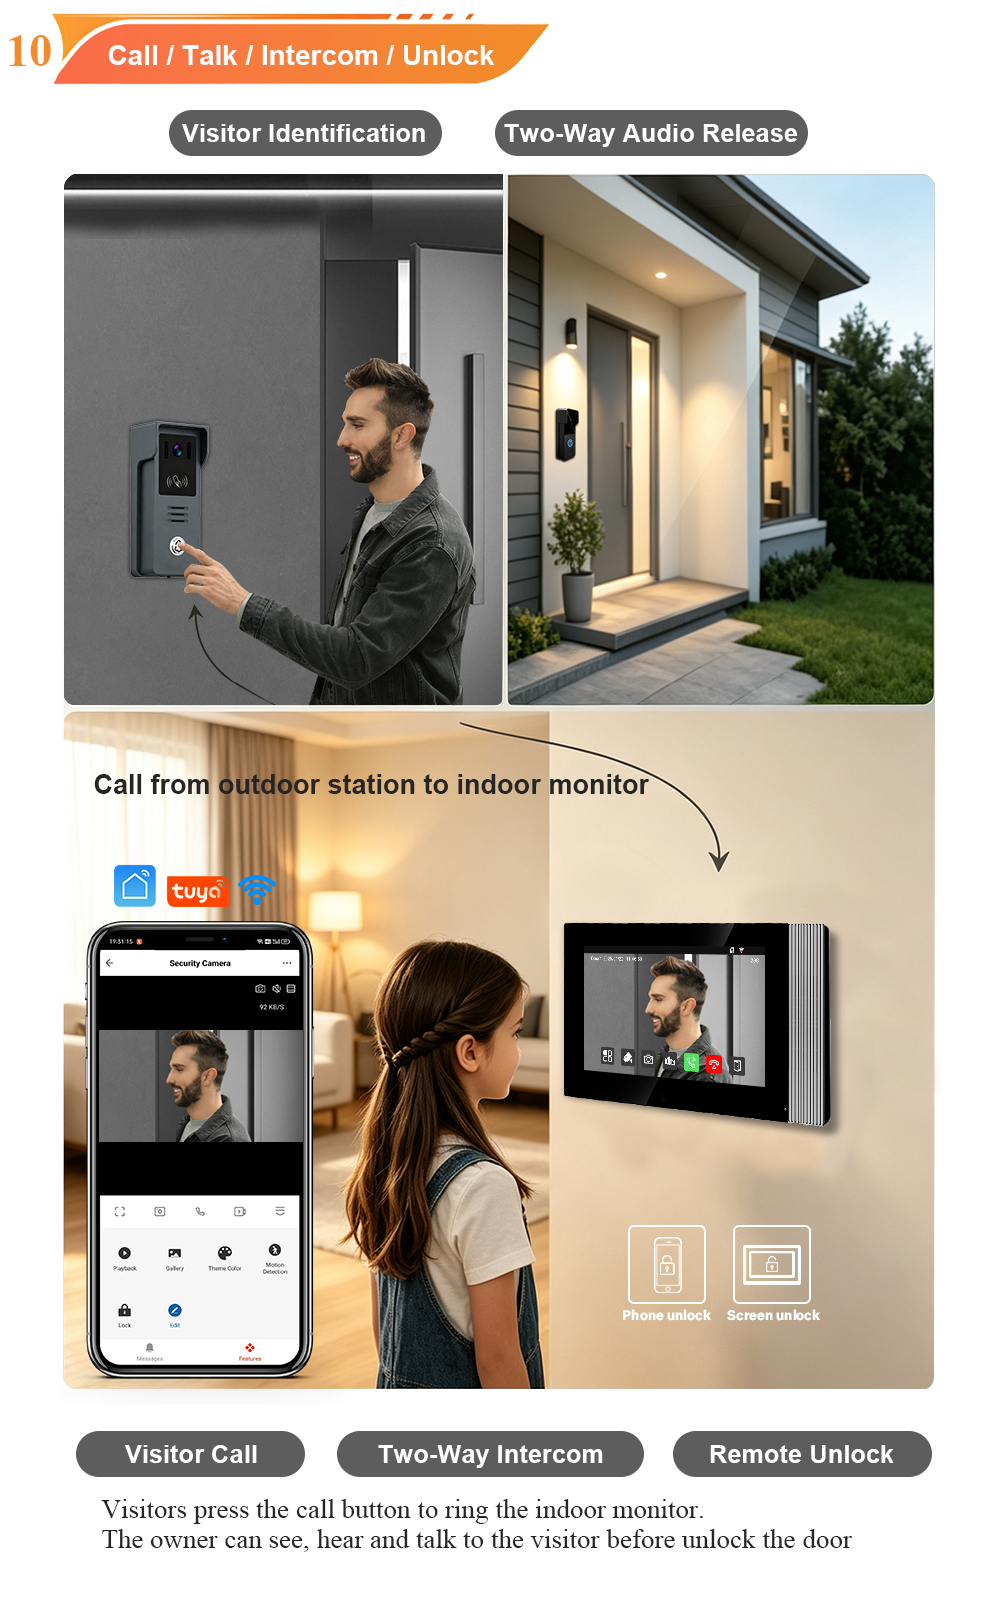
- Press the outdoor station’s call button – the indoor monitor should ring and display the video feed.
- Test two‑way audio and remote unlock (via the Tuya app if configured).
If the call does not go through, try swapping the Ethernet cable, or check if the outdoor station needs its IP address set manually.
Why IP Wiring Is Worth the Effort
- Superior video quality – 1080P HD, no signal degradation over distance.
- Удаленный доступ – Answer and unlock from anywhere using the Tuya app.
- Расширяемость – Easily add more indoor monitors or IP cameras.
- Clean installation – One cable per device, no mess of multiple wires.
Once your IP villa kit is wired correctly, you’ll enjoy a stable, high‑performance video intercom that works as reliably as your home network.
Need More Help?
Every FARHD IP villa kit comes with a detailed wiring diagram и quick start guide. If you’re unsure about any step, our technical support team is ready to assist.
📩 Contact us for wiring diagrams, catalogs, or to request a sample.
🌐 Website: www.farhd.com
📧 Email: [email protected]
#VideoDoorPhone #Wiring #Security #IPsystem
Вас также может заинтересовать
-
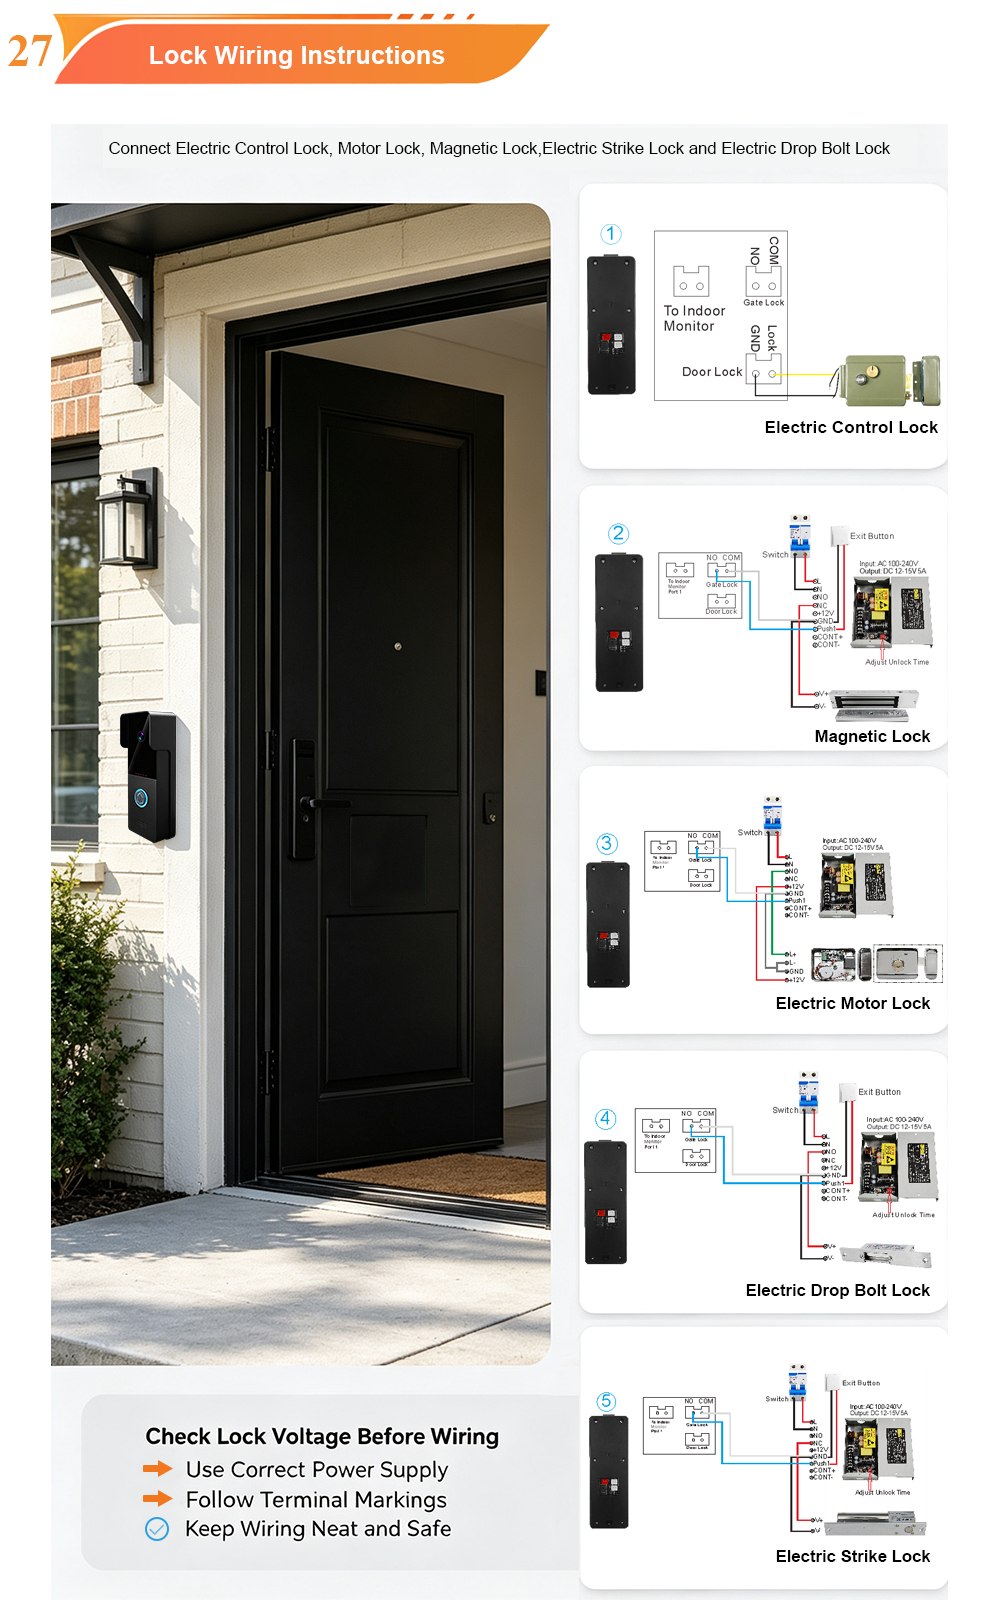
2-Wire Video Door Phone Connection with Electric Rim Lock: Unlock by Card, Indoor Monitor, and App
A complete guide to wiring an electric rim lock to a FARHD 2-wire video door phone system—and configuring three convenient unlock methods: RFID card, indoor monitor, and mobile app. Whether you are upgrading an existing building or specifying a new system, this guide covers the essentials for reliable, secure access control. Electric rim locks are…
-

Video Intercom Manufacturer & Source Factory Since 1998 | OEM ODM SKD Building Intercom
Video Intercom Manufacturer & Vertical Source Factory in China FARHD is a professional video intercom manufacturer with over 28 years of specialized experience in building security intercom systems. Established in 1998, we are a genuine building intercom factory focused on independent R&D, in-house production, and customized manufacturing for global B2B clients, including distributors, importers, engineering contractors, real estate…
-
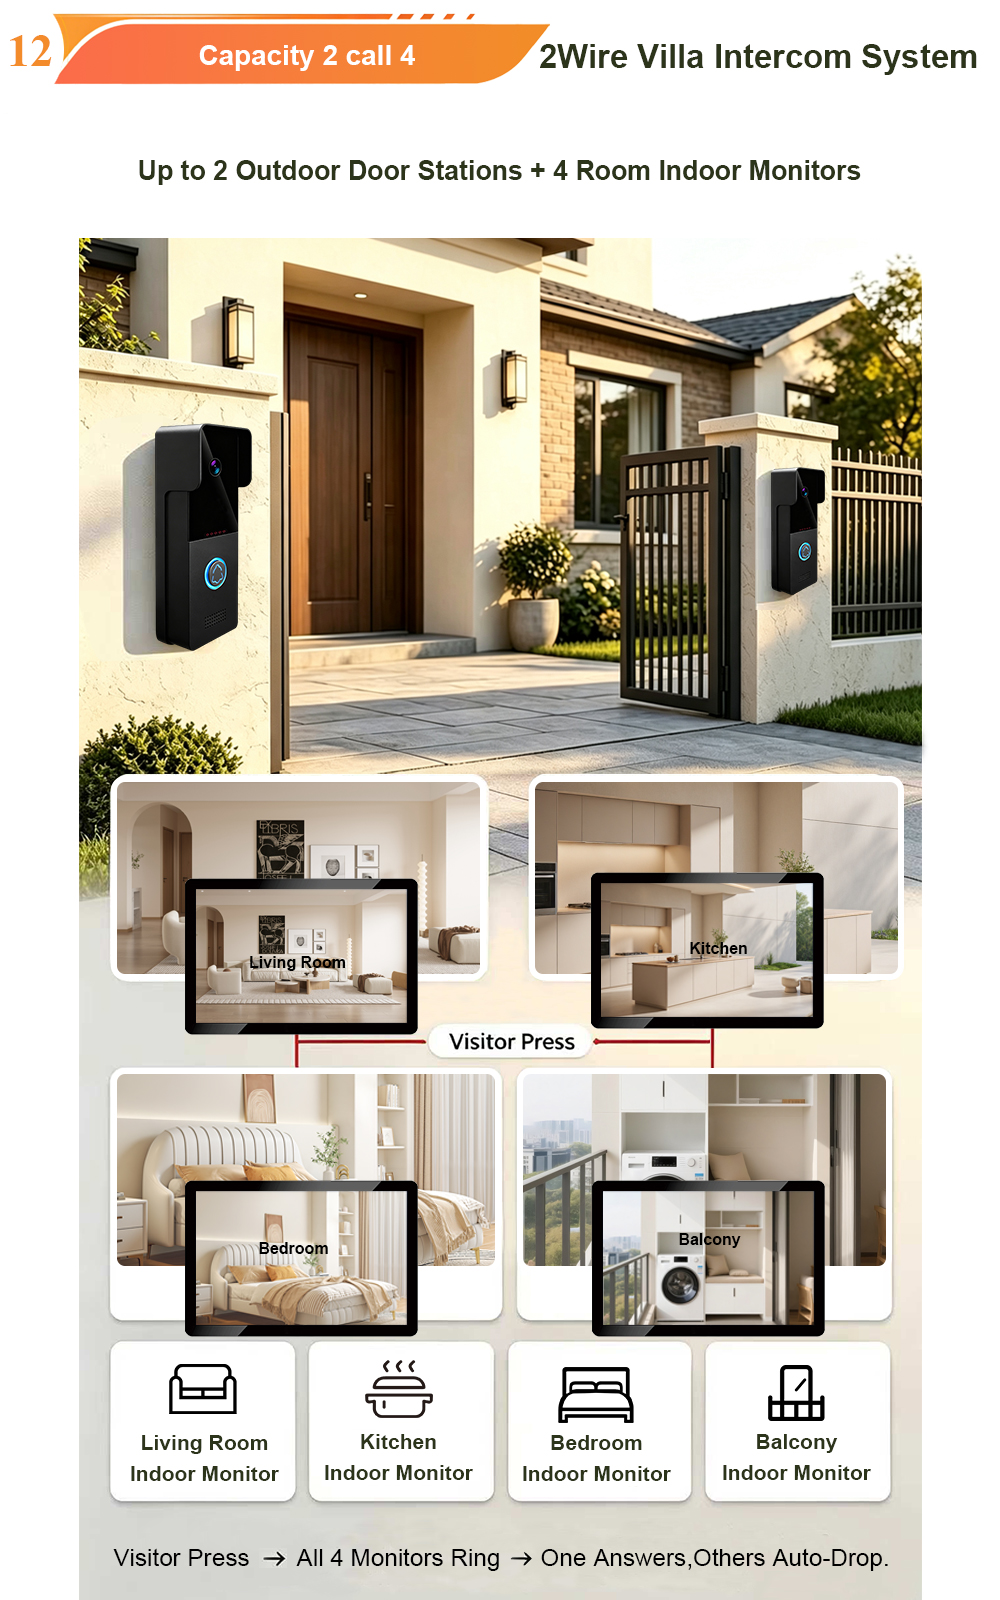
FARHD Video Intercom System: Versatile Solutions for Apartments and Villas
When it comes to building security and smart access, one size does not fit all. Different buildings have different wiring, different layouts, and different resident expectations. That’s why FARHD offers a comprehensive range of video intercom systems—with various indoor monitors and outdoor stations to match any apartment or villa project. Since 1998, FARHD has been…
-
Low-Temperature Test: FARHD Video Intercom Screens Keep Running Smoothly in Freezing Cold
Inside the freezing chamber, it keeps working — normal display, no black screen, no shutdown. Real quality isn’t just about lab data; it’s about staying reliable in extreme conditions. A video intercom that withstands freezing cold — because your door security can’t take a day off. In many parts of the world, winter is not…