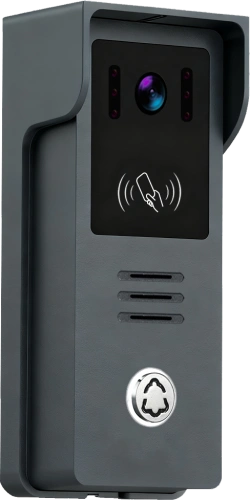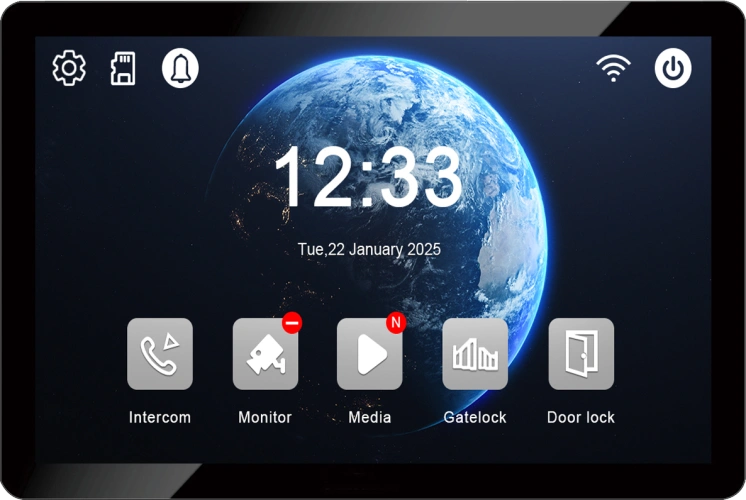
2-Wire Villa Connection: 2 Outdoor Call Panels (Card Unlock) with 4 Indoor Monitors (10″ IPS Display)
Октябрь 17, 2026
Поделиться статьей
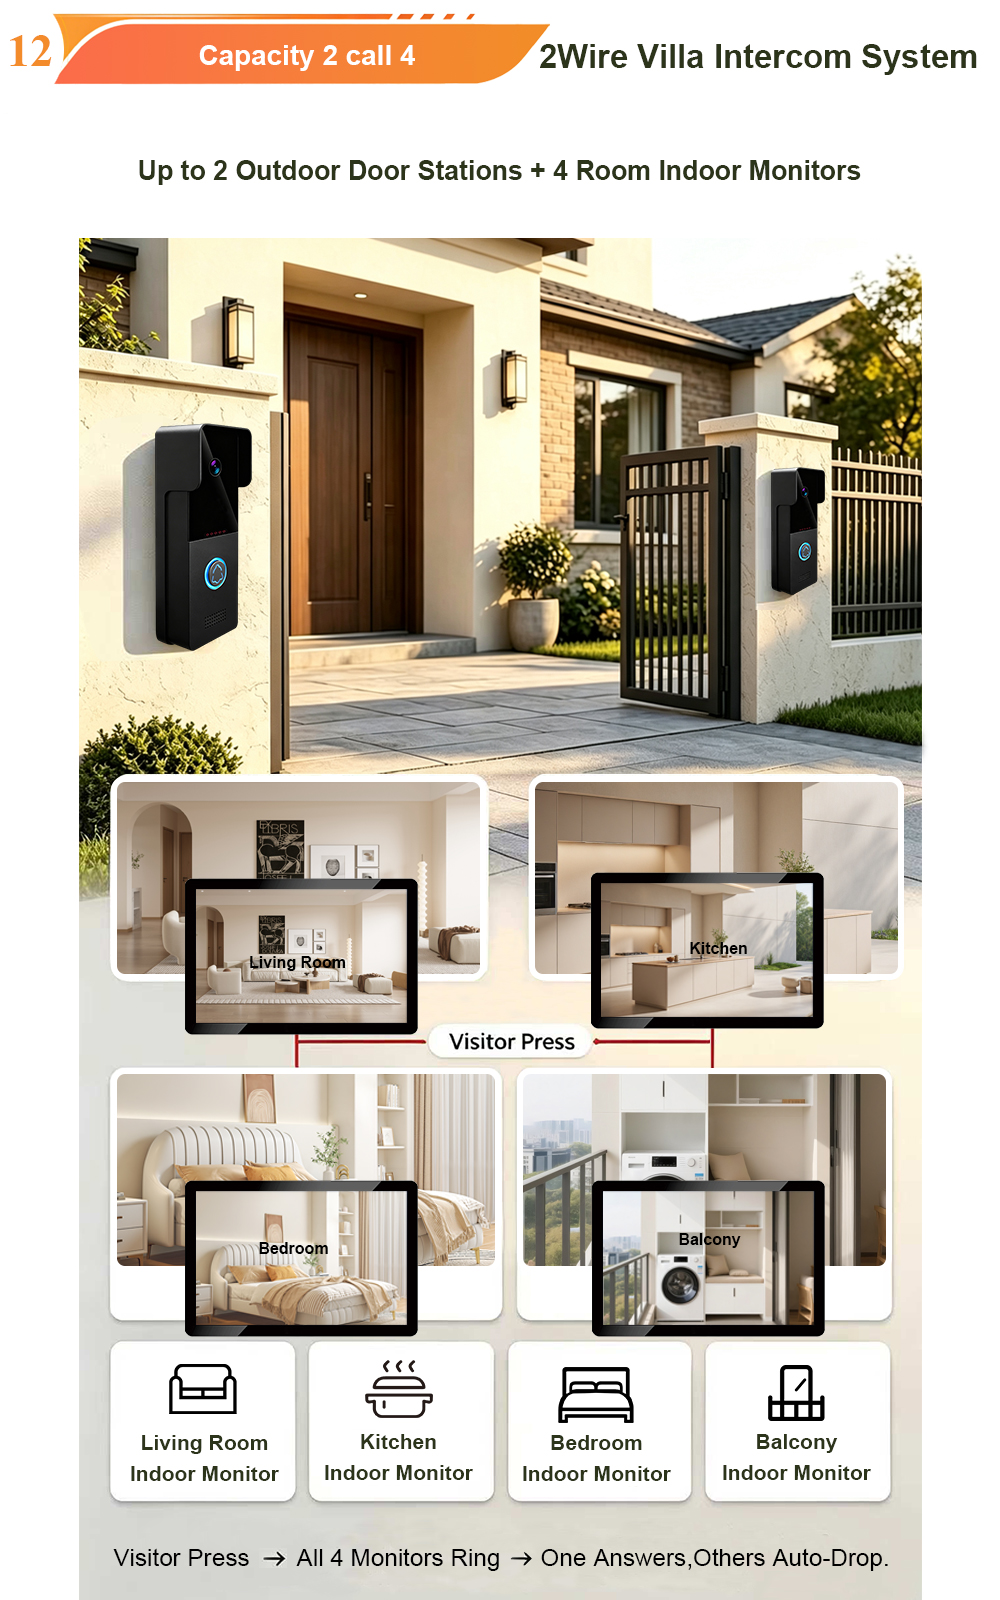
When a villa has multiple entrances—a main gate and a secondary gate, for example—and multiple living areas across different floors, a single outdoor station and one indoor monitor are rarely enough. The ideal solution is a scalable 2-wire system that supports two outdoor call panels and up to four indoor monitors. FARHD’s 2-wire villa solution delivers exactly that: card unlock at both entrances, 10-inch IPS displays in every key room, and the simplicity of 2-wire installation.
This blog explains how to plan, wire, and configure a 2-wire villa intercom system with two outdoor call panels and four indoor monitors. It covers the benefits, the components, the wiring topology, configuration steps, and why this setup is perfect for large villas and luxury residences.
Why Choose a 2-Outdoor + 4-Indoor Configuration?
A villa with multiple entrances and multiple living areas needs an intercom system that matches its layout. Here’s why this configuration works:
- Two outdoor panels – One at the main gate, one at a side or rear entrance. Visitors can call from either location.
- Four indoor monitors – Place them in the living room, master bedroom, kitchen, and home office. Residents can answer from anywhere.
- Card unlock – Both outdoor panels support RFID/IC card unlock, so residents and staff can enter without keys.
- 2-wire simplicity – Reuse existing cabling, no rewiring, non-polarity connection.
- Масштабируемость – Supports up to 4 indoor monitors and 2 outdoor panels; additional monitors can be added via 2-wire switch.
This configuration is ideal for large villas, multi-story homes, and gated private estates.
System Components
A typical 2-wire villa kit with 2 outdoor panels and 4 indoor monitors includes:
| Компонент | Количество | Role |
|---|---|---|
| Outdoor Call Panel | 2 | Visitor calls, camera, card reader |
| 10″ Indoor Monitor | 4 | Answer calls, view video, unlock |
| 2-Wire Switch / Distributor | 1 | Distributes signal to multiple monitors and panels |
| Источник питания | 1 | 15V DC adapter or central power supply |
| 2-Core Cable | As needed | Non-polarity, ≥0.5mm², up to 100m per run |
| Electric Lock | 1-2 | Controlled by relay output, requires separate power supply |
Outdoor Panel Features:
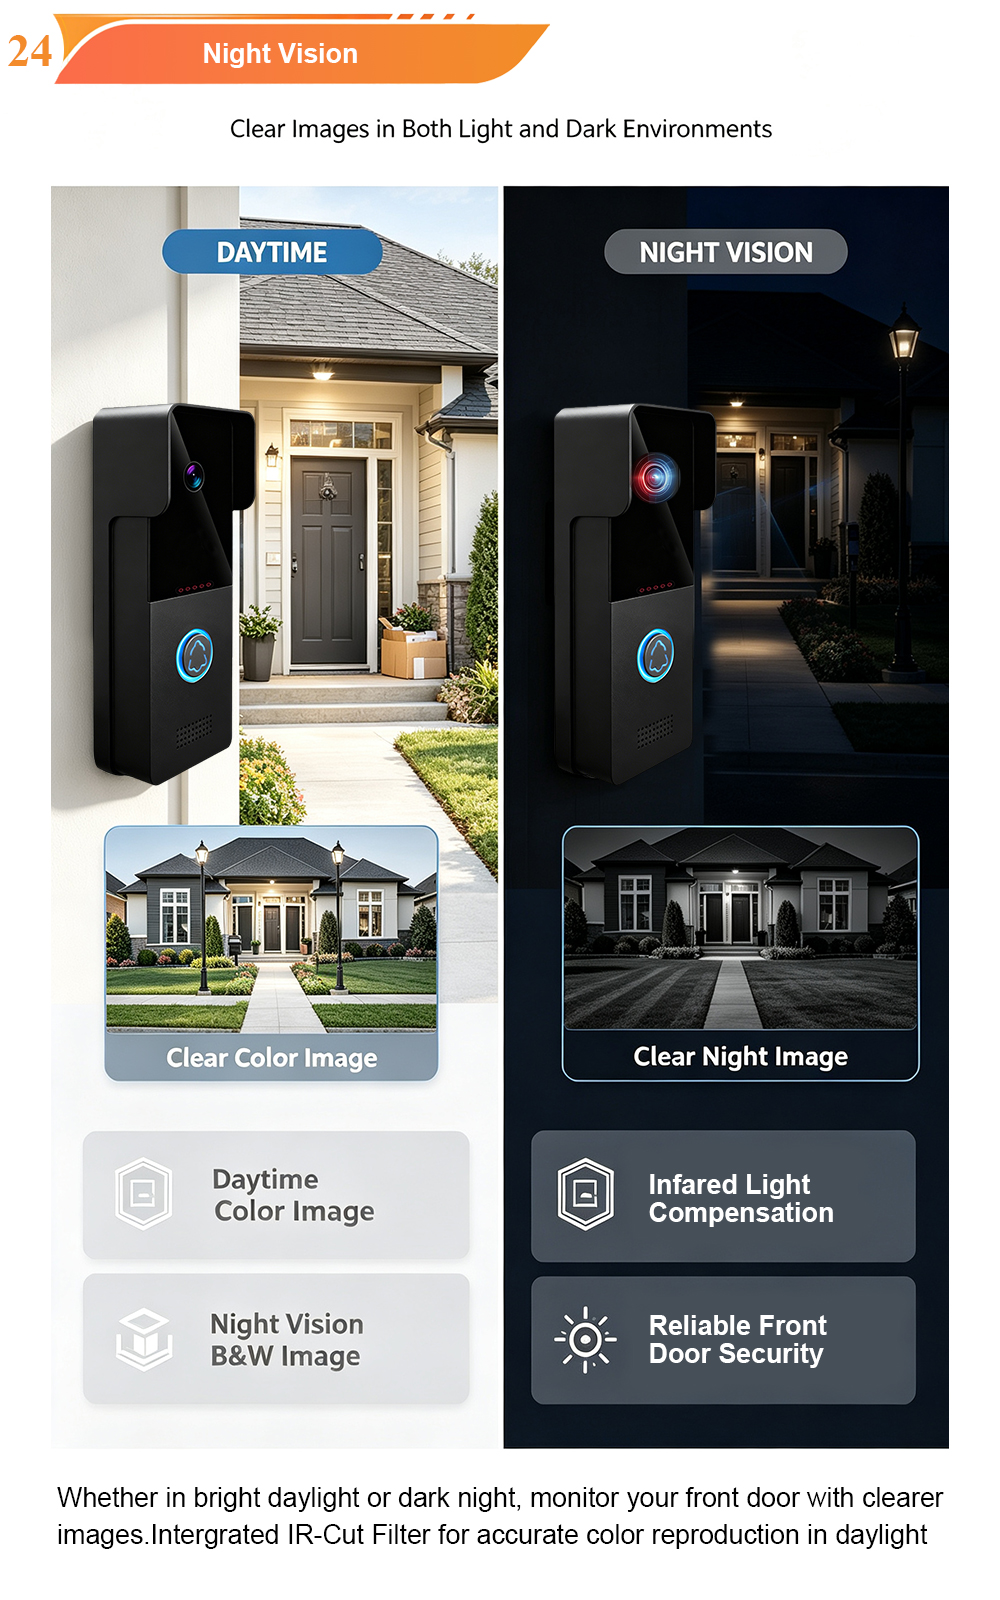
- 1080P 2MP HD camera with wide-angle lens and IR night vision
- Built-in RFID/IC card reader for keyless entry
- IP65 weatherproof, -40°C to +70°C
- Call button for visitor initiation
- Relay output for electric lock
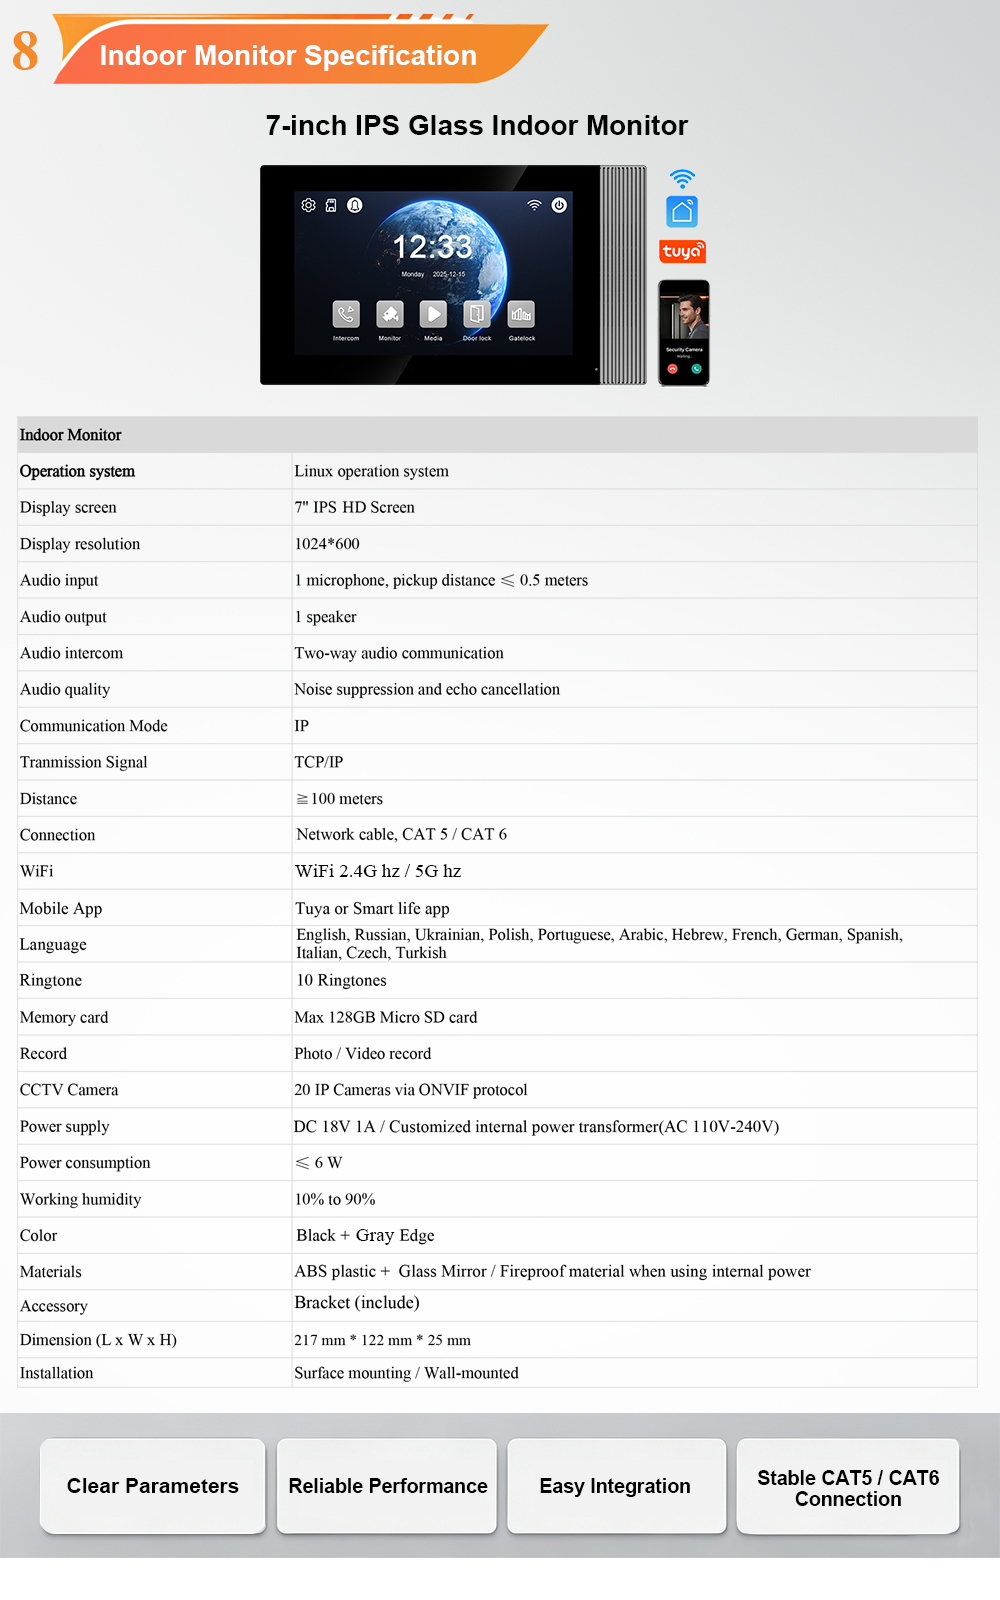
10″ Indoor Monitor Features:
- 10.1-inch IPS touchscreen, 1280×800 resolution
- Linux operating system, stable and secure
- Tuya Smart Life app integration (optional)
- MicroSD card slot (up to 128GB)
- Two-way audio with echo cancellation
- Multiple unlock methods: on-screen button, app, card, password
Wiring Topology: Star vs. Bus
For a system with 2 outdoor panels and 4 indoor monitors, the wiring must be planned carefully. Two topologies are possible.
1. Star Wiring with 2-Wire Switch (Recommended)
Each device connects independently to a central 2-wire switch.
text
[Outdoor Panel 1] ── 2-wire ── [2-Wire Switch] ── 2-wire ── [Indoor Monitor 1]
[Outdoor Panel 2] ── 2-wire ──       │                  ├── 2-wire ── [Indoor Monitor 2]
                                     │                  ├── 2-wire ── [Indoor Monitor 3]
                                     │                  └── 2-wire ── [Indoor Monitor 4]
                                     └── Power Supply
Преимущества:
- Fault isolation – one device issue does not affect others
- Easier room number configuration
- Scalable for future expansion
Лучшее для: Large villas, multi-floor homes, systems with multiple entrances.
2. Bus Wiring (Daisy-Chain)
Devices connect in series along a shared 2-wire bus.
text
[Outdoor Panel 1] ── [Indoor Monitor 1] ── [Indoor Monitor 2] ── [Indoor Monitor 3] ── [Indoor Monitor 4] ── [Outdoor Panel 2]
Преимущества:
- Less cable required
- Faster installation in some layouts
Considerations:
- A fault on the bus can affect multiple devices
- Room number configuration must be done carefully
- Not recommended for systems with more than 4 devices
Рекомендация: For a system with 2 outdoor panels and 4 indoor monitors, star wiring with a 2-wire switch is more reliable and easier to maintain.
Step-by-Step Wiring Guide
Step 1: Mount Outdoor Panels
- Mount Panel 1 at the main gate, Panel 2 at the secondary entrance.
- Height: 1.5–1.8 metres above ground.
- Use rain covers and mounting brackets.
Step 2: Mount Indoor Monitors
- Mount each 10″ monitor in a convenient location: living room, master bedroom, kitchen, home office.
- Height: 1.2–1.4 metres for easy access.
- Ensure power outlet nearby if not using PoE.
Step 3: Run 2-Wire Cables
- Use 2-core cable (≥0.5mm²).
- Keep runs under 100 metres. For longer distances, use thicker gauge (0.75mm² or 1.0mm²).
- Avoid parallel runs with AC power lines.
Step 4: Connect Outdoor Panels
- Connect 2-wire cable to each panel’s terminals. Polarity does not matter.
- If using electric locks, connect lock wires to relay output (NO and COM).
- Separate 12V DC power supply required for each lock.
Step 5: Connect 2-Wire Switch
- Connect both outdoor panels to the switch inputs.
- Connect each indoor monitor to switch outputs.
- Power the switch with supplied adapter.
Step 6: Connect Indoor Monitors
- Connect each monitor’s 2-wire cable to switch output.
- Ensure each monitor receives power via 2-wire connection.
Step 7: Power On and Test
- Power on the system.
- Press call button on Outdoor Panel 1 – all indoor monitors should ring (or configured monitors).
- Press call button on Outdoor Panel 2 – same.
- Test two-way audio, video, and unlock functions from each monitor.
Configuration: Room Numbers, Button Mapping, and Card Unlock
After wiring, configure the system for correct call routing and access control.
1. Assign Room Numbers to Indoor Monitors
Each indoor monitor must have a unique room number (or ID).
Via Indoor Monitor Menu:
- Enter Settings.
- Select Room Number or Address Setting.
- Enter a unique number (e.g., 1, 2, 3, 4 for each monitor).
- Save and exit.
Via 2-Wire Switch or Software:
- For larger systems, use management software to assign room numbers in bulk.
2. Map Outdoor Panel Buttons to Monitors
For each outdoor panel, configure which indoor monitors ring when the call button is pressed.
Typical options:
- Call all monitors – All 4 monitors ring simultaneously (conference call).
- Call specific monitor – Only one monitor rings (e.g., main bedroom).
- Call group – A subset of monitors rings (e.g., living room and kitchen).
Configure via indoor monitor settings or management software.
3. Configure Card Unlock
Both outdoor panels support RFID/IC card unlock.
Add cards:
- Access Card Management on any indoor monitor (admin password required; default is 666666).
- Select “Add Card” and present the new card to the outdoor panel reader.
- The system confirms registration.
Delete cards:
- Select “Delete Card” and present the card to be removed.
Alternative: Use a master card for quick on-site management.
4. Configure Unlock Duration
Set the relay release time (typically 3–10 seconds) in the indoor monitor settings.
5. Optional App Configuration (Tuya / Smart Life)
If monitors support Wi-Fi and Tuya:
- Connect monitor to 2.4GHz Wi-Fi.
- Download Tuya Smart or Smart Life app.
- Add device and follow pairing instructions.
- Assign to room and name (e.g., “Living Room”).
- Test remote answering, live view, and unlock.
Testing and Commissioning
After configuration, test every function.
| Тест | What to Verify |
|---|---|
| Call from Panel 1 | Correct monitors ring within 1.5 seconds |
| Call from Panel 2 | Correct monitors ring |
| Двусторонняя аудиосвязь | Clear conversation, no echo |
| Качество видео | Clear image, night vision works |
| Card unlock | Card presented to either panel unlocks door |
| Unlock from monitor | Press unlock icon, door releases |
| Функции приложения | Remote answer, live view, unlock work |
| Multi-monitor | Each monitor rings and answers independently |
If any test fails, check wiring connections, cable continuity, and power supply voltage.
Устранение распространенных проблем
| Выпуск | Возможная причина | Решение |
|---|---|---|
| One monitor does not ring | Wrong room number | Reconfigure room number |
| Both panels call all monitors | Call routing configured incorrectly | Reconfigure button mapping |
| Card not recognised | Card not registered | Add card via indoor monitor |
| No video | Loose cable | Re-seat 2-wire connections |
| No audio | Volume muted | Check volume settings |
| Unlock fails | Relay wiring | Verify lock power and relay connections |
| App not connecting | Wi-Fi on 5GHz | Switch to 2.4GHz network |
Best Practices for Multi-Monitor Villa Systems
- Use quality cable – ≥0.5mm² copper for 2-wire runs.
- Keep cable runs under 100 metres – for longer, use thicker gauge or repeater.
- Label both ends of every cable – simplifies maintenance.
- Test each monitor after configuration – call from each panel and verify.
- Secure outdoor connections – use waterproof gel caps or silicone.
- Document room numbers and wiring – essential for future service.
- Update firmware – check for updates after installation.
Why Choose FARHD for Your 2-Wire Villa System?
FARHD has been designing and manufacturing video intercom systems since 1998, with over 28 years of industry experience. Our 2-wire systems are trusted in over 100 countries.
Key advantages:
- Source factory – Factory-direct pricing, full quality control.
- 2-wire simplicity – Reuses existing wiring, non-polarity, up to 100m.
- Масштабируемость – Supports up to 2 outdoor panels + 4 indoor monitors.
- 10″ IPS monitors – Clear, responsive touchscreen.
- Card unlock – RFID/IC card access at both outdoor panels.
- OEM/ODM/SKD – Custom branding, packaging, and software.
- No MOQ – Start with a sample; scale as you grow.
- Глобальные сертификаты – CE, FCC, RoHS, IP65, EMC.
Our products are installed in thousands of villas, apartments, and residential projects worldwide.
Frequently Asked Questions
Q: Can both outdoor panels call all four indoor monitors?
A: Yes. You can configure each panel to call all monitors, a group, or a specific monitor.
Q: How many cards can be registered?
A: The system supports hundreds of cards. Check specific model for capacity.
Q: Can I add more indoor monitors later?
A: Yes, if the 2-wire switch has available ports. The system supports up to 4 monitors in this configuration.
Q: Does the system work without internet?
A: Yes. Basic calling, video, and unlock functions work without internet. Internet is only required for remote app access.
Q: What is the maximum cable distance?
A: Up to 100 metres with ≥0.5mm² cable. For longer distances, use thicker gauge.
Q: Are the outdoor panels weatherproof?
A: Yes. They are IP65 rated and operate from -40°C to +70°C.
Contact Us for Catalog, Pricing, and Samples
The FARHD 2-wire villa system with 2 outdoor panels and 4 indoor monitors is the ideal solution for large villas with multiple entrances and living areas. With card unlock, 10″ IPS displays, and simple 2-wire wiring, it delivers convenience, security, and scalability.
Contact us today for catalog, pricing, or to request a sample.
📩 Email: [email protected]
🌐 Website: www.farhd.com
📱 WhatsApp: +86 188 2370 9809 / +86 199 2545 1918
FARHD – Video Intercom Manufacturer Since 1998.
#2WireVillaIntercom #MultipleOutdoorPanels #4IndoorMonitors #10InchIPS #CardUnlock #VillaIntercom #VideoIntercom #FARHD #OEM #ODM #BuildingSecurity
Вас также может заинтересовать
-
Welcome to FARHD Factory: See How Your Video Intercom Systems Are Made
Overseas buyers are warmly invited to visit our source factory in Shenzhen, China. See real production lines, test samples on site, and check our strict quality control process. Since 1998, FARHD has been a source manufacturer with full in-house R&D, production, QC, and after-sales for video intercom systems. No MOQ. OEM & ODM custom service…
-
FARHD: 28-Year Source Factory for Video Intercom Systems – IP, 2-Wire, 4-Wire, Wireless, Analog & Audio
When you need a reliable source factory for video intercom systems, experience matters. FARHD has been manufacturing building intercom solutions since 1998—over 28 years of expertise. From IP and 2-wire to 4-wire, wireless, analog, and audio intercoms, we supply villas, apartment projects, and global distributors with Tuya APP remote door release and factory-direct pricing. In…
-
2-Wire & 4-Wire Villa Intercom, IP Outdoor Station, Indoor Monitor & Smart Home Linkage – Custom Design Available
Looking for a reliable villa intercom system that combines flexible wiring options, smart home integration, and full customization? FARHD offers 2-wire and 4-wire villa intercoms, IP outdoor stations, indoor monitors, and smart home linkage—all designed, manufactured, and tested in-house. Global buyers are warmly invited to book a factory visit. When you are sourcing intercom systems…
-
FARHD — Your Trusted Source Factory with 28 Years of Expertise in Video Intercom Manufacturing
No MOQ required. Tailored OEM & ODM solutions available. A complete product lineup covering every project need: IP, Analog, 4-Wire, 2-Wire, Wireless, and Audio Intercom. When you source video intercom systems for villas, apartments, or commercial buildings, the factory behind the product matters as much as the product itself. A true source factory gives you…